- Joined
- Mar 8, 2011
- Messages
- 25,321
- Reaction score
- 9,106
- Location
- Iowa
- Can others edit my Photos
- Photos NOT OK to edit
I noticed there's very little on the forum here about the Zone System. I suspect it's because either everyone has it figured out, or very few understand it. So let's assume the latter and rectify the situation.
I'm gonna toss out a candidate scene. It's SOOC, and no editing has been done save for converting it to JPEG and resized for posting:

EXIF:
So, how would you approach this scene with your method/interpretation of the Zone System? What steps do you take? What gear would you use? What media would you use, film or digital? What would your post steps be (developing & printing if film, actions and such if digital)?
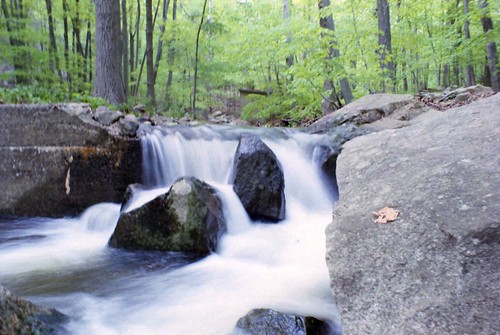
I'm gonna toss out a candidate scene. It's SOOC, and no editing has been done save for converting it to JPEG and resized for posting:
EXIF:
- Exposure time: 3.000 s
- Aperture: f/20.0
- ISO equiv.: 100
- A VND was used at about 6 stops for this image
So, how would you approach this scene with your method/interpretation of the Zone System? What steps do you take? What gear would you use? What media would you use, film or digital? What would your post steps be (developing & printing if film, actions and such if digital)?
") Which film? Again, if I knew I was going to go for some shots like this, I'd probably load some Pan F ISO 50 or Portra 160, depending if I felt like color or B&W. OR, I'd grab the pinhole.
Which film? Again, if I knew I was going to go for some shots like this, I'd probably load some Pan F ISO 50 or Portra 160, depending if I felt like color or B&W. OR, I'd grab the pinhole.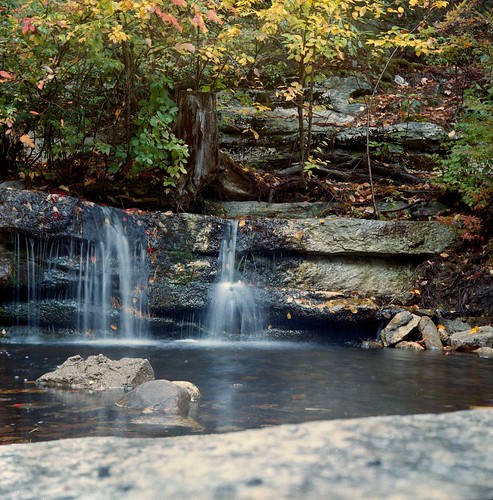


![[No title]](/data/xfmg/thumbnail/40/40308-f92e28f094216c151f3ad1fd7453c99b.jpg?1734174716)


![[No title]](/data/xfmg/thumbnail/32/32983-e979bc0c64090f2693d7fae6b3cc425c.jpg?1734162936)