phnoob
TPF Noob!
- Joined
- Dec 14, 2011
- Messages
- 65
- Reaction score
- 2
- Can others edit my Photos
- Photos OK to edit
I want to be able to take product photos like the ones on this page:
SparkFun RedBot Kit - ROB-12697 - SparkFun Electronics
And tutorial photos like the ones on this page:
RedBot Assembly Guide Rev 02 - learn.sparkfun.com
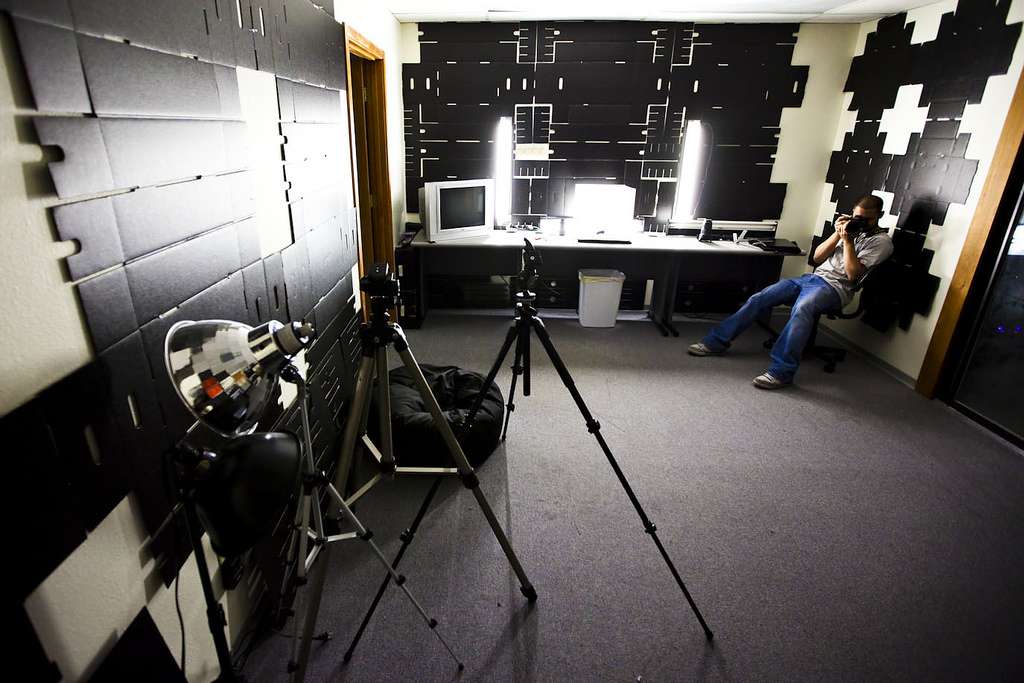
I have a softbox and three flashes which work fairly well, but I want to move to constant lighting because the flashes make things extremely difficult, especially when trying to take pictures for tutorials.
Here's a test I ran on my workbench with two tube lights (probably not what they're actually called, but I'm talking about the ones you often see in office ceilings) overhead:
Camera: Nikon D3000
Lense: Nikon DX AF-S NIKKOR 18-55mm 1:3.5-5.6G VR
Shutter speed: 1/30
White balance: auto
F-stop: 5.59
ISO: 1100
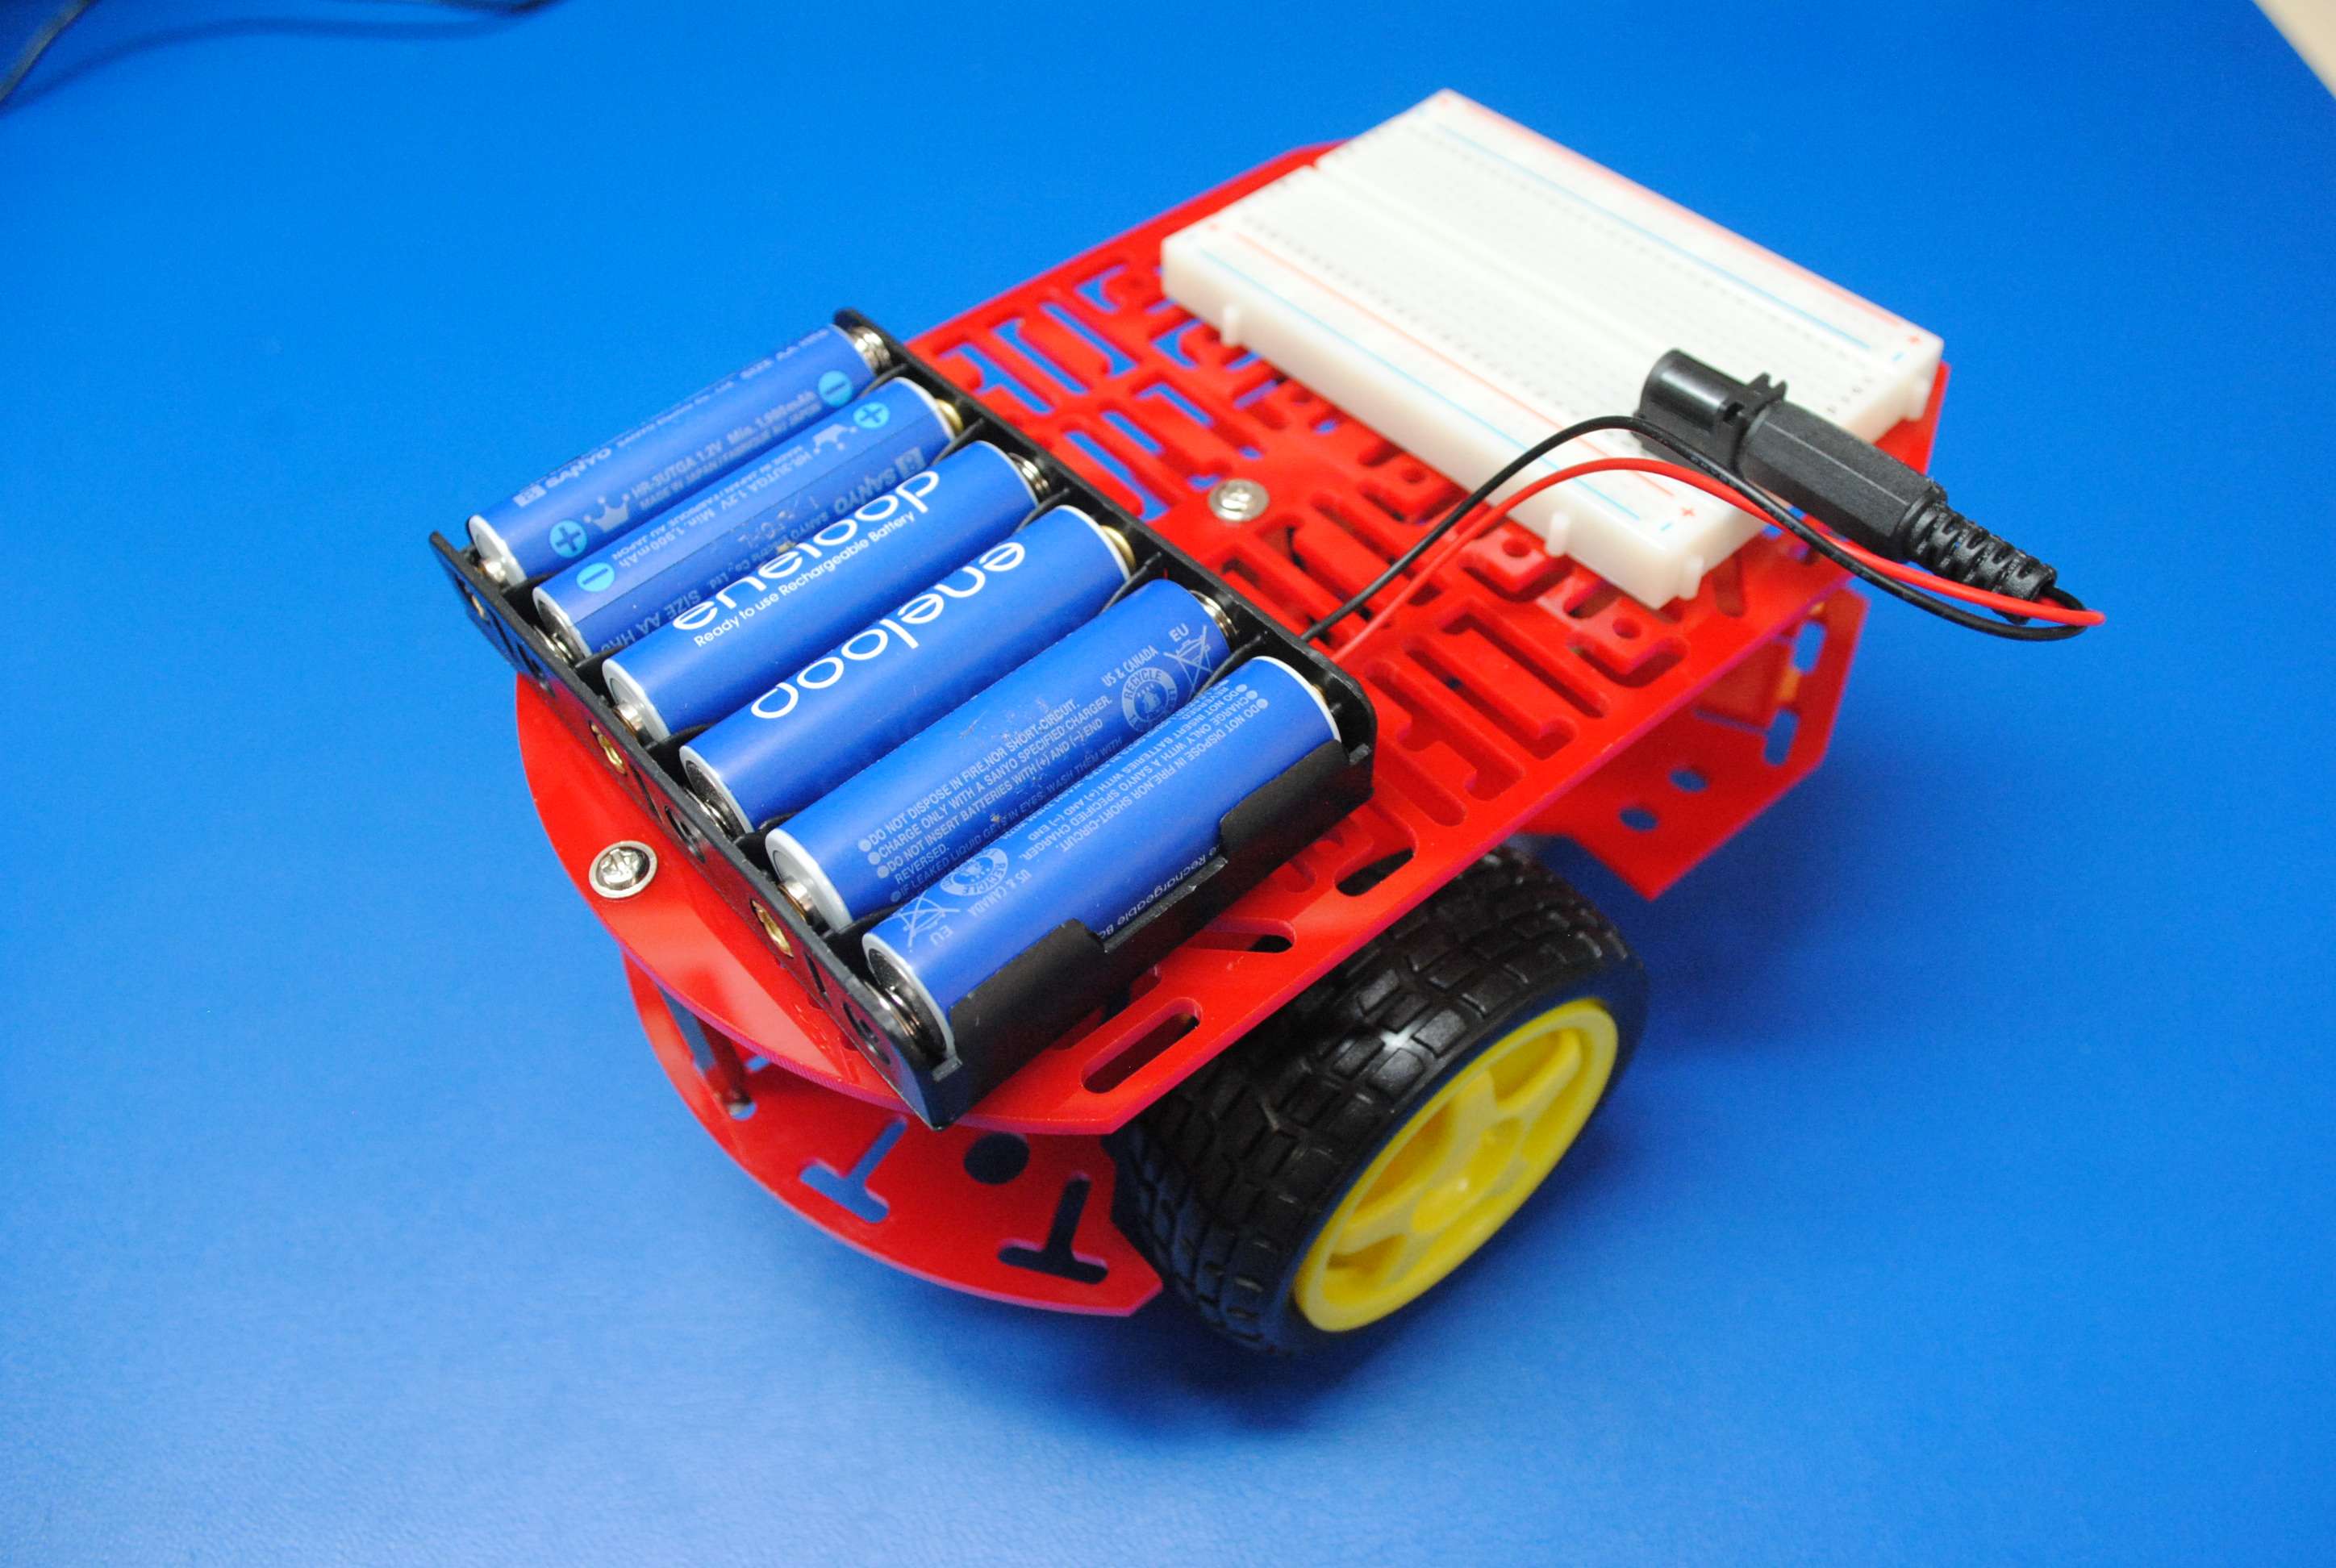
I feel like the brightness of this photo is alright, but most of it is out of focus due to the low f-stop and there are also shadows underneath the object which I would like to prevent as much as possible.
F-stop: 7.09
ISO: 1600
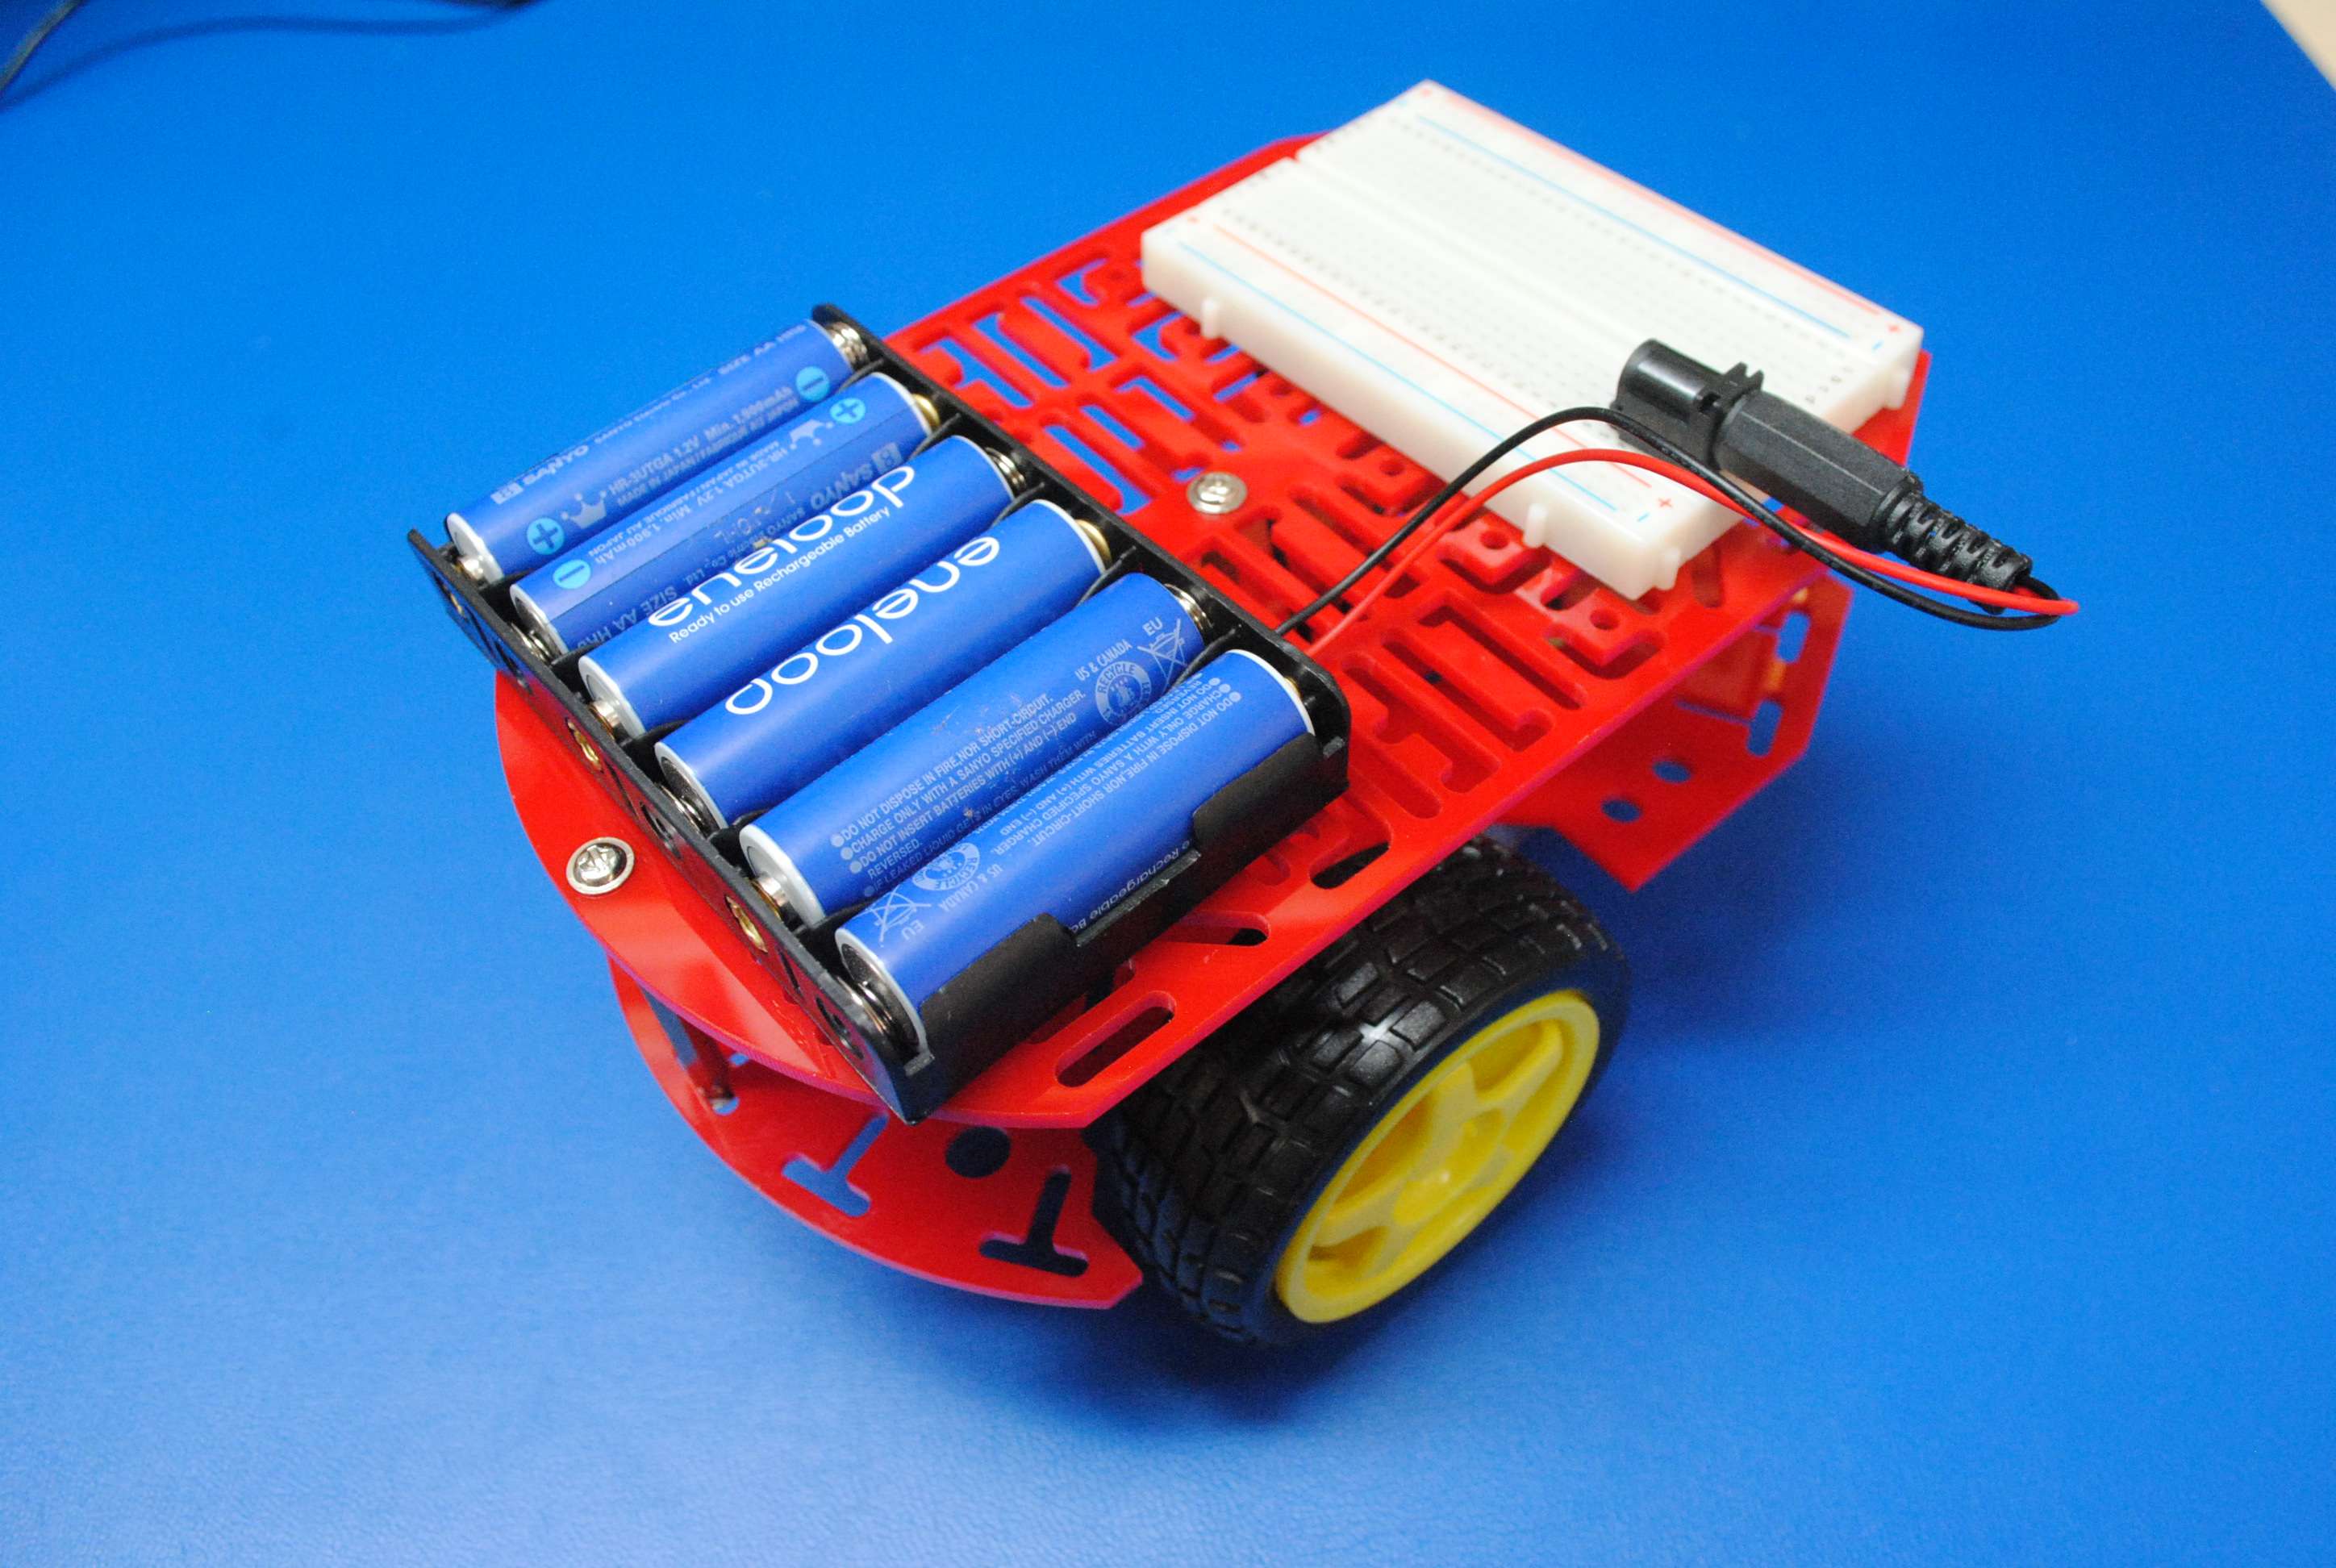
F-stop: 9
ISO: 1600

Going from f5 to f9 makes a big difference in terms of clarity across the object, but the end of it is still out of focus and already it is becoming dark.
F-stop: 14
ISO: 1600
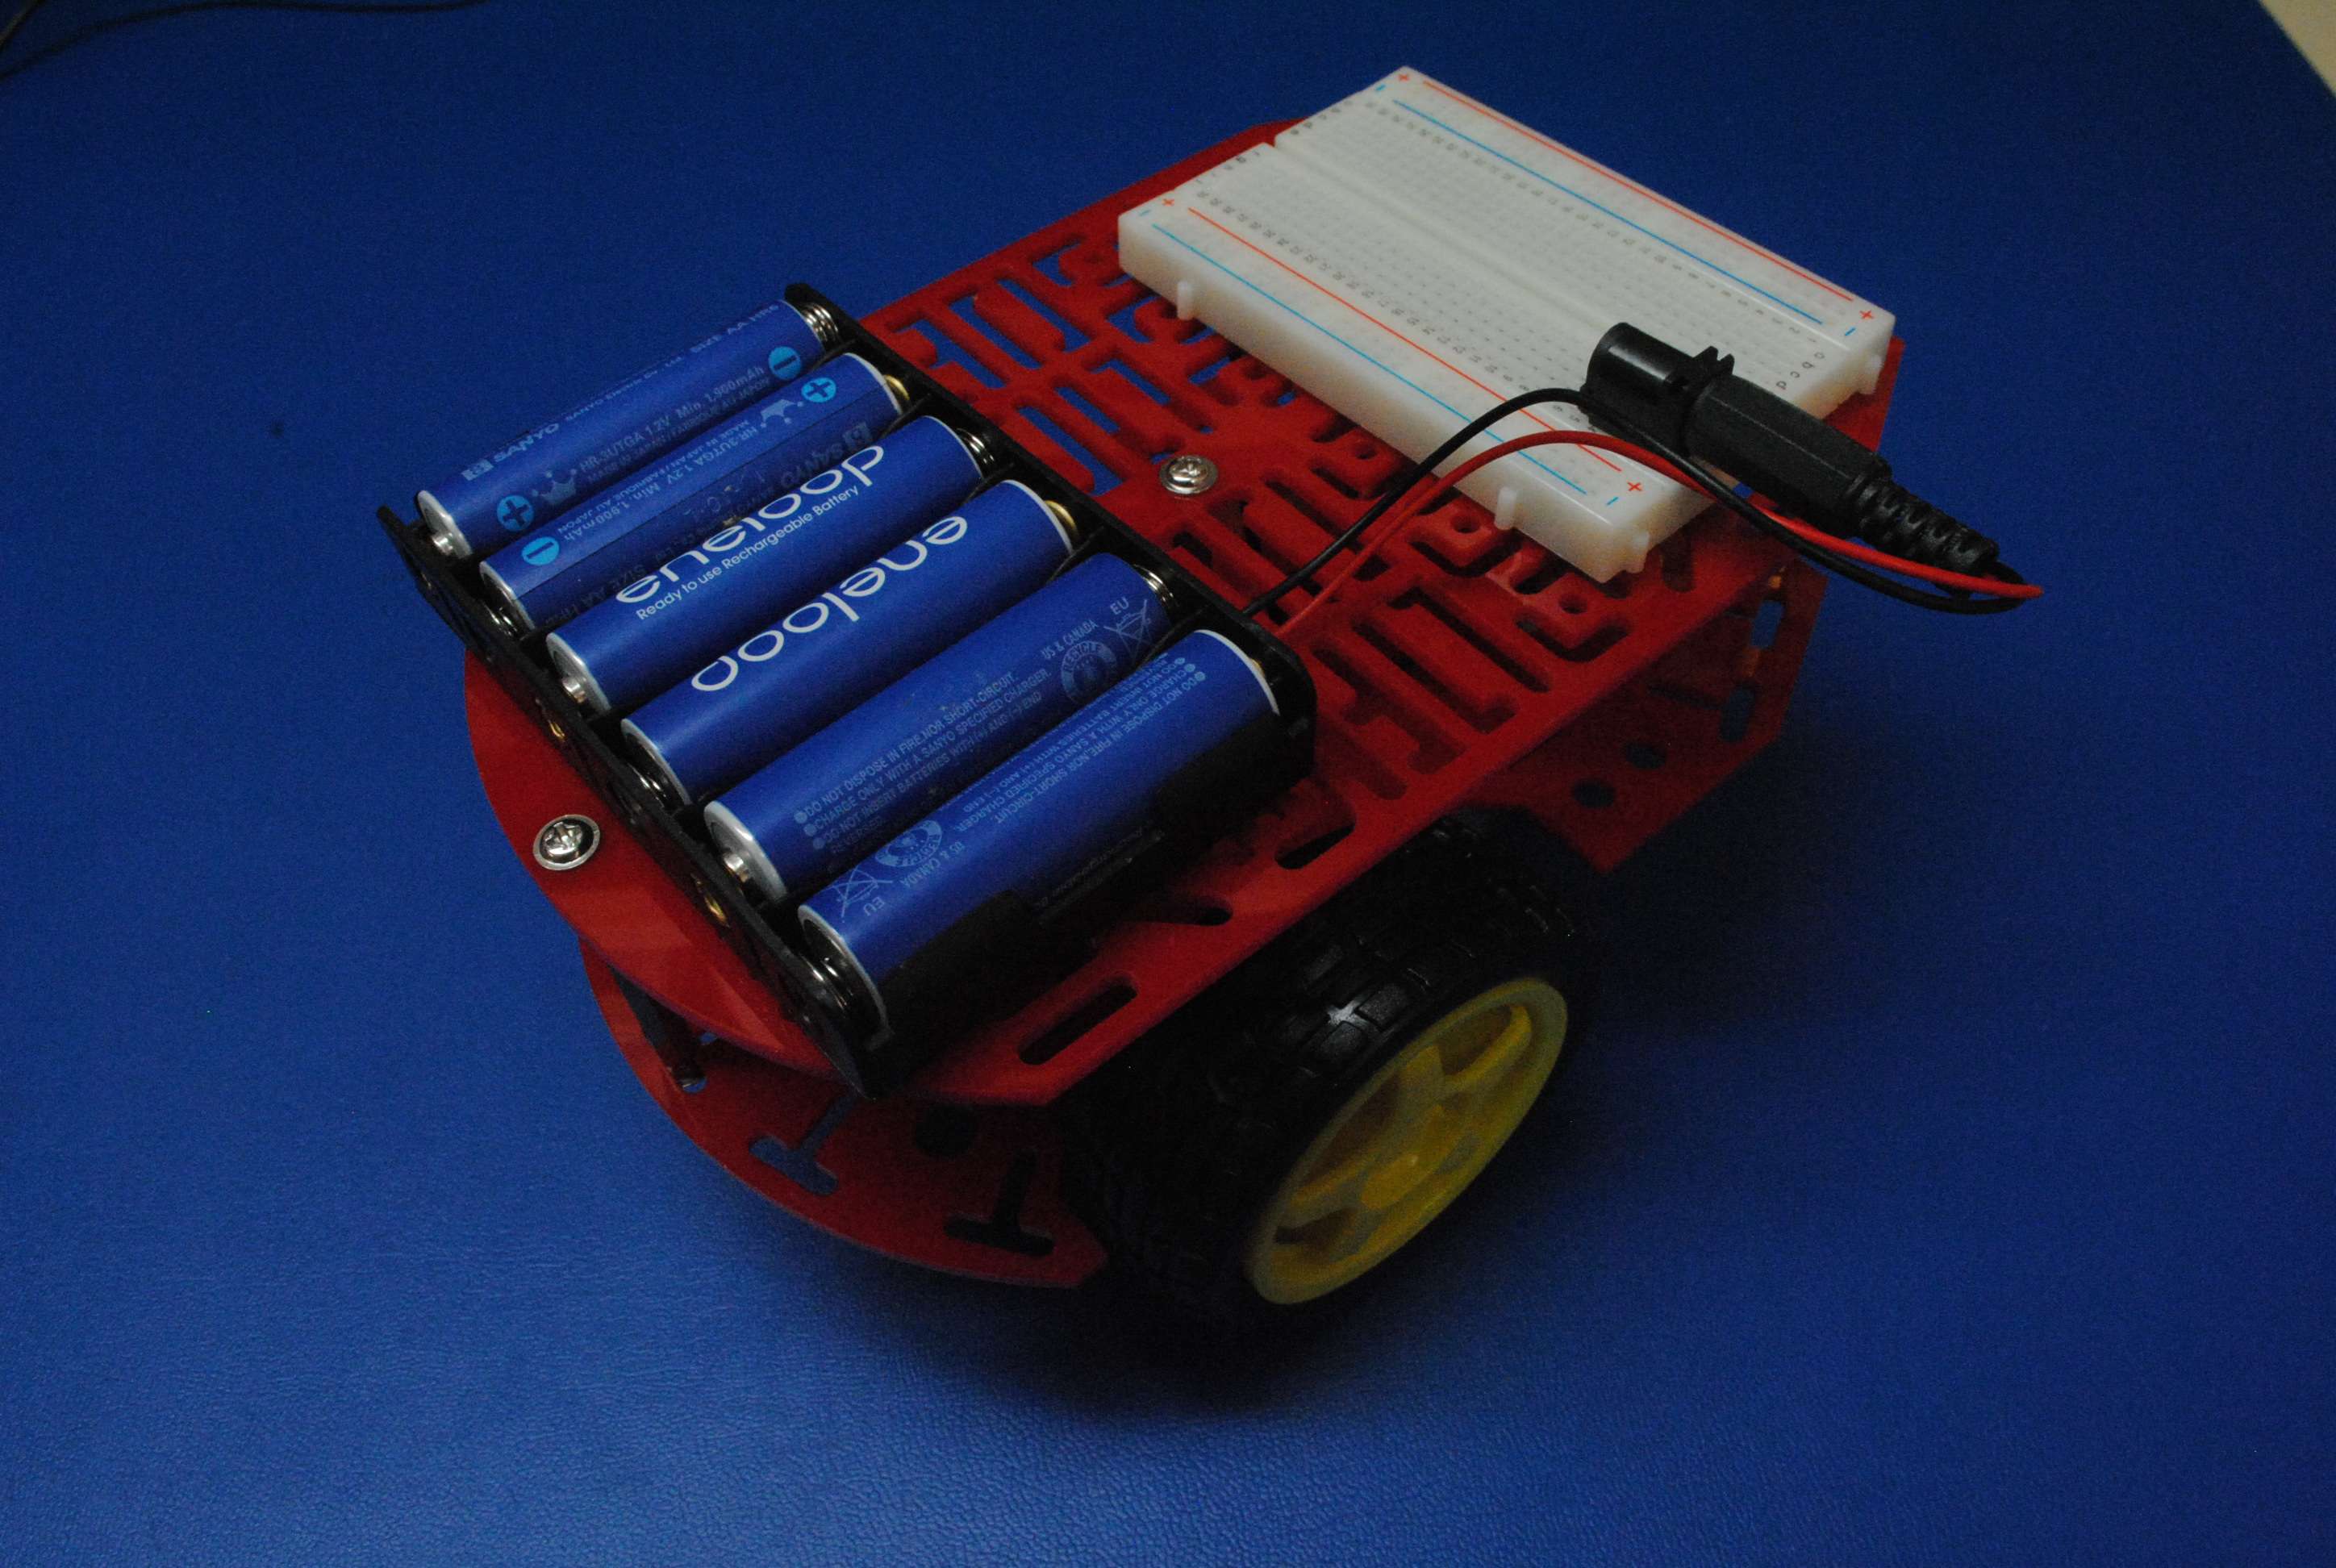
Not only are these photos dark, but the photos with an ISO of 1600 seem to be quite grainy.
F-stop: 22
ISO: 1600

Clearly I need better lighting, and I might try switching to a white background as well.
As I understand it, the key to getting photos where most of the object is in focus depends on using a higher f-stop number, but doing so lets in less light and as such requires better lighting.
My lighting budget is capped at around $400. I've been looking on Amazon (where I would prefer to order from) and found this inexpensive kit. Do you think that would work well for my needs?
I can buy a new lens and/or camera if needed, but would prefer not to.
I know product photos will always require some touching up in Photoshop to get the perfect white background, but for the tutorial photos I would like to get to the point where no post-processing work is needed.
Thank you for your advice.
SparkFun RedBot Kit - ROB-12697 - SparkFun Electronics
And tutorial photos like the ones on this page:
RedBot Assembly Guide Rev 02 - learn.sparkfun.com
I have a softbox and three flashes which work fairly well, but I want to move to constant lighting because the flashes make things extremely difficult, especially when trying to take pictures for tutorials.
Here's a test I ran on my workbench with two tube lights (probably not what they're actually called, but I'm talking about the ones you often see in office ceilings) overhead:
Camera: Nikon D3000
Lense: Nikon DX AF-S NIKKOR 18-55mm 1:3.5-5.6G VR
Shutter speed: 1/30
White balance: auto
F-stop: 5.59
ISO: 1100
I feel like the brightness of this photo is alright, but most of it is out of focus due to the low f-stop and there are also shadows underneath the object which I would like to prevent as much as possible.
F-stop: 7.09
ISO: 1600
F-stop: 9
ISO: 1600
Going from f5 to f9 makes a big difference in terms of clarity across the object, but the end of it is still out of focus and already it is becoming dark.
F-stop: 14
ISO: 1600
Not only are these photos dark, but the photos with an ISO of 1600 seem to be quite grainy.
F-stop: 22
ISO: 1600
Clearly I need better lighting, and I might try switching to a white background as well.
As I understand it, the key to getting photos where most of the object is in focus depends on using a higher f-stop number, but doing so lets in less light and as such requires better lighting.
My lighting budget is capped at around $400. I've been looking on Amazon (where I would prefer to order from) and found this inexpensive kit. Do you think that would work well for my needs?
I can buy a new lens and/or camera if needed, but would prefer not to.
I know product photos will always require some touching up in Photoshop to get the perfect white background, but for the tutorial photos I would like to get to the point where no post-processing work is needed.
Thank you for your advice.