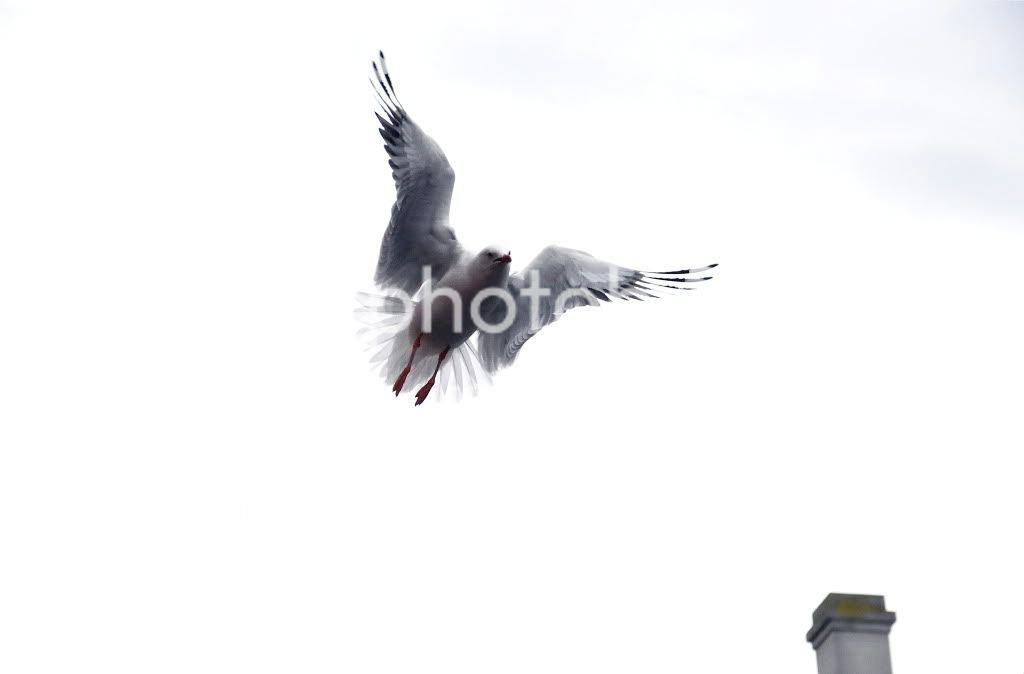
Well, no, you could fix the blown-out white with very meticulous PP. I'd go about it like this:
1. Duplicate the first layer.
2. Select the area to the right with those blue hues, getting as much blue as possible, and apply really extreme gaussian blur to it. Use the eye dropper to get the average colour from that blurred area, and darken and saturate it a bit to account for all that white.
3. Create a new layer, fill it with the colour selected in 2, and add a layer mask. Fill the layer mask with black, then paint white on the mask to start filling in the sky with blue.
4. Futz with everything (blending mode, layer opacity, brush flow and opacity) to get the desired amount of blue, taking care to get a relatively even blue everywhere, but add some obvious differences in the mask's opacity to add some texture.
5. Take special care around the bird, painting and erasing the mask as needed to not paint blue on the bird.
6. Select the bird completely with the tool of choice, or alternately, use the wand on the layer mask (no guarantees; whatever works best). Add some gaussian blur to the layer mask get a more naturally blending tones in the sky.
The most time consuming thing to do is the painting of that layer mask. If you're willing to do the PP work though, overexpose the sky and concentrate on exposing the bird correctly. It's perfectly acceptable practise to over-expose the sky in this case, particularly when you aren't someone like Scott Bourne with 800mm lenses and fresnel lens thingamajigs strapped to your nuke 'em flash so you can throw light just as far.
")
 [/IMG]

![[No title]](/data/xfmg/thumbnail/31/31738-a077d4eda797b023c93d1824b4f2ddb3.jpg?1734160456)
![[No title]](/data/xfmg/thumbnail/41/41779-303c41fcb3e37507cbe986d76dbfcf85.jpg?1734176085)


![[No title]](/data/xfmg/thumbnail/33/33351-cd8e1d901d113ee8f9312e19478885a7.jpg?1734163268)


