It's about compressing the dynamic range of the scene into something your cameras sensor can handle. There are a number of options, each with their advantages and disadvantages:
1. Use ND grad filters to slow down exposure for the sky, the favourite method for landscape photographers. You can use a square filter system such as the Cokin P series or the more professional (and therefore much more expensive) Lee filter system. These filters are dark on one half and clear on the other, and the graduation from one to the other can be either hard or soft (more gradual). You put the darker half over the sky because it's brighter and the lighter half on the foreground. You would usually have a few of these filters for different strengths, calculate the exposure difference between the sky and the foreground and use the appropriate strength to balance it out. This is a great approach because it gives a very clean look, unlike other methods (see point 2). However, it wouldn't be suitable for a shot like the one you posted, it's more for landscape situations where you have a clear sky on top half, foreground on bottom.
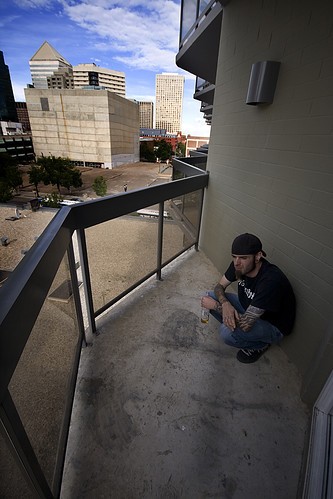
2. Expose for the highlights (i.e. avoid blowing them out) and use Photoshop's Image > Adjustments > Shadow/Highlight tool - it can make even completely black-looking areas bright again. I've used it for my 2 most recent shots (see my flickr). I would only really reccomend it when the difference between shadow and highlight areas it relatively small, not when the shadows are completely blacked out, or else the lightened up areas will be very noisy and grainy. However, in your situation it might just be the ticket.
3. HDR - You get lots of control but it gives a specific feel and effect which not everyone likes. Also not suitable for some types of shots (e.g. moving subjects).
I personally like to use ND grads and fine-tune the balance in Photoshop. Hope that helps.


![[No title]](/data/xfmg/thumbnail/31/31753-281132967af6a422c89bcc0d6f16499a.jpg?1734160473)


