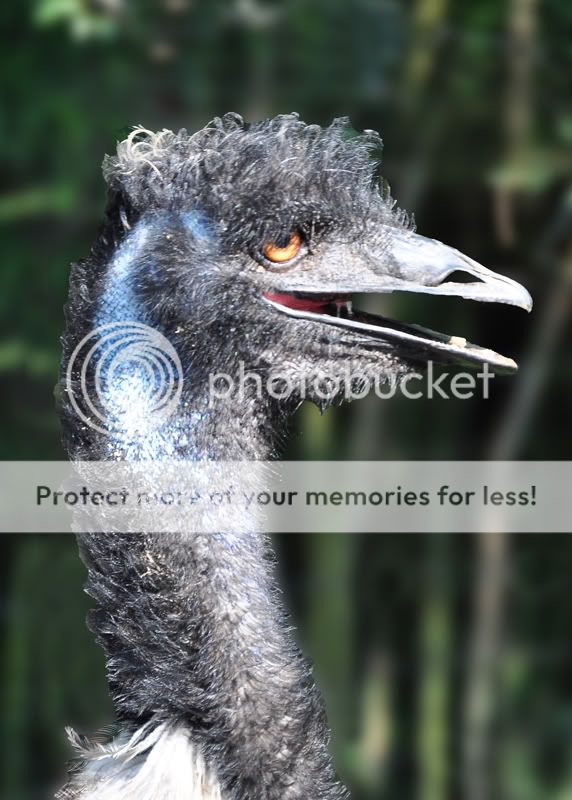
I think I selected the bird with the magnetic outline tool and copied to another layer. Then blurred the other layer. So it's a step in the right direction but I need someone to help know what to do from here to make it better. Sherry
I'm not sure if Elements allows layer masks (it should) but if so, try this. Rather than selecting the bird (or any subject) and coping them to another layer. Just duplicate the whole layer (so that you have two identical layers). Then apply the blur to the top layer (it's good practice to always leave your bottom (background) layer untouched).
Now you want to add a layer mask to the top layer. A layer mask allows you to hide/show just parts of a layer. So turn off the top (blury) layer (click the eye icon in the layers pallet). Now use the lasso (or whatever) to select around the subject. Then turn the blurry layer back on and make it active. Then click on the 'new mask' icon in the layers pallet. If it's backward (blurry subject), then undo it and inverse your selection (under the select menu) and try it again.
This should get you pretty close to where you are now. But the advantage of a layer mask, is that you can always edit/change it. So make the layer mask active (click on it) then choose a small brush size and zoom in on the edges of it. You can use the colors black and white to paint the mask on or off. So rather than the smooth edge that the lasso selection gave you, you can go in and around the individual hairs & feathers on your bird. This will take a long time, but the results will be better than what you have.
It may also help you, if you add a solid color layer between your two layers. So add a new adjustment layer and choose solid color. Pick a color that contrasts with the subject and background. Drag the new layer in between your two layers and set the opacity down to around 30%. That should make it easier to see where you are painting the mask on or off. When you are done, just trash that colored layer.
You can also adjust the size, shape and opacity of your bush, which can make it easier to paint the edges. Doing things like this is also easier with a pen & tablet, than with a mouse.
Wacom