Dominantly
TPF Noob!
- Joined
- Jul 30, 2009
- Messages
- 3,032
- Reaction score
- 168
- Location
- San Diego, CA (RB)
- Can others edit my Photos
- Photos NOT OK to edit
Alright so I thought I would do something focused on post processing. Now, there are quite a few different ways to do what I'm about to demonstrate, I just happen to prefer this method and find it goes pretty quickly.
The software I will be using for this is:
Topaz ReMask - Masking Made Easy
Topaz Adjust - Redefining Creative Exposure
Topaz Detail - Halo-free Detail Enhancement, Sharpening, and Toning
*Free 30day trial of the bundle is highly recommended
PS Elements 6
Adobe Photoshop Elements - PC - CD-ROM ( mini-box ) - Universal English
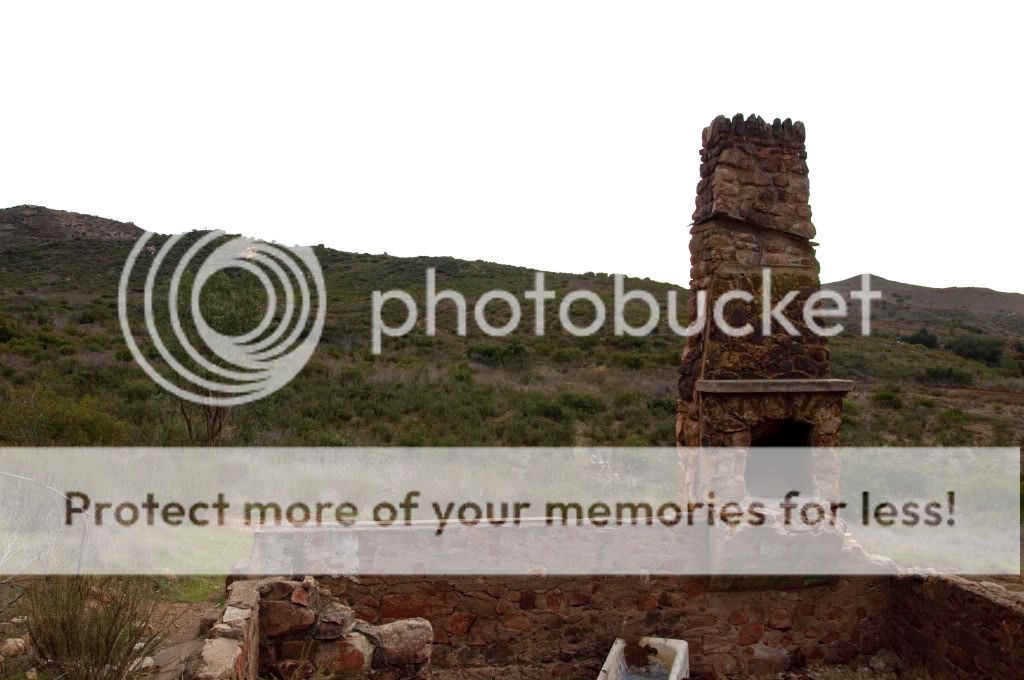
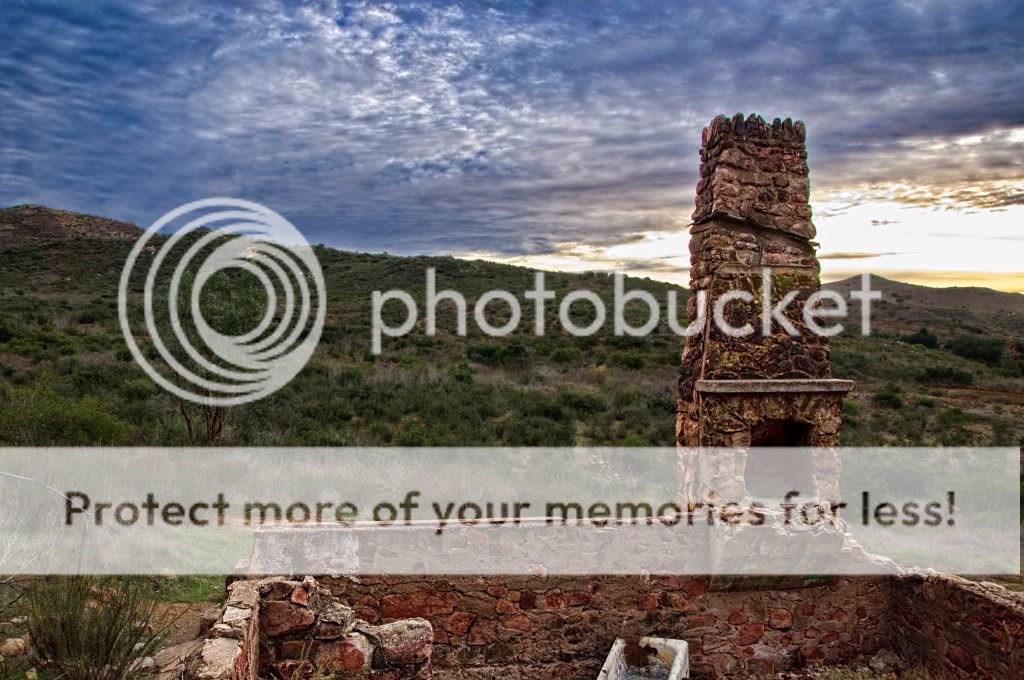
So lets get started, here is the original photo I will be tweaking (random choice):
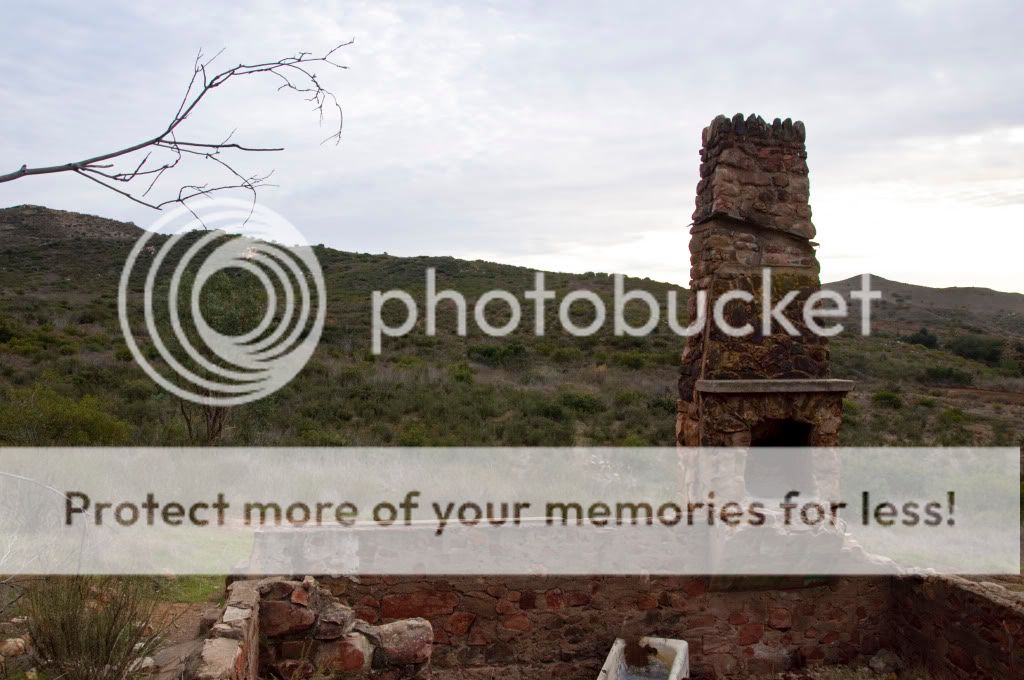
This was a RAW file, just to be clear.
So with this photo, you'll notice the sky is blown, most likely a result of trying to properly expose the foreground, or brickwork that had it's back to the setting sun.
The bricks/foundation are dull and the green middle ground is also lifeless and boring, so we'll try and break it all up and add some life back to it.
First thing we do is open the original in PSE. It will open in Camera raw 4.6, once open you will be able to adjust the photo like you normally would, but we're going to do something different this time.
-Go ahead and select Camera Neutral under the Camera profile tab.
-Go back to basic and adjust your settings to enhance the sky. I was something like -1.45 exposure, +38 brightness, +56 contrast, +100 clarity, +49 Vibrance, +44 saturation.. Basically just adjust it until the sky looks good to you.
--Once that is done you are going to Save Image (bottom left) as a .dng file onto your desktop. This will save your sky that you can open later.
Sky image:

-Next you will reset what you did by hitting "default".
-After that you will adjust the photo for the brick and mountains, disregarding the sky. Don't go to crazy here, just get it decent looking.
-Now open the the image into PSE editor.
-Once you have the the image opened into PSE, hit CTRL+J twice to create two copies (make sure your layers tab is open on the right).
-With the top copy selected, open REmask 2.
-Now use the Remask tool to separate the sky from the mountains. You'll simply trace the mountain line and chimney with the BLUE pen and then use the red paint can on the sky side and hit process. If you get stuck, just ask about it later and I'll go in greater depth.
-Now you'll end up with this in your layers
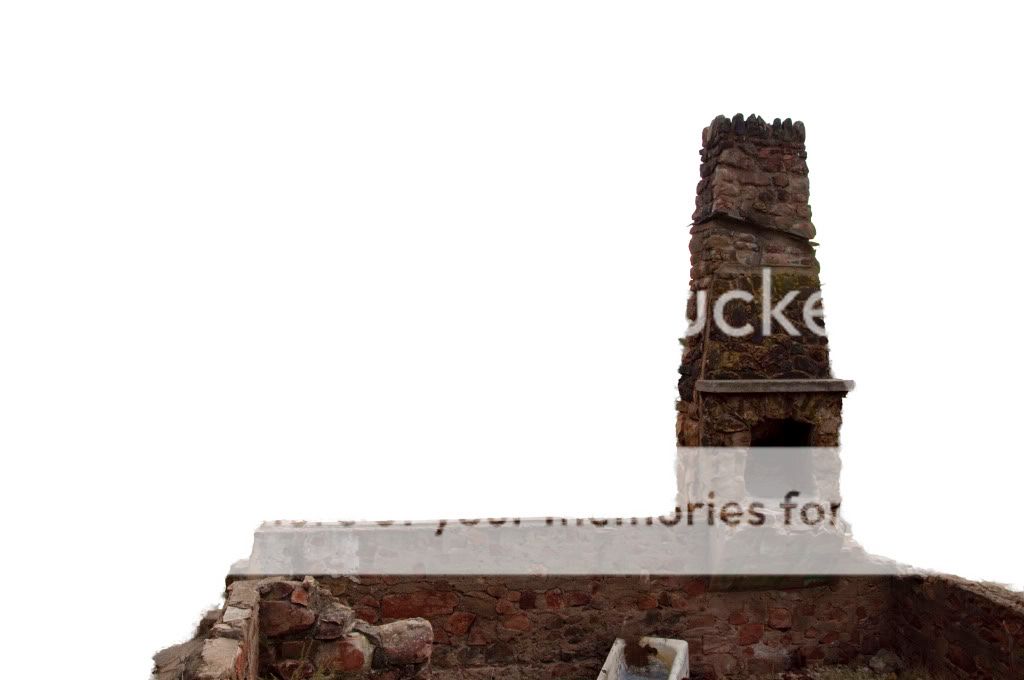
Blank background:
-Now you'll have one layer with no sky and two full photo layers. Take the other layer and do the same thing except outline the bricks and then open it.
-Next you'll need to bring back that sky we created earlier, so just hit "create new layer" and a blank layer will pop up.
-Now select your layer, then go to file "place", and place your sky file onto that layer.
-At this point your Layers should look like this:
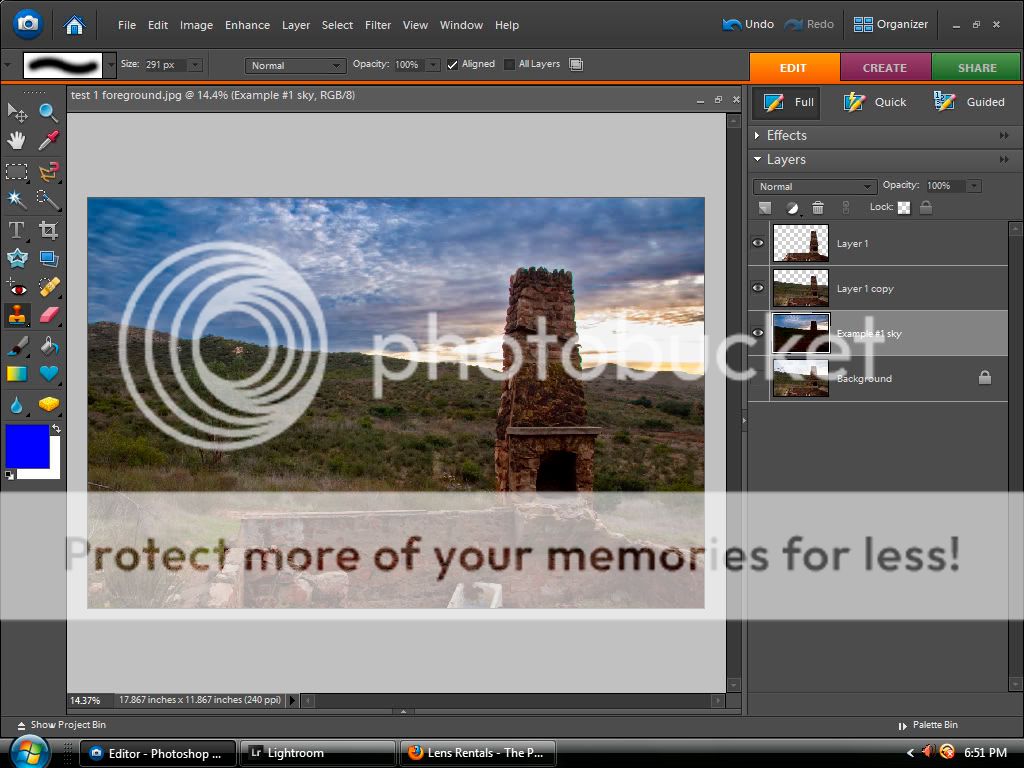
(You'll want the sky on the bottom)
-Now is when I will go in and adjust each layer individually using Adjust 3. I will also adjust the levels (Ctrl+L) and Saturation of individual colors; green most notably in this one (Ctrl+U).
-I used the "clone" tool to get rid of that random branch in the sky. I use a fairly small brush when doing it, and zoom in pretty far to get a good idea of what texture I am adding. You'll have to play/blend it a bit depending on your photo.
-Then I used Topaz Detail on the sky, and the stone layers to give them some pop.
-Then I used Denoise on the sky and the mountain layer.
-After all the layers looked acceptable to me, and I had done all the editing, I simply flattened the image resulting in this:
vs Original
--This can be done with almost anything. You'll find some photos are more labor intensive when it comes to masking them (tree's that show sky through them are notorious for being difficult). But in the end it just takes a tad bit more time, but it all can be done.
-You can use this technique for "Selective coloring" as well.
Hope this helps, makes sense, and adds some new techniques to someones skill box. Let me know if you have any questions or get stuck...
:mrgreen:
The software I will be using for this is:
Topaz ReMask - Masking Made Easy
Topaz Adjust - Redefining Creative Exposure
Topaz Detail - Halo-free Detail Enhancement, Sharpening, and Toning
*Free 30day trial of the bundle is highly recommended
PS Elements 6
Adobe Photoshop Elements - PC - CD-ROM ( mini-box ) - Universal English
So lets get started, here is the original photo I will be tweaking (random choice):
This was a RAW file, just to be clear.
So with this photo, you'll notice the sky is blown, most likely a result of trying to properly expose the foreground, or brickwork that had it's back to the setting sun.
The bricks/foundation are dull and the green middle ground is also lifeless and boring, so we'll try and break it all up and add some life back to it.
First thing we do is open the original in PSE. It will open in Camera raw 4.6, once open you will be able to adjust the photo like you normally would, but we're going to do something different this time.
-Go ahead and select Camera Neutral under the Camera profile tab.
-Go back to basic and adjust your settings to enhance the sky. I was something like -1.45 exposure, +38 brightness, +56 contrast, +100 clarity, +49 Vibrance, +44 saturation.. Basically just adjust it until the sky looks good to you.
--Once that is done you are going to Save Image (bottom left) as a .dng file onto your desktop. This will save your sky that you can open later.
Sky image:
-Next you will reset what you did by hitting "default".
-After that you will adjust the photo for the brick and mountains, disregarding the sky. Don't go to crazy here, just get it decent looking.
-Now open the the image into PSE editor.
-Once you have the the image opened into PSE, hit CTRL+J twice to create two copies (make sure your layers tab is open on the right).
-With the top copy selected, open REmask 2.
-Now use the Remask tool to separate the sky from the mountains. You'll simply trace the mountain line and chimney with the BLUE pen and then use the red paint can on the sky side and hit process. If you get stuck, just ask about it later and I'll go in greater depth.
-Now you'll end up with this in your layers
Blank background:
-Now you'll have one layer with no sky and two full photo layers. Take the other layer and do the same thing except outline the bricks and then open it.
-Next you'll need to bring back that sky we created earlier, so just hit "create new layer" and a blank layer will pop up.
-Now select your layer, then go to file "place", and place your sky file onto that layer.
-At this point your Layers should look like this:
(You'll want the sky on the bottom)
-Now is when I will go in and adjust each layer individually using Adjust 3. I will also adjust the levels (Ctrl+L) and Saturation of individual colors; green most notably in this one (Ctrl+U).
-I used the "clone" tool to get rid of that random branch in the sky. I use a fairly small brush when doing it, and zoom in pretty far to get a good idea of what texture I am adding. You'll have to play/blend it a bit depending on your photo.
-Then I used Topaz Detail on the sky, and the stone layers to give them some pop.
-Then I used Denoise on the sky and the mountain layer.
-After all the layers looked acceptable to me, and I had done all the editing, I simply flattened the image resulting in this:
vs Original
--This can be done with almost anything. You'll find some photos are more labor intensive when it comes to masking them (tree's that show sky through them are notorious for being difficult). But in the end it just takes a tad bit more time, but it all can be done.
-You can use this technique for "Selective coloring" as well.
Hope this helps, makes sense, and adds some new techniques to someones skill box. Let me know if you have any questions or get stuck...
:mrgreen:
 !! Thanks!!
")


![[No title]](/data/xfmg/thumbnail/31/31754-af76ae89cc75bd1855937374ff359efe.jpg?1734160476)

