Adjustment layer & fill layer in Photoshop (Elements) - What am I missing?

Jon_Are

TPF Noob!
Joined
May 12, 2007
Messages
655
Reaction score
13
Can others edit my Photos
Photos NOT OK to edit
I can't seem to get a handle on what these layers are supposed to do.

Why create a new layer in order to make adjustments when you can simply make the adjustments on the original image layer (and undo any you aren't happy with)?

Maybe if someone could provide an example of when using one of these layers would be beneficial?

I've been learning a lot about Photoshop, but can't seem to grasp this concept.

Thanks,

Jon
 
Why create a new layer in order to make adjustments when you can simply make the adjustments on the original image layer (and undo any you aren't happy with)?
One of the biggest benefits of Photoshop is they way we can use layers. Adjustment layers are great...better than great, they are fantastic.

Example:
You are working on an image and you want to adjust it with levels. If you just use the layers command (Image/adjustments) then once you click OK, the changes are made to the image. Sure you can undo it if you want but....lets say you adjust the layers first. Then after working on the image for a while...you decide you want to adjust the levels again. You can just run levels again. What you may not know, is that when you adjust the levels, you are changing the pixels of your image...some might call it damaging the image. A clue to this is that when you run levels again, the graph isn't full but has missing lines. The same principle applies to most of the adjustments you can make. They affect the actual image (layer) that they are run on...and it's a 'destructive' editing process.

Now, with adjustment layers you can adjust the levels....on it's own layer. So it's not actually damaging the pixels of the background layer. Plus, you can just click (double click) on that layer at any time to change the adjustment that you made. Or you could even scrap the adjustment layer and make a new one if you want. You can even turn that layer on & off, so see the difference. You can also adjust the opacity of the layer to fine tune the affect it has on the image. For example, lets say you make a hue/saturation adjustment layer and crank up the color. A while later you decide that you went too far. You could just click that layer and adjust it again...or just drop the opacity a little bit.

Another advantage (and this is a big one) is layer masks. You can add a mask to a layer, including adjustment layers. For example, lets say you have a landscape shot and the sky is too bright. If you adjust the whole image, to make it darker, the land will get darker also. You could make a selection and only adjust that one part of it...but once you are done...those changes are made to the pixels again. With an adjustment layer and a layer mask, you can make the adjustments that you want, and mask off (or mask on) the parts that you want to affect with the layer. Since it's on it's own layer, you can go back at any time and adjust the layer or adjust the mask.

Some call this localized adjustment. Meaning that you can use masks to adjust only the parts of the image that you want. A heavily involved image edit might require 10 different levels adjustments...each to different parts of the image. With adjustment layers and masks, this is pretty easy...and you can save it, and go back to make changes later.

Sure, if you are just going to open the image, make a quick adjustment and save it again...then you may not want to use adjustment layers. Especially if you want to keep your images in jpeg format.

But I hope you can now see the power that layers (and masks) allows us.
 
Another note about 'destructive' editing:

This is such an issue, that Adobe changed the way images are edited, with Lightroom. In Lightroom, the editing is non-destructive. The way they do this, is that any edits or adjustments you make, are stored in a separate file. So you can open and adjust the image 1000 times...and the integrity of the original image is never affected...the only thing that changes is the separate file. It's all about preserving the integrity of the image. The changes are only 'applied' to the image when you 'output'...and you still have the original file remaining unsullied.
 
I can't seem to get a handle on what these layers are supposed to do.

Why create a new layer in order to make adjustments when you can simply make the adjustments on the original image layer (and undo any you aren't happy with)?

Maybe if someone could provide an example of when using one of these layers would be beneficial?

I've been learning a lot about Photoshop, but can't seem to grasp this concept.

Thanks,

Jon

When you edit the image layer, you're altering image pixels. When you use adjustment layers, you aren't changing image pixels. That's one big difference. Another is that you can't indefinitely go back and undo changes you've made to image pixels. Once you've passed the limit of your history states, there's no going back.

Even when your edits are still in history states, you can't re-open dialog boxes (levels, curves, hue/sat etc) and re-adjust them unless you've used adjustment layer. You can only undo the adjustment and make a new one.

If you close the .psd file, you lose your history states. No going back then. But all your adjustment layers will remain intact after closing.

Another advantage of adjustment layers: You can use the layer mask to apply the edit selectively to specific parts of the image (and you can undo or change those applications).

The best advice I can give is simply this: When you can edit without changing image pixels, do it that way. Use adjustment layers whenever possible.

More discussion HERE.
 
Wow, thanks for the comprehensive answers.

I need to play around with it a bit, I guess. So far, I haven't been able to do anything worthwhile with the adjustment layer.

I tried adjusting a sky with a layer mask and it just ended up gray once I 'erased' the sky.

Jon
 
Maybe post and image and explain what you're trying to do?

For the most part, I'm looking for a way to achieve a more dramatic sky. Seems like whenever I get a decent image, the sky is usually pretty lame white or grey. I thought I might be able to stack two identical images, darken the sky in one, then 'erase' the improved sky through to the properly exposed image.

I'm starting to realize that there's not much you can do with an uninteresting sky, short of plopping an entirely different sky in there (which looks fake when I've tried it and also feels like cheating).

Anyway, that's what got me started messing with adjustment layers & masks. That aside, I still want to understand the concept better.

Jon
 
Keep in mind that if the details are not in the image, Photoshop can't bring them back. You need to think about this when you are taking the shots, and set your exposure accordingly.
 
wow, I am a total photoshop noob and I asked myself same question many times - why bother with layers.

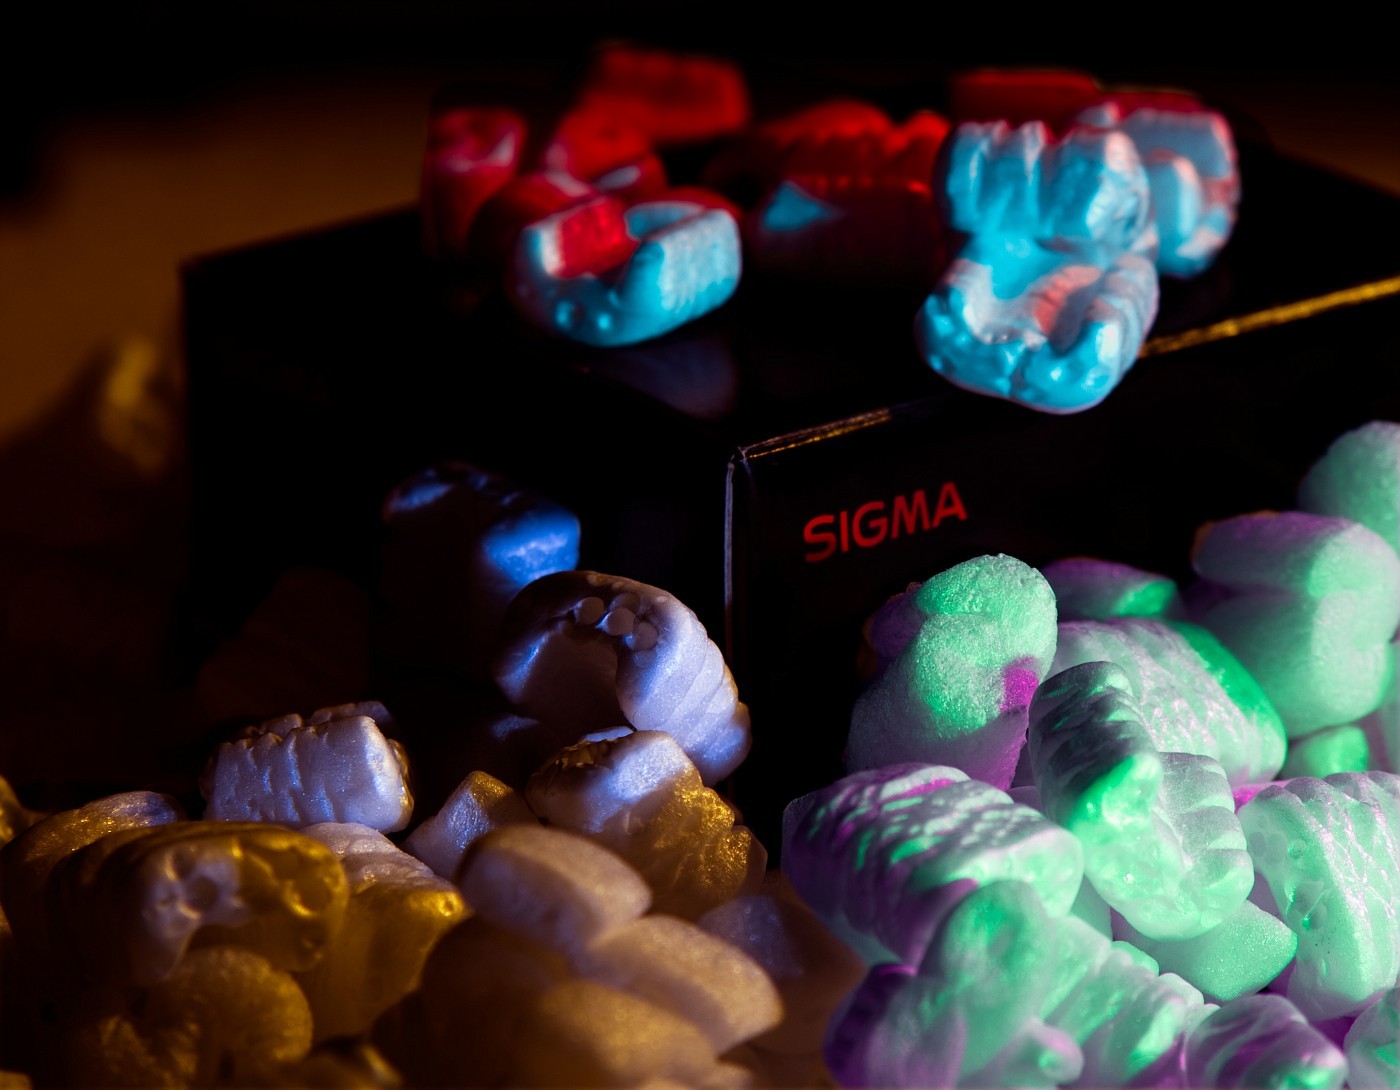
After reading this post I decided to literally snap a random picture and have little fun with it.

I went after an Xmas spirit playing with diferent contrast and hue adjustment layers - not a significant exposure by any means but I learned something by doing it :) :

peanutsxmas-vi.jpg
 
wow, I am a total photoshop noob and I asked myself same question many times - why bother with layers.

Oh lordy, I can't remember the last time I edited an image without using layers. By all means, learn everything you can about layers and masks.

Below is a fairly typical layer stack when I do serious retouching -- and I've had many quite a bit larger than this.

layersl.jpg


Before and after:
beforeafters.jpg
 

Most reactions

Back
Top