What's new

Chasing my tail in post

Proteus617

TPF Noob!
Joined
Jun 3, 2007
Messages
410
Reaction score
35
Can others edit my Photos
Photos OK to edit
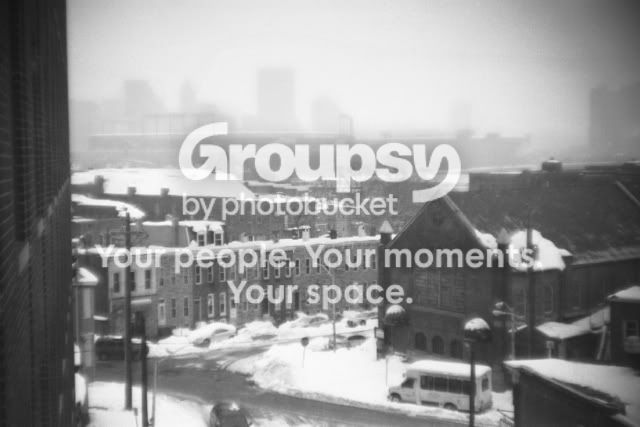
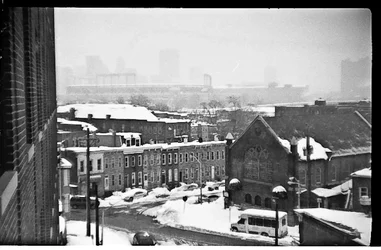
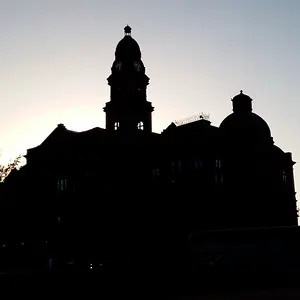
More an exercise than anything, but I'm a post processing newb and sometimes I end up chasing my tail. What would you have done differently? PlusX in a simple camera with a flipped lens element. Scanned as a 2400 DPI TIFF (8 bit). First, clone/heal out the crud. Second, correction layer to overall contrast. Increasing contrast causes the shadow of the skyline to drop out and darkens the vignette in the top right. Two layer masks to restore the stadium and skyline, a third to reduce the vignette. A fourth to darken the church as a visual balance to the dark brick wall on the right. I tried some selective sharpening to increase the row houses center as a focus of interest, but the "unsharp mask" algorithm doesn't do a good job of sharpening something that has no "sharp" to begin with. One hour and 5 layers later...I have an image pretty much like the one I started out with.

Original scan:
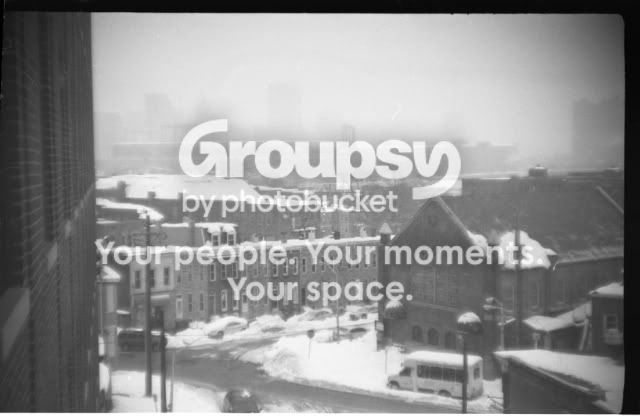
img025orig.jpg


Post:
img025a640x.jpg
 
I did this in about 3 minutes in Lightroom. I don't work much with B&W and don't really know what you want to do with the photo, but you can see that the contrast can be increased and some degree of sharpness achieved. I couldn't get rid of the remaining vignette in the top right corner, but someone who works with the adjustment brush or with photoshop could probably handle that easily.
 

Attachments

  • $img025-mod.webp
    $img025-mod.webp
    87 KB · Views: 178
I did this in about 3 minutes in Lightroom.

Huh. How did you adjust the contrast? In Gimp, major contrast corrections on a poorly exposed image (like mine) are pretty destructive, hence my reliance on layer masks. I viewed the histogram of your correction, and I can't do that in Gimp. Unless the corrections are subtle or layered, the histogram breaks up and the image starts to dither and block up.
 
In Lightroom there is a panel named Tone Curve. I believe its similar to the curves feature in Photoshop. In that panel there is also a drop down that lets you select linear, medium and strong contrast. You can select one of those and then adjust the curve from there.

I also increased the black level in the image somewhat. That helps improve the contrast too.
 
I did this in about 3 minutes in Lightroom.

Huh. How did you adjust the contrast? In Gimp, major contrast corrections on a poorly exposed image (like mine) are pretty destructive, hence my reliance on layer masks. I viewed the histogram of your correction, and I can't do that in Gimp. Unless the corrections are subtle or layered, the histogram breaks up and the image starts to dither and block up.

Now you know why GIMP costs, what it costs. ;)
 

Create an account or login to comment

You must be a member in order to leave a comment

Create account

Create an account on our community. It's easy!

Log in

Already have an account? Log in here.

Back
Top Bottom