What's new

Editing photos - suggestions or critique

seanpatrick

TPF Noob!
Joined
Apr 3, 2014
Messages
28
Reaction score
6
Location
toronto, Ontario
Can others edit my Photos
Photos OK to edit
Hey all,

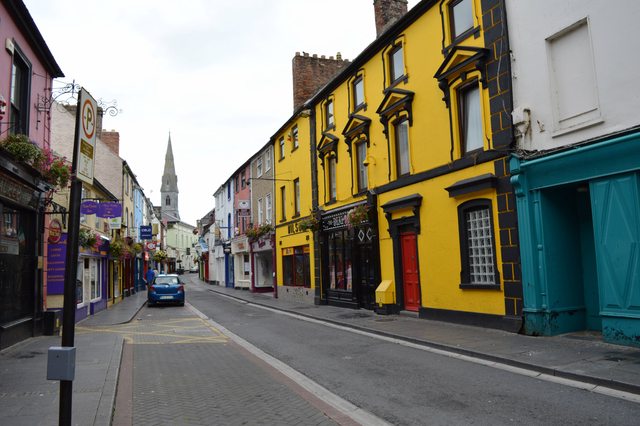
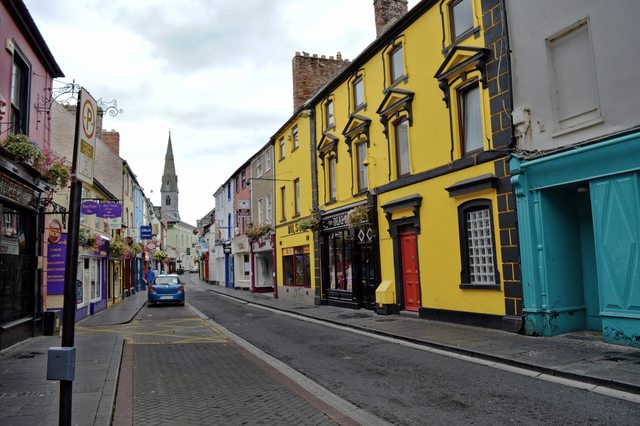
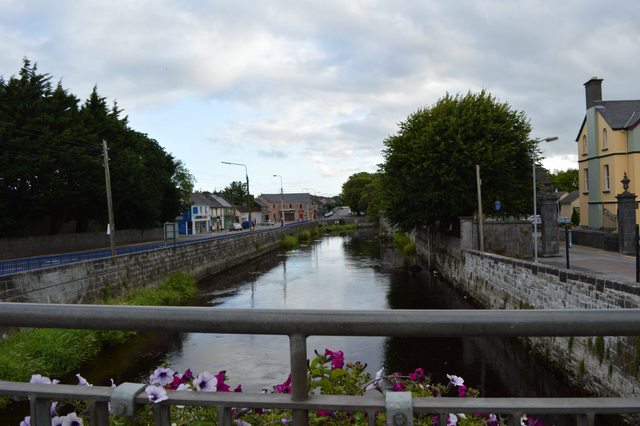
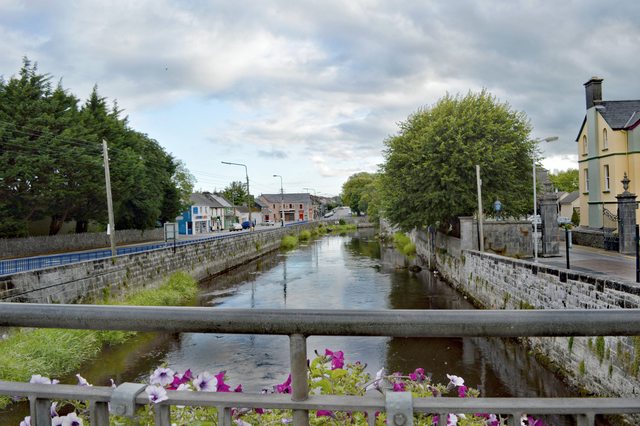
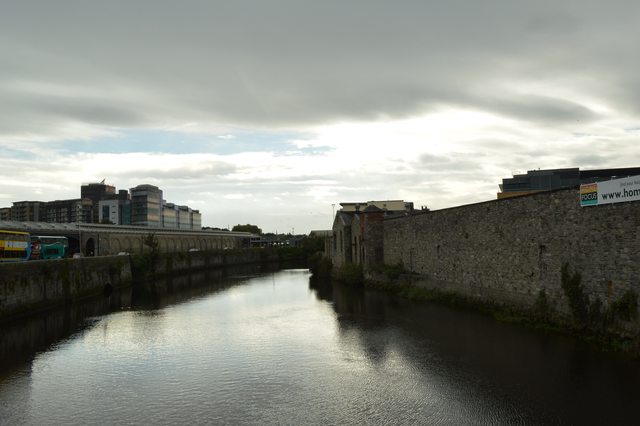
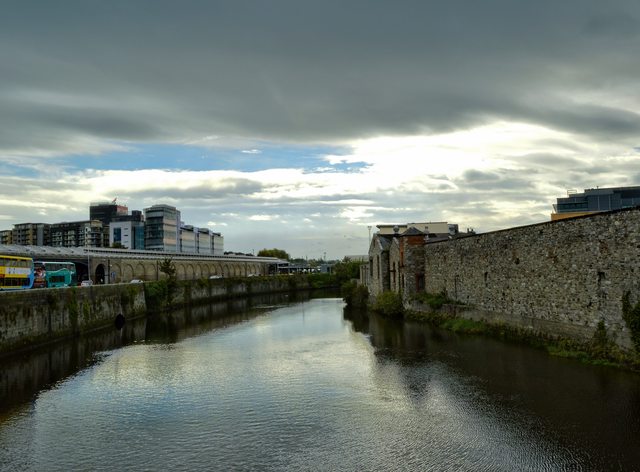
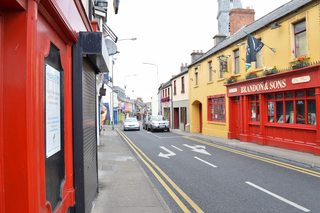
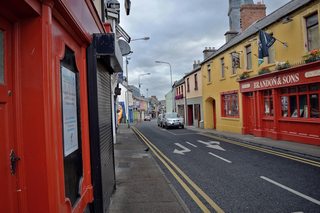
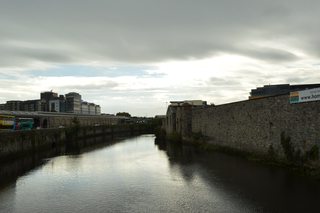
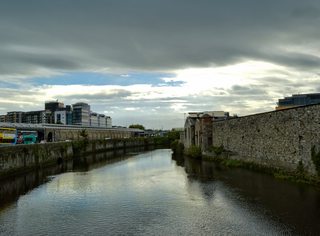
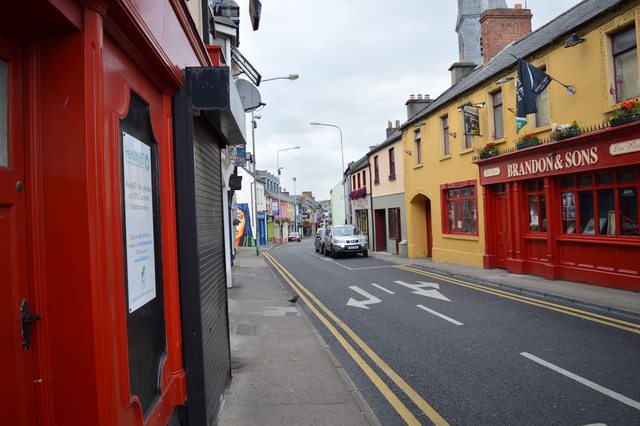
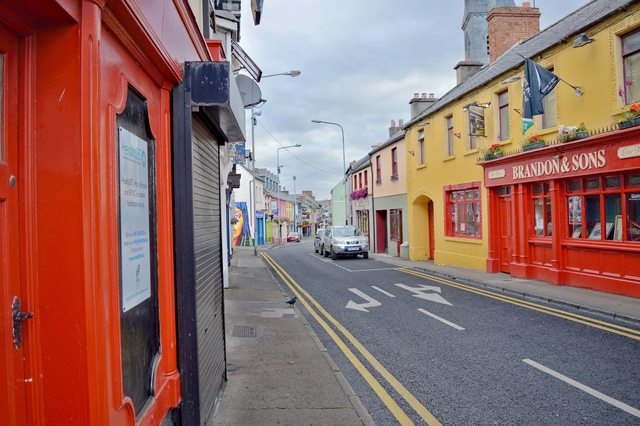
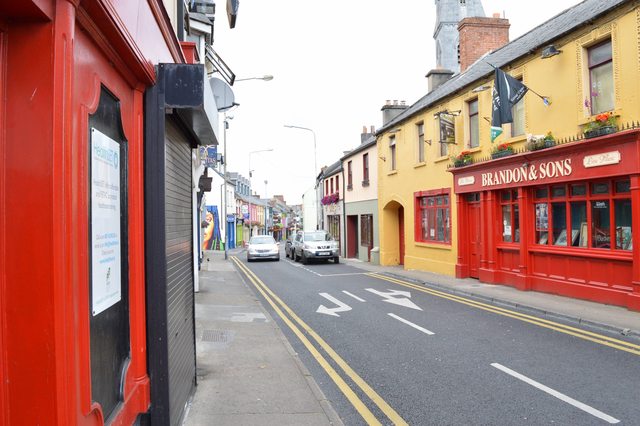
So I've been going back over some raw photos that I discarded in favor of jpegs on my last vacation, and have been trying to improve both the photos and my skills doing post-editing. How are these edits? Critique and suggestion welcomed.

Before/After
a10e5tQl.jpg
ULQEvnRl.jpg


RivHcSrl.jpg
iFhqQZ7l.jpg


jFsnxizl.jpg
U2OiQ7sl.jpg


E4H75K0l.jpg
X4E36y6l.jpg


Thanks!
 
Last edited:
Hey all,

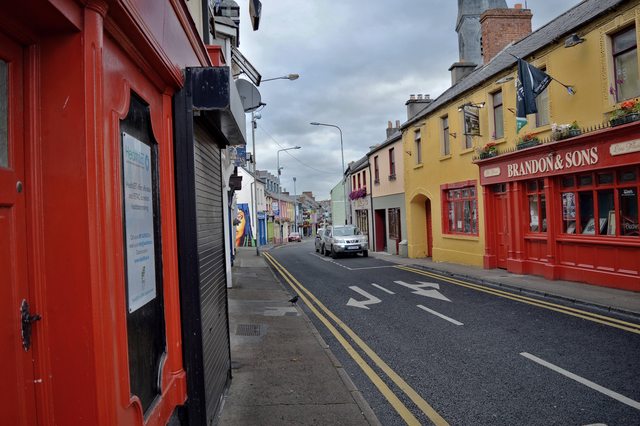
So I've been going back over some raw photos that I discarded in favor of jpegs on my last vacation, and have been trying to improve both the photos and my skills doing post-editing. How are these edits? Critique and suggestion welcomed.

Before/After
a10e5tQm.jpg
ULQEvnRm.jpg


RivHcSrm.jpg
iFhqQZ7m.jpg


jFsnxizm.jpg
U2OiQ7sm.jpg


E4H75K0m.jpg
X4E36y6m.jpg


Thanks!
 
They're so tiny!

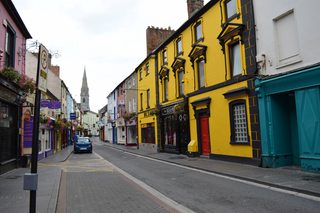
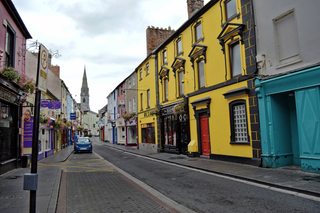
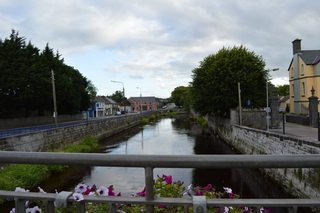
Given what I can see from the small image: I like 3 and 4. The first seems unlevel, even more so than the unedited version. The second seems okay; it looks like you brought back the sky?
 
Thanks for the input! I made them smaller as I thought it might be easier to compare side by side? I'll go back and make them bigger :)
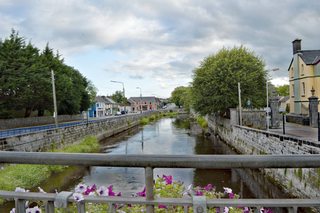
I was trying to bring back the sky in one and two, in three and four I was trying to lighten them up and in 4 specifically make the sky a little bluer. Do you mean the light is un-level in the first or it's literally not level?

EDIT: I see what you mean in photo one. In fact I believe the first one is a different photo :eek:

Here it is again, with the second cropped -2 degrees.

2r0o22ql.jpg

YypJWZkl.jpg
 
Last edited:
My personal preference is to lean towards darker images with more contrast.
Photo noir.
 
Wow, those are amazing.
 
In each of your edited photos I recommend you globally boost the mid-tone contrast and the vibrance.
Globally means an edit to the entire photo as opposed to a local edit, say like cloning out the street lights in #3 or dodging (making brighter) or burning (making darker) part of a photo you want to accent.
Boosting the mid-tone contrast adds definition by creating a kind of sharpening effect.

In all 4, all but the sky is now somewhat under exposed with #3 being the least under exposed.
Using selection tools you could do a local edit by selecting all but the sky and adding some exposure.

In #2 the sky was blown out (over exposed to the point there is no detail left because the blown out area is pure white) because the dynamic range of the scene exceeded the dynamic range the image sensor in your camera is capability of capturing. In #4 there is a large portion of the sky that is blown our too.
Making 2 exposures - 1 correct for the sky, and the 2nd correct for the cityscape - and then composting them post process is a way to capture the wide dynamic range in the scene.
Note too that when there are a lot of white clouds in the sky your cameras light meter might be fooled causing the landscape/cityscape to be under exposed.
With a bright sky you can't add exposure compensation in the camera because that just makes the sky worse.

Photo Editing Tutorials
 
These are still way too small for anyone to make complete suggestions.
IMO, except for the last one, and unless you just want to practice your editing, I would toss the first three.
The last is much more interesting and, if you shot this in raw, you might be able to recover that too-large blown out spot in the cloud.
 
Instead of "trying to bring back the sky", you really ought to try the modern, digital camera method of exposing properly, in the camera, to PREVENT the blow-out of the sky tones, and then simply brighten up and intensify the appearance of the mid-tones and the shadow tones in post-processing. This type of exposing works splendidly--especially if you own a newer-generation Nikon or Pentax or Sony camera, all of which are using amazing sensors which can easily handle a 14-stop scene brightness range.

The idea of making one exposure for the highlights, and a second exposure favoring the shadow tones...that is simply so,so "2004"...that is just not the way things are done these days. Assuming of course, you own a truly modern camera, with a modern sensor. The concept of making two, separate exposures, and then combining those two shots later in software to handle a simple street scene like you show here, is good advice if you own an old camera that has a 9- to 10-stop dynamic range, but it is outdated as the standard operating procedure working method if one owns a newer-generation digital SLR made with a "certain company's sensor" inside the camera.

You exposed the first couple of shots as if you were shooting color negative film--with a shadow-biased, sloooooow exposure, when what you REALLY want to do these days is to expose as if you are shooting positive color film: expose to prevent burn-out in the highlight values, so the overall raw image file looks a bit darkish right out of the camera, and then in software, "lift" the darker tones so that they register better, and only then would you boost the mid-tone clarity and vibrance.

Look into ISO invariance on the web.
 
Last edited:
In each of your edited photos I recommend you globally boost the mid-tone contrast and the vibrance.
Globally means an edit to the entire photo as opposed to a local edit, say like cloning out the street lights in #3 or dodging (making brighter) or burning (making darker) part of a photo you want to accent.
Boosting the mid-tone contrast adds definition by creating a kind of sharpening effect.

In all 4, all but the sky is now somewhat under exposed with #3 being the least under exposed.
Using selection tools you could do a local edit by selecting all but the sky and adding some exposure.

In #2 the sky was blown out (over exposed to the point there is no detail left because the blown out area is pure white) because the dynamic range of the scene exceeded the dynamic range the image sensor in your camera is capability of capturing. In #4 there is a large portion of the sky that is blown our too.
Making 2 exposures - 1 correct for the sky, and the 2nd correct for the cityscape - and then composting them post process is a way to capture the wide dynamic range in the scene.
Note too that when there are a lot of white clouds in the sky your cameras light meter might be fooled causing the landscape/cityscape to be under exposed.
With a bright sky you can't add exposure compensation in the camera because that just makes the sky worse.

Photo Editing Tutorials

Great info, and thanks! ... When you say making 2 exposures, would this be the same idea as bracketing? In the mean time I'll check out your link :)

These are still way too small for anyone to make complete suggestions.
IMO, except for the last one, and unless you just want to practice your editing, I would toss the first three.
The last is much more interesting and, if you shot this in raw, you might be able to recover that too-large blown out spot in the cloud.

Hi, yes none of these really made the cut. These were from a group of photos I took on my last vacation - the ones that I like being in my 'Ireland' Gallery here. I just happened to be going through my old RAW files and thought I might try to get better at editing with some left-overs.

Instead of "trying to bring back the sky", you really ought to try the modern, digital camera method of exposing properly, in the camera, to PREVENT the blow-out of the sky tones, and then simply brighten up and intensify the appearance of the mid-tones and the shadow tones in post-processing. This type of exposing works splendidly--especially if you own a newer-generation Nikon or Pentax or Sony camera, all of which are using amazing sensors which can easily handle a 14-stop scene brightness range.

The idea of making one exposure for the highlights, and a second exposure favoring the shadow tones...that is simply so,so "2004"...that is just not the way things are done these days. Assuming of course, you own a truly modern camera, with a modern sensor. The concept of making two, separate exposures, and then combining those two shots later in software to handle a simple street scene like you show here, is good advice if you own an old camera that has a 9- to 10-stop dynamic range, but it is outdated as the standard operating procedure working method if one owns a newer-generation digital SLR made with a "certain company's sensor" inside the camera.

You exposed the first couple of shots as if you were shooting color negative film--with a shadow-biased, sloooooow exposure, when what you REALLY want to do these days is to expose as if you are shooting positive color film: expose to prevent burn-out in the highlight values, so the overall raw image file looks a bit darkish right out of the camera, and then in software, "lift" the darker tones so that they register better, and only then would you boost the mid-tone clarity and vibrance.

Look into ISO invariance on the web.

Well those photos were shot with a Nikon D3200, but I've since bought a Pentax Ks-2. They both have APS-c sensors, although the Ks-2 is newer. I'll try shooting some photos as you suggest with a faster shutter speed and boosting. The camera itself does have a built-in HDR mode, but the few photos I took with it came out looking a little ridiculous.. that's certainly one of the reasons I'm trying to better learn photo editing / shooting in Raw instead of relying on Jpeg and in-camera adjustments.
 

Create an account or login to comment

You must be a member in order to leave a comment

Create account

Create an account on our community. It's easy!

Log in

Already have an account? Log in here.

New Topics

Back
Top Bottom