BenjaminV
TPF Noob!
- Joined
- Oct 26, 2015
- Messages
- 5
- Reaction score
- 0
- Can others edit my Photos
- Photos NOT OK to edit
Hello everyone,
I had a few questions;
I have a canon 70D camera, I was using it with a 10-18 f 4.5 -5.6 canon lens.
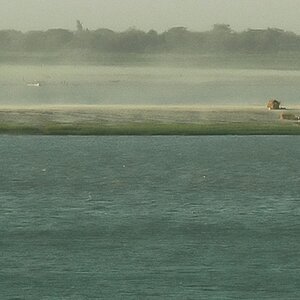
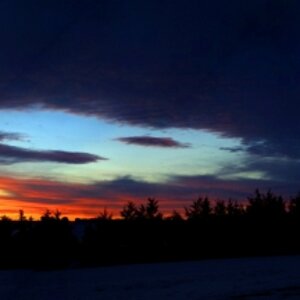
I was in a large grass field with mountains in the background and the sun setting behind them.
I was shooting in automatic and my pictures kept coming out really, really dark...
My question is ; what can I do to make the pictures come out brighter, with more even colors?
Imgur: The most awesome images on the Internet
that's one of the photos that I took. At the foreground, there's a large grass field, which in real time, is perfectly light, nice and bright, looked beautiful, but in the pictures I took, it came out pitch black almost...
What am I doing wrong?
I also took some pictures with my other lenses and all the pictures came out too dark...
Thanks to anyone who replies - please let me know if you have any questions
I had a few questions;
I have a canon 70D camera, I was using it with a 10-18 f 4.5 -5.6 canon lens.
I was in a large grass field with mountains in the background and the sun setting behind them.
I was shooting in automatic and my pictures kept coming out really, really dark...
My question is ; what can I do to make the pictures come out brighter, with more even colors?
Imgur: The most awesome images on the Internet
that's one of the photos that I took. At the foreground, there's a large grass field, which in real time, is perfectly light, nice and bright, looked beautiful, but in the pictures I took, it came out pitch black almost...
What am I doing wrong?
I also took some pictures with my other lenses and all the pictures came out too dark...
Thanks to anyone who replies - please let me know if you have any questions