Wow. A lot of people seem to have reading comprehension problems, or are so quick to offer critiques that aren't in the least nit constructive. Noobs coming in looking for advice? Duh, it's a forum. Commenting on a low res logo? Who asked about the logo? Poorly edited composition? Who asked about the composition?
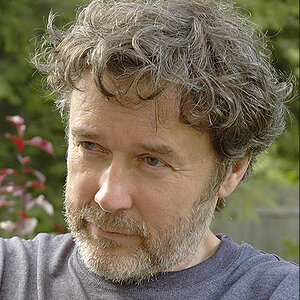
The OP asked about skin tones. The skin tones are largely the work of studio lighting in the picture you're asking about.
You can try this method to emulate it, but you will require a source photo that has been shot properly with decent lighting to begin with. It also helps immensely if the source photo is high resolution. Try it anyways.
Open the source photo in Photoshop and hit command J. This copies the layer.
Change the blending mode to vivid light. Hit command+i to invert the colours.
Select filter, select blur, select surface blur.
Set both parameters to around 30-40.
Hit ok.
Hit shift+option+command+e
There should be 3 layers now. Delete the layer in the middle.
Change the blending mode on the top layer to overlay.
With a soft eraser, erase parts of the picture that look too over processed, or/and adjust the opacity and fill for the top layer to your desired result.
This is a down and dirty way to get what some call the "Dave Hill" effect. Note that it's just similar and not exactly how he processes and shoots. Dave Hill is a lighting genius. Nevertheless, this is a great little method to add some punch to your photos, and done right, can look good without looking over processed.
Cheers.






![[No title]](/data/xfmg/thumbnail/31/31980-e5048a424621c7b3cd0d306d63c09d67.jpg?1734160756)
![[No title]](/data/xfmg/thumbnail/36/36100-56ca0f8143ffca369fbf5f3dfe9cabd4.jpg?1734168051)