Alzran
TPF Noob!
- Joined
- Mar 22, 2013
- Messages
- 61
- Reaction score
- 16
- Location
- United States
- Can others edit my Photos
- Photos OK to edit
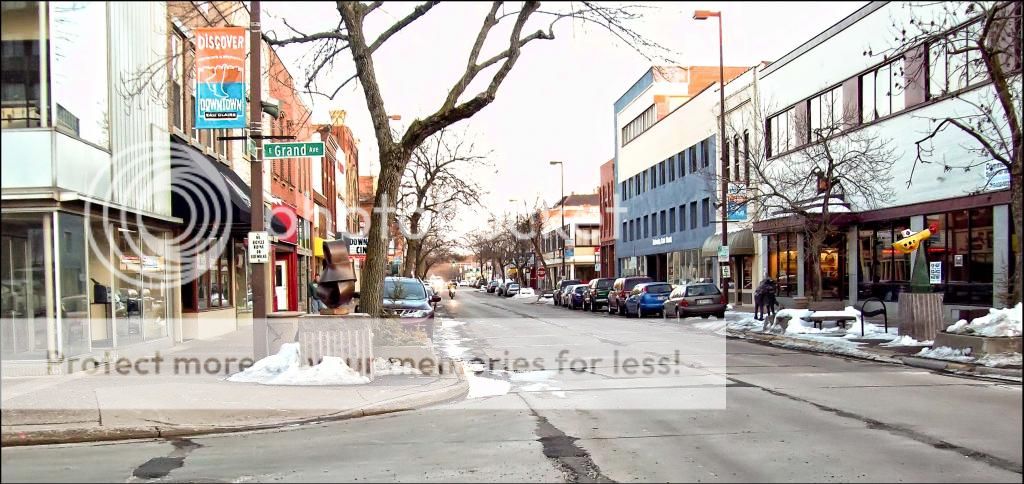
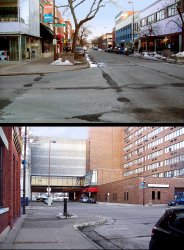
One of my first attempts at downtown shots. I know they're not the best shots to start with, but how would YOU edit these? I'm curious what other people may come up with.
Think creatively; everything from simple cropping to full color and lighting edits.
http://imageshack.us/a/img839/580/1004414o.jpg
http://imageshack.us/a/img853/9471/1004411o.jpg
http://imageshack.us/a/img20/8307/1004401o.jpg
Think creatively; everything from simple cropping to full color and lighting edits.
http://imageshack.us/a/img839/580/1004414o.jpg
http://imageshack.us/a/img853/9471/1004411o.jpg
http://imageshack.us/a/img20/8307/1004401o.jpg


")
![[No title]](/data/xfmg/thumbnail/33/33491-46949ced4f9729f095cb48c6c61633db.jpg?1619736003)
![[No title]](/data/xfmg/thumbnail/33/33495-c9bffdaa44506a6169a2faff5c7e086e.jpg?1619736004)