What's new

kinda on the fence

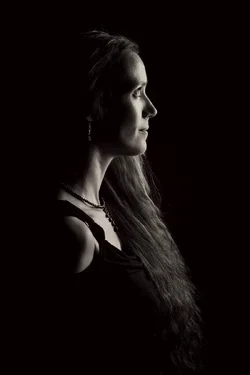
I toyed with a black and white as well, and I like that the skin is not so harsh but no so smooth, but she does not like any texture on her face....a woman thing I guess. lol so while we'd like that, she would not. lol
 
Can you say it's film grain?
 
lol could...maybe get away with it. lol

if it were a paid gig, it would have been deleted anyway...so it's not a biggie.
 
You made the hair into mush, as well. Too far, come back! come back!
 
lol it wold look all sorts of fake with hair crisp and sharp like on the man with a soft face. I think it either needs to be all or none in this case....I doubt there is a good blend really. hence why it's just not a good shot.

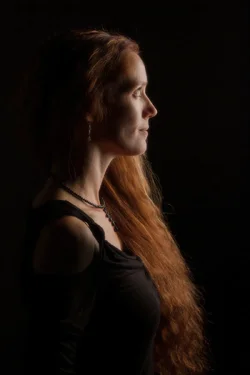
I might try again with the head angled more toward camera, light rollover a tad more than how it is, and a different woman. goth type...dark mysterious/serious not a soft femme type as this one is.
 
normally I start with their nose at the edge of the softbox (in regard to lineup...always about a foot away from light)and assess the rollover of the light..then I have them move either back or forward depending on how I like how the light falls on their face. typically it is more toward camera unless I need to see more eyes...then back toward backdrop. No two are ever the same and the facial contours are all different and the light affects them differently.
 
Oh, you were going for a soft focus look?

Huh.
 
I do like the light in this one, a great deal.

So, here's my take.

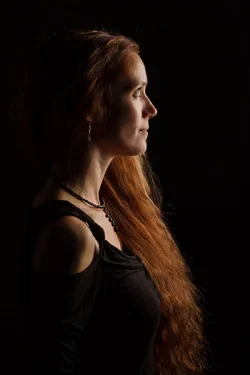
Some spot healing burning and dodging on the original to clean up the skin a bit. Add a layer with a light gaussian blur and a layer mask, paint in "blurred" layer on her face, to varying degrees, to taste. Photoshop has a slicker way to do this, I think, with their fancy brush tech. GIMP I just use layer masks for everything.

The add a glow effect, which is another layer filled with, in this case, solid FDBFCF which is more or less her hair color lightened up a bunch. This layer also uses a layer mask, which is a greyscale copy of the original again blurred to taste. This has the effect of layering "light reddish fuzz" over the image in proportion to how bright it is. The dark areas get left alone, the brighter areas glow outwards subtly. This also has a smoothing effect. This layer is translucent. This is the opposite of "enlarger diffusion"

Since this effect has a brightening effect overall, insert a translucent black layer between to push the values back down.

Since things have gotten a bit desaturated along the way, adjust saturation and curves on the base image. Adjust transparency of everything to taste:
$foo.webp

Also painted the problematic shoulder, somewhat clumsily I see.

 
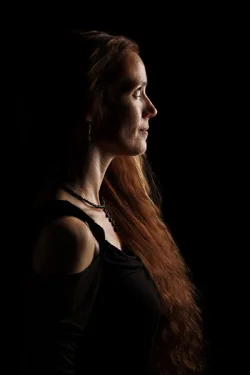
I am not digging the very softened look personally. This is a stunning photo I love it!... My takes... (for my own practice/tastes really.) .... EDIT! Just realised I wasn't working with the full sized image that you provided a link too DOH

$sidelady.webp$sideladybw.webp
 
I like the photo but I have never been a fan of the really softened faces but that is just my preferance. So anyway, here is my attemt.
$h.webp
 
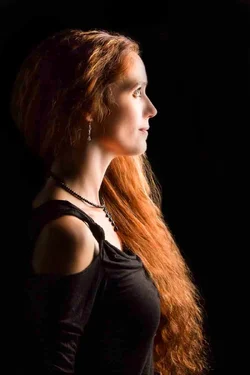
I took a different approach and painted in lots of light in LR3, then into Portrait Pro 11 to give her Barbie porcelain skin, then into PSE8 to put the original skin back at about 35% opacity. I then played with the levels, upped the saturation a tad and tidied up a few stray hairs. Then corrected the background (all that fooling round had turned it brown/purple) back to black and burned the pupils of her eyes a little.

I was aiming for a "movie medieval princess look" (which is what it said to me, probably inspired by her awesome hair).

$Pallycow_pp1.webp
 
That's kinda neat grandad, I like that approach. ;-)
 

Create an account or login to comment

You must be a member in order to leave a comment

Create account

Create an account on our community. It's easy!

Log in

Already have an account? Log in here.

New Topics

Back
Top Bottom