Need Studio Advice... Photographing linear frame mouldings for tiling

minionlabs

TPF Noob!
Joined
Mar 10, 2009
Messages
1
Reaction score
0
Can others edit my Photos
Photos OK to edit
I'm working on a project and I need to photograph picture frame moldings. However, unlike regular catalog images, I'm photographing 1 ft. long segments of moulding that will be used in a software program to tile them in a manner that will simulate a full size picture frame.

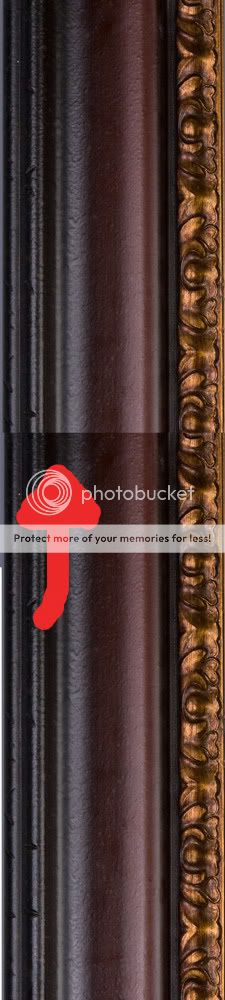
The problem I'm having is figuring out how to create a flat lighting setup that will bring out the color and detail, without accentuating the highlights in such a way makes the tiled images appear seamless. There must be a way to do this, but I've been searching online for hours an all of my searches return sites selling frame picture frames. Grr.

Anyones help would be GREATLY appreciated!!

Here's an example of what I'm trying to eliminate when I splice the images together.

test1-1.jpg
 
I dont really think its giong to work for you to be honest. I understand what your trying to do but it wont ever look as realistic as you are hoping for. The problem you are going to have is even if you get good even light across the piece you are working on once you turn a corner the light is going to look wrong.
 
Most artwork like this that's used on the Web is typically a small segment of the image that's then just copied and repeated, rather than photographing the entire thing and splicing it together. I've done a lot of Web work and while I don't have a clue about photography, I know that this is how graphic artists create borders that can easily re-size around an image or page. I'd recommend trying to get the most even light you can, probably a flash that's straight on... and try and crop in the right spots so that you can get it to repeat. Definitely harder to do with a photo than a specific piece designed for tessellation.

With some good blending/cloning it might not be too difficult to pull off.

I guess the other question is, how much detail do you really need for the Web? Why not just fit the entire subject in frame and cut it apart to fit from there?

Hope that helps...
 
Last edited:
Try an improvised light tent. Use a cardboard gobo with a rectangular hole ( just the right size ) in it close to lens to kill the flare.
 
There are two challenges with this type of imaging:

1. Uniformity of lighting - this is the overt issue with your sample shots. The lighting changes across the length of the subject. The only cure is to move the lights further away. I suggest that the lights should be no closer than 6-8x the width of the subject; in your case that means 6-8 feet.

2. Angle of lighting - real picture frames have lighting striking each of the sides differently unless the light comes from straight in front. If you take one set of images to use for all four sides, us must place the lights where the camera is. Lighting that is dominantly coming from one side will create a fake look on the assembled composite unless you take a set of 4 images, one for each side of the frame, so that the lighting seems to come from the same side on the assembled composite.

If you are going to use only a single image, the two issues mean that you need to use a rather long lens in a decent sized studio to take the shots.
 
Nature provides the perfect light for solving your problem - it's called "North Light". Here's basically how it works:

The atmosphere is a bowl of basically transparent material (gases) that light goes through - this affects the light in many ways in terms of color alteration, quality of light, refraction and reflection. There is one constant, even light available on any sunny day. Look due north and observe the light there - you'll notice that it is much less contrasty than at any other compass point.

Take your frame outside at noon and place it against a white background "in the shadow of a tall building" - observe how even the light will be across the whole frame. Once you have the camera parallel to the frame, take a series of exposures using your meter and your camera in manual mode like this: 1 stop under,m 1/2 stop under, at the reading, 1/2 stop over and 1 stop over. You'll have your picture frame photographed to perfectly fit your objective within one of those exposures.

Michael
 
Simple. Control everything. Nothing should be in auto.

Camera needs to be on a tripod, in full manual mode. Figure out what settings you need, and then fire remotely.

Lighting should be continuous, home depot lights, the sun, a few refridgerator doors swung open, whatever.

That should work pretty well, then dodge and burn the seams if there are any.
 

Most reactions

Back
Top