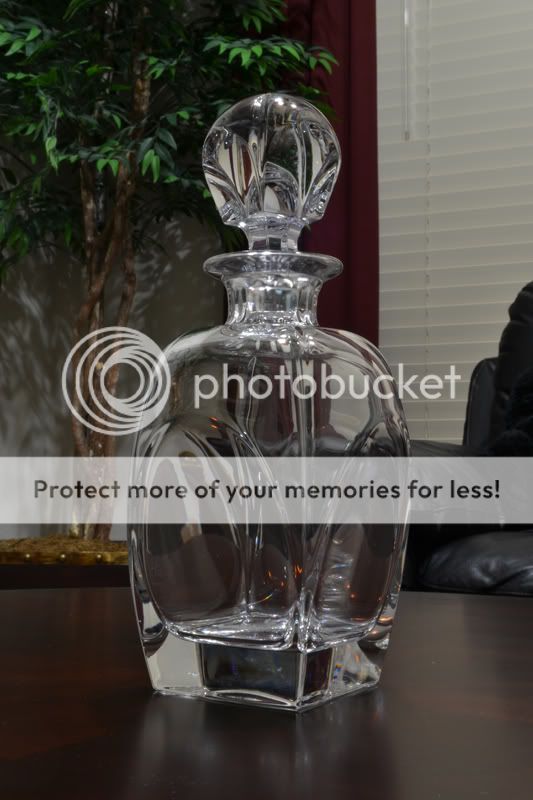
1. This is the original
2. And here is the edit
and without the blurred background:
The original is underexposed a full stop.
In ACR, if you hold down the Alt key as you click on the Exposure slider it will change to the Clipping display mode. Any white spots/areas mean all 3 color channels are at 255. If a spot/area is red (or blue, or green) only, the red channel is at 255. A spot/area may be another color indicating 2 of the 3 channels are at 255. The same can be done for the Blacks slider, but it is showing channels that are at 0.
I adjusted the Exposure, Blacks, Contrast, Clarity, and Vibrance if the color image in ACR.
In Photoshop I rotated the image 1° CCW and cropped the resulting wedge shaped white areas and some extra off the bottom.
I then used the Spot Healing Brush tool in 'Content-Aware mode to clean up the dust bunnies on the table top and all the colored specular highlights in the decanter.
I then made a B&W adjustment layer and adjusted the sliders to minimize the background distractions by increasing their density (darker).
I then selected the decanter and the table top using the Quick Selection tool (I saved the selection) and then under the Select tab clicked on Inverse so all
except the decanter and table top were then selected (I then saved the selection). I made an Exposure adjustment layer and reduced the background exposure 3 stops. I then retrieved the selection and used the Lens Blur filter on the background.
Lastly I added a thin black border.


![[No title]](/data/xfmg/thumbnail/32/32699-3434a76363cb383404e00a3cd5ed5728.jpg?1734162254)


