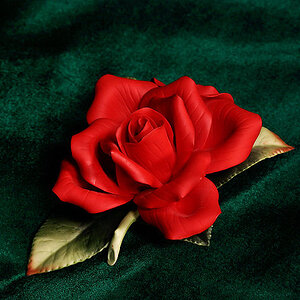
What you need to use is the Histogram in the camera. Forget the auto edit settings they won't help you produce better images if your settings are incorrect for the lighting and further they can mess things up since they take time to change and not every shot will want the exact same auto edit changes. Leave the settings on standard and edit in the computer later - when you can define what you want to happen to each shot.
Now the histogram - stage one read your camera manual for how to activate its display on the back of your camera. This is an invaluble tool because unlike the image review the histogram is not affected by how good your screen is nor how muchlight there is to see the screen by - it shows you the lighting in the shot as a graph and lets you see how your exposure measures up.
Now you don't want to get into thinking that every shot must "look" like something on the graph, because each shot is unique and the graphical display is just a representation of that fact. What you do want to look at are 3 main things; The left, the right and the bump.
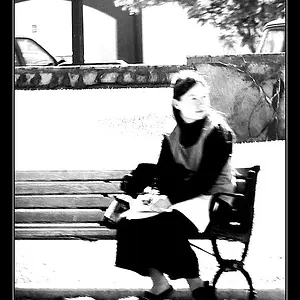
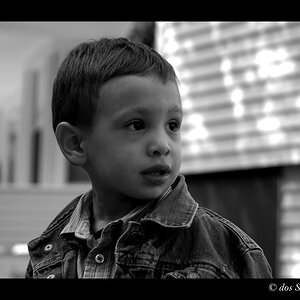
The left side of the graph shows black areas of the shot, the underexposed and darker areas - any part of the line that hits the very right side is going to be pure black on the camera with no details. Now its perfectly fine to have some black, infact many shots have a bit kicking around; but the shot you show above would show a lot of black which would be a warning as its not a dark scene that you are trying to capture and show.
The right side on the other hand shows overexposure; that is pure white areas. Many cameras also show the image in partial preview along with the histogram and will have flashing in the overexposed areas to further show where they are. Again like blacks a few spots here and there is (whilst not highly desirable) going to be a factor for many shots, but a massive blotch covering (say) a face is going to be a mess on your photo.
The bump - not every shot has a highly defined bump, but many will have a rise on the graph where it shows the majority of the exposure - ideal with digital you want his to be as far over to the right side as you can (without of course hitting the full right side and overexposing). This means you have the most image data captured and thus you can adjust the shot the most - you can lower the lighting and make darker areas in editing - however raising dark areas into brighter often comes with a cost - that cost being increased noise in that area and often less fine details. Of course often limitations will mean that you can't get it all on the right - don't get mad about it, but keep it as a fact to remember when reviewing and retaking.
More info here:
Histograms - Part I
Histograms - Part II


![[No title]](/data/xfmg/thumbnail/37/37603-739c5d9b541a083a12f2f30e45ca2b7b.jpg?1734170731)
![[No title]](/data/xfmg/thumbnail/30/30858-42113a4c092a5983afa30e5c35cce4d0.jpg?1734158808)