Here are a couple of the originals and a little step process of one.
A shot of the 3 original exposures, the HDR, and the Edit.
-----------------------------
Here is a little timeline of the process of the volcano:
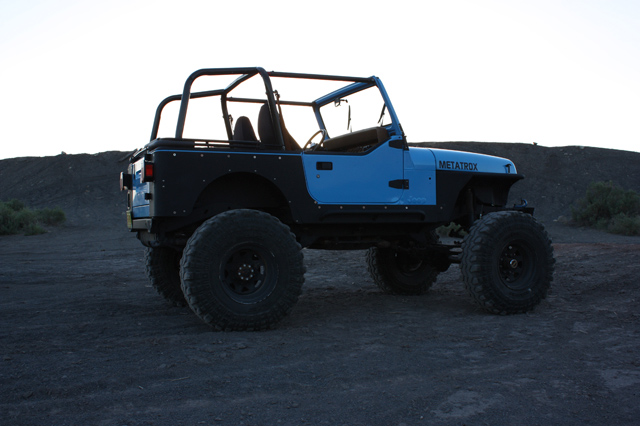
1) Original Photo
- This is the original single exposure photo.
 (too many images so click to view)
2) HDR Image
(too many images so click to view)
2) HDR Image
- This is an HDR that was created using three shots. -2,0,+2.
 (too many images so click to view)
3) Sky Cutout
(too many images so click to view)
3) Sky Cutout
- I originally knew i was going to cutout the sky and just put in some clouds. So i spent time doing this.
- Its important you dont go cheap and just try to use the magic wand for everything. I spent quite a while using the lasso/polly tool to cut it all out.
- Also add a 1px feather because it helps blend.
4) Landscape / Sky
- Next was to add the background. This is where the whole Volcano idea came in.
- Google images is your friend.
- The background has actually been edited a bit because all that smoke wasn't coming from the top of that mountain so i shopped it to come out the top of it.
5) Lava Stuff
- I wanted to get some "lava" stuff into the shot so i found all these separate pieces and placed them in different areas.
- They are placed behind the original layer but on top of the background layer.
- Blending it all was not so fun!
6) Heat Glow
- Needed to add some red glow to help with the "heat" effect.
- Added red to the sky and to the rock/hill below the lava stuff.
7) More Heat!
- Also added some red glow to parts of the Jeep.
- Dash, Rollbar, Rear, and Hood.
- I know it isn't very accurate but it works.
8) More Lava Baby!
- The sides in front and back of the jeep seemed too plain.
- Time to add some flowing lava to the scene.
- Two images I found and blended in.
9) Jeep Touchup
- Based on some criticism I received, I touched up the Jeep some to help it blend overall in the scene..
10) Bring the Heat!
- Added an overall red tint to the entire image to bring it all together.
------------------
The original Jurassic Jeep photo,


")
") Fellow jeeper?
Fellow jeeper?


![[No title]](/data/xfmg/thumbnail/31/31039-558cdb3d311dc67b7a2134527e230488.jpg?1734159138)

![[No title]](/data/xfmg/thumbnail/31/31042-2fcf80c8987688129be89876d12ba006.jpg?1734159146)
![[No title]](/data/xfmg/thumbnail/35/35669-485de67e98a042d63d728593720828a0.jpg?1734167302)


![[No title]](/data/xfmg/thumbnail/41/41892-d6f91fd1c816420825658ffaad56df78.jpg?1734176245)
![[No title]](/data/xfmg/thumbnail/41/41891-e5bba75ac5ce57c6892ade4cfc3f7d4c.jpg?1734176244)
