Hello all, I have been a big fan of B&W and Sepia images for a long time. I fell in love with it back in high school in the early 80s in shop class and that love goes on.
I have been shooting digital and playing with photoshop for a long time also and have tried just about everything and everyway to turn color images into B&W and Sepia.
First let me start off by saying there are MANY ways to do this, this is what I find works best (and it's free!). If you surf the net you will find many other ways to do this. Also this way will work with both the full version of Photoshop, and also Photoshop Elements. It will also work with other programs I am guessing that can use Photoshop Plugins.
You will need to download the free B&W Plus plugin from Fotomatic http://www.cybia.co.uk/bwplus.htm
What this does is give you a very quick and easy conversion from color to B&W. The beauty of it is that is also has "color" filters that simulate the effects of a color filter and B&W film. What it really is doing however is playing with the color channels just like in Channel Mixer. So since Elements does not have a channel mixer no need to fear. There is a nice preview window that will show you the different tones with the different colors. Pick the one you like best and run it.
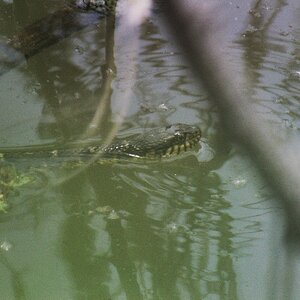
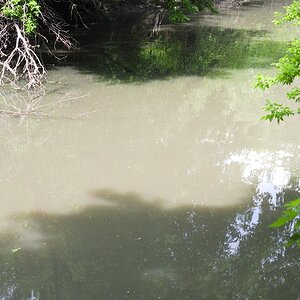
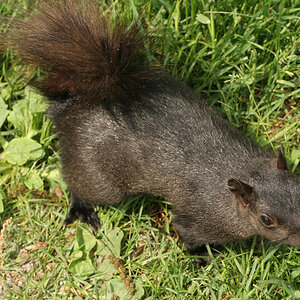
So here is an example of the color picture. The picture stinks but it will work as a great example.

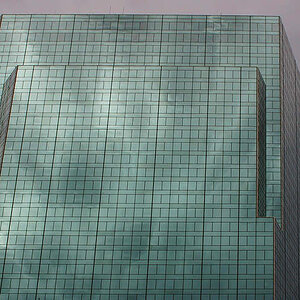
Then run the B&W Plus plugin. For this one I used the red filter

Not bad but it lacks the tonal range to be a good B&W picture. All the data needed is there, it is just not being displayed. Take a look at the histogram

You computer does not know, and really has no way of knowing what should be black and what should be white. That is why the histogram has nothing on the right or left hand sides. The Histogram confuses a lot of people, but think of it a chart or graph that displays the color of every pixel in your image. In B&W images it is even easie to think about since black is on the left and white is on the right. However this image like so many other digital black and white images on the net has no blacks and no whites so it is dull. Many people use contrast or curves to adjust this, but all you really need to do is tell the computer what is black and what is white. You do this with levels. So open up a new adjustment layer and select "levels"

I have been shooting digital and playing with photoshop for a long time also and have tried just about everything and everyway to turn color images into B&W and Sepia.
First let me start off by saying there are MANY ways to do this, this is what I find works best (and it's free!). If you surf the net you will find many other ways to do this. Also this way will work with both the full version of Photoshop, and also Photoshop Elements. It will also work with other programs I am guessing that can use Photoshop Plugins.
You will need to download the free B&W Plus plugin from Fotomatic http://www.cybia.co.uk/bwplus.htm
What this does is give you a very quick and easy conversion from color to B&W. The beauty of it is that is also has "color" filters that simulate the effects of a color filter and B&W film. What it really is doing however is playing with the color channels just like in Channel Mixer. So since Elements does not have a channel mixer no need to fear. There is a nice preview window that will show you the different tones with the different colors. Pick the one you like best and run it.
So here is an example of the color picture. The picture stinks but it will work as a great example.
Then run the B&W Plus plugin. For this one I used the red filter
Not bad but it lacks the tonal range to be a good B&W picture. All the data needed is there, it is just not being displayed. Take a look at the histogram
You computer does not know, and really has no way of knowing what should be black and what should be white. That is why the histogram has nothing on the right or left hand sides. The Histogram confuses a lot of people, but think of it a chart or graph that displays the color of every pixel in your image. In B&W images it is even easie to think about since black is on the left and white is on the right. However this image like so many other digital black and white images on the net has no blacks and no whites so it is dull. Many people use contrast or curves to adjust this, but all you really need to do is tell the computer what is black and what is white. You do this with levels. So open up a new adjustment layer and select "levels"


![[No title]](/data/xfmg/thumbnail/42/42019-e6f4e7422d2f8ec66dade714c8b21766.jpg?1619739979)