New to product photography. Any input greatly appreciated. Sample images attached.

cjelley

TPF Noob!
Joined
Oct 19, 2011
Messages
5
Reaction score
0
Location
New York
Can others edit my Photos
Photos OK to edit
Hey everyone I'm new here and new to photography. After browsing the web for a little while this seemed like a good website to join for help. I work at a surge protection company. We had been using Adobe Illustrator illustrations in the past for our product images. This is just not the industry standard and I believe it is not the proper way to showcase a product. After deciding that I wanted to begin taking photos of the products, I went out to two camera stores for opinions on a camera to get with a budget of around $1000. Both stores led me in the direction of the Canon Rebel T3i Digital SLR Camera with EF-S 18-55mm IS II Lens. To be exact here is the link to the package that I purchased so you all know what equipment I have as of now.

Canon EOS Rebel T3i Digital SLR Camera Body & EF-S 18-55mm IS II Lens with 16GB Card + Battery + Case + Filter + Tripod + Cleaning & Accessory Kit

I have a room that is approximately 12'x18' give or take that I will be using to take the photos.

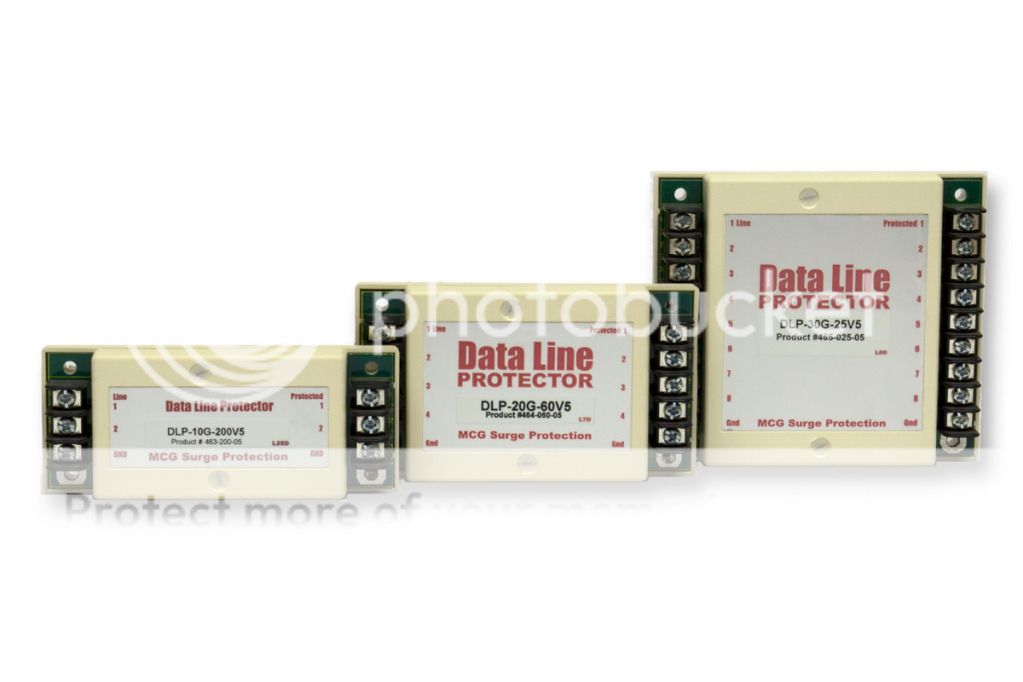
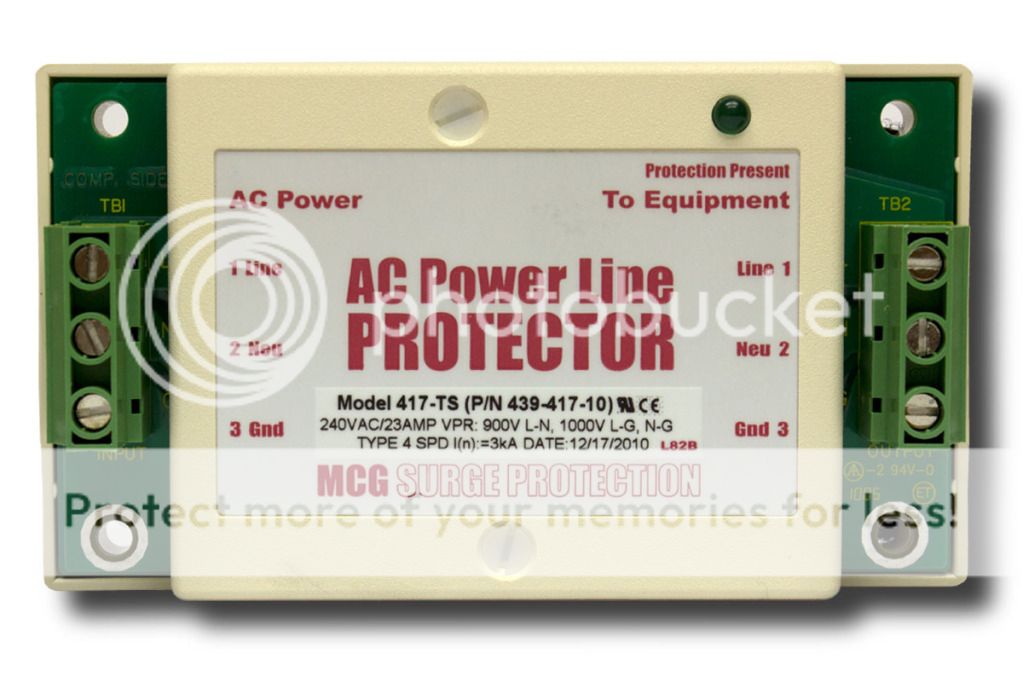
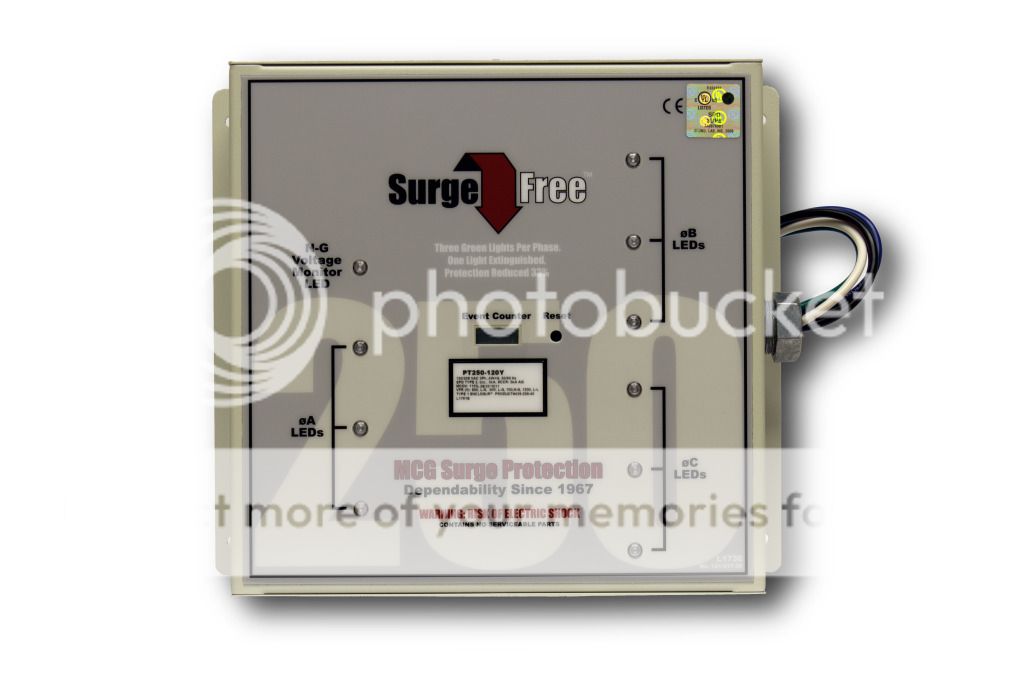
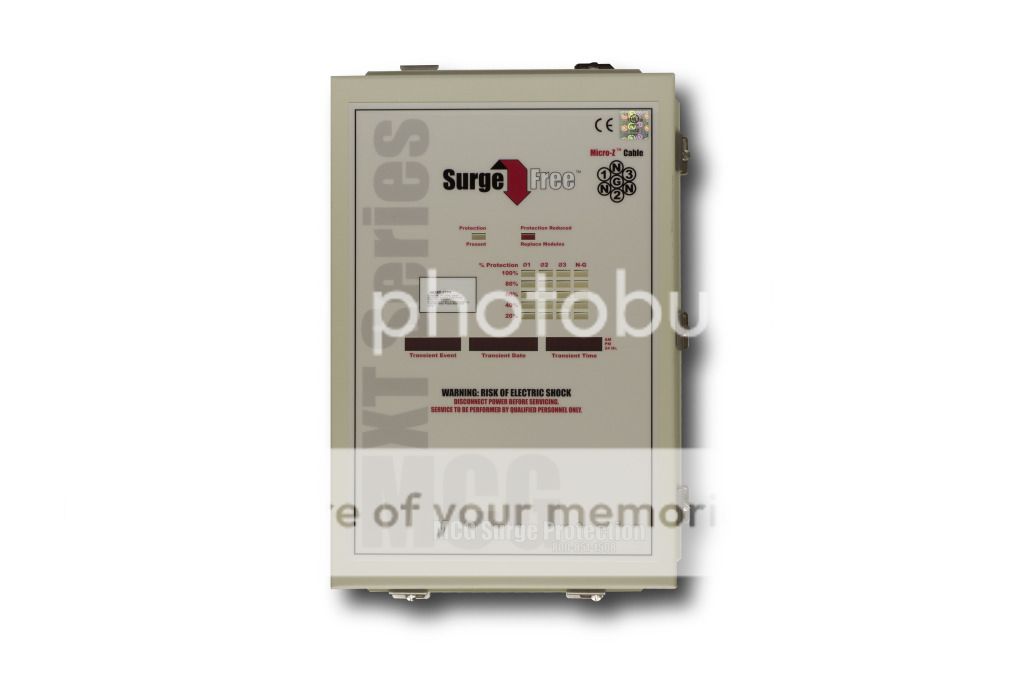
The products range from about 3"x4" up to about 12" by 18". They are powder-coated steel with a shiny adhesive label on the front. You can check TVSS Product Lines for some examples of what the products look like. The website only has illustrations as of now.

The images will be used on our website, and also be used in print. In our catalogs the images will usually be filling a space about 4"x4".

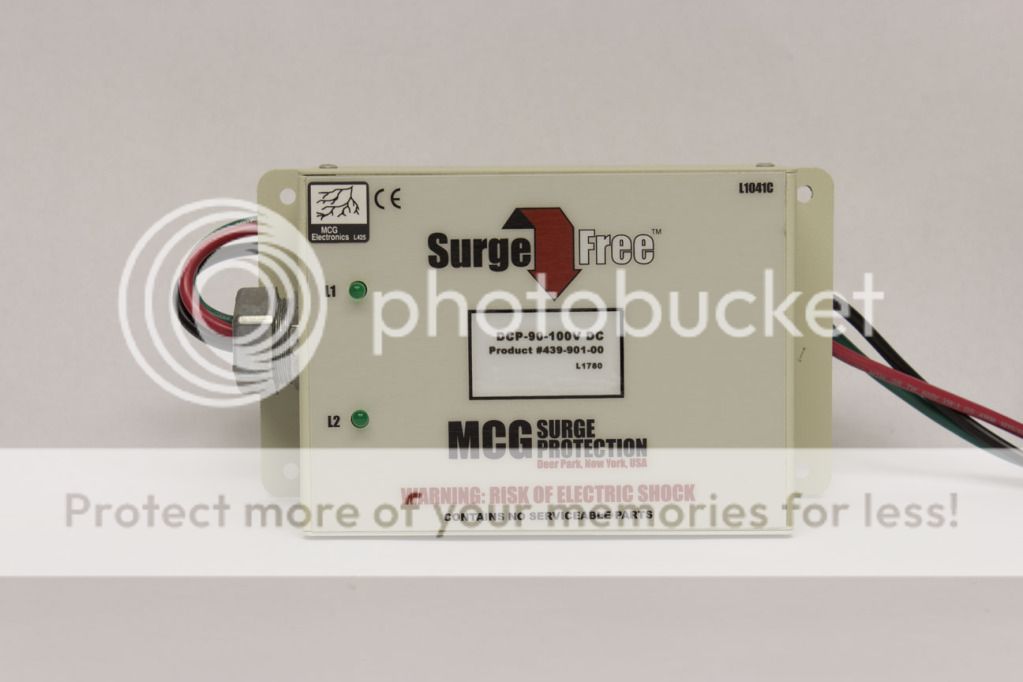
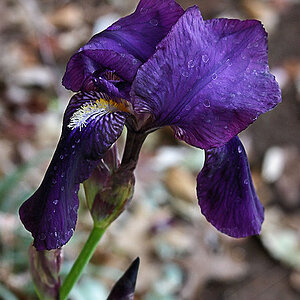
Here is a picture I took today:

DCP-90-original.jpg


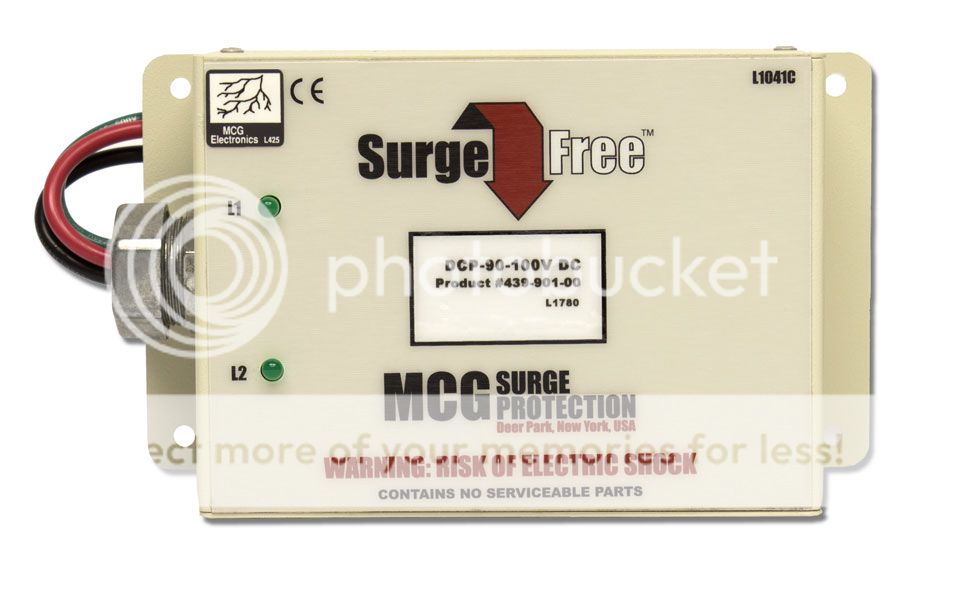
Here is the image after a quick photoshop:

DCP-90-Photoshop.jpg


How would you recommend that I set up a little studio with a white backdrop and nice lighting for this occasion? I would like the color of the units to be properly depicted in the photos of course, and I would like consistency with my photos.

Am I using the correct lens, or would you recommend something else?

Any advice is appreciated. I want to set up this little studio nicely and come out with some awesome pictures like some of the ones I've seen from you guys on here!

Thanks!
 
Are you able to return the kit you bought? If it were me, I would have bought some used equipment with that kind of budget. Something like the D90 (~$600) with the new Nikon 40mm Micro or similar ($280), a used Nikon SB-28 (~$80) and a diffuser or light stand with the remainder of the budget. A macro lens would be more appropriate for your smaller products and a speedlight or off camera flash of some sort is pretty essential for creating any depth you want to introduce into your products. The off camera flash will also allow you to maintain accurate and consistent color reproduction.
 
People do creative things to do product shots so they don't have to do a lot of photoshopping. Just google it. People use milk jug, moving box, large white drafting paper, etc. You pretty much just have to overexpose the background so you get pure white. A lot of things you can do.
 
The kit you bought is fine...maybe even overkill if these will only ever get put onto a website. The lens will do just fine.

If you don't have one already, I'd suggest a tripod so that you can set up the camera and your little 'studio'...and then you likely won't have to move it once you're set up and running.

First thing to know is exposure. This can be an in-depth topic, but very quickly, your original shot is too dark because cameras are designed to make every scene look mid-toned (middle grey). Your mostly white scene fools the camera and you end up with an underexposed photo. All you have to do, is dial in more exposure (in any of the auto modes; P, Av, Tv) use your EC button (plus/minus box) and adjust it so that the little needle goes to +1 or a little higher. That should help your photo to be the proper brightness, without having to fix it in Photoshop.

For accurate color, you should set a custom white balance. This is outlined in your manual, but quickly; take a shot of your white background. Then go into the menu where it allows you to set a custom WB. It will ask you to choose an image, so you pick the shot you just took. Then back out of the menus and go to your WB setting and choose custom. This will give you accurate WB for that lighting. If you change your type of lighting, you'll have to do this over again.

That should get you pretty close to the photo you'll want. If you background paper isn't white (or if you can't get it white without the product looking too bright) then you may need to tweak your lighting so that you have some light that just illuminates the backdrop. To do this (without weird shadows), you may have to put the product up on a little stand or something, to bring it away from the backdrop. That may be more trouble that it's worth though.
Depending on the product, you may have to change your light position. It's all about angles. If the surface of the product creates an angle that lines up between the lens and the light, you'll probably get some glare (direct reflection). So in that case, move the light or the camera so that the angles don't line up.
 
Thanks for the input so far. I would like to hear some info on what you would recommend to use as a backdrop. And I would like to hear what everybody recommends for lighting. I took another one today with some of your tips and here it is. Constructive criticism please lol.

102030h.jpg
 
One last one for the day. I am very happy with the quality of this picture for my needs. What do you guys think about it?

417.jpg
 
They look fine to me. Maybe they could be a tad brighter.
 
All your photos that you posted look fine.
As mentioned before, you will need to note how long it takes you to Photoshop each product to make a pure white background and determine if it is worth it.
Since when I I had to a start-up companies product line with 100+ different items getting a blown out background without PS was key.
 
I've got the hang of taking good quality photos of the small units which measure approximately 3"x5". The colors are showing up on the computer just like the real thing. On the other hand, the larger units approximately measuring 8"x8" up to 12"x18" are coming out too dark, and the images are not as crisp. I am going to attach two pictures of these units. Photos are being shot on white paper with overhead lights, and on camera flash. This has proven to be adequate for the smaller units and I am happy with the outcome, I have gotten a lot better since the images originally posted here. But I am not happy with the larger units and I am wondering what I can do/buy to help improve the quality of these pictures.

PT250.jpg

402xt.jpg
 
Anyone willing to help me out here? I would really like to find out if theres anything you guys recommend that I buy so I can get the ball rolling. Thanks!
 
First, you're off to a good start.

I recommend shooting with a longer lens... about 85mm or longer. This will help preserve the shape of the product, especially the box type you're working with.

Unless the client is asking specifically for this straight-on view, I would show at least three sides (front, top, and one side) to better tell the story. For instance, in the last product pictured, I can tell there are some sort of fittings on the side and top, but I can't see what they are. Also, I get no sense of how deep the product is.

And if you intend to do much of this type of work, you'll want to invest in some proper lighting. The table-top work you've shown so far can be done with just two lights, but not all products will be so simple. The lighting you have in these photos is "OK," but it's not particularly good. For product work, you need more punch... and more control.

As for background material, I recommend seamless paper. It's available in 53" width for smaller products like these and is pretty cheap.

I do recommend picking up a gray card for setting the color balance. White papers will vary in color depending on the particular color and manufacturer.

Also, consider lighting one or more of the pilot/indicator lights on the product for interest.

Finally, I suggest you learn to use the pen tool in Photoshop to create clipping paths. You can use a path to strip the background, but more important, it allow the image to be "dropped into" any background. Also, this will allow text to wrap around the image in a layout.

-Pete
 

Most reactions

New Topics

Back
Top