Didn't mean to make it a secret; I just forgot to include the step by step in the PM.
I made an layer in overlay mode filled with neutral grey for dodge and burn
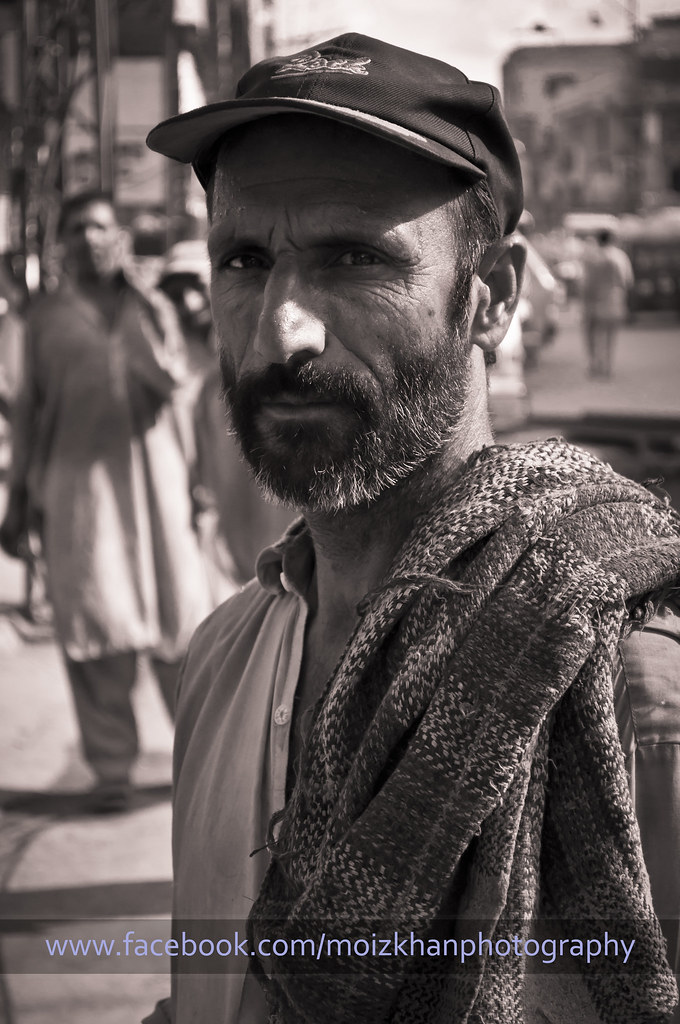
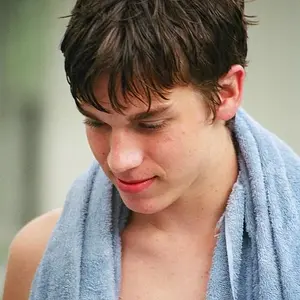
Then I selected the face and neck on the background layer and then selected the overlay layer.
Using a 40% hardness brush (white with 10% opacity) I painted white on the D/B layer until it looked light enough.
Then I merged all the layers to a new layer on the top and selected the face and neck again in that top layer.
Increased contrast and brightness a bit.
Then used unsharp mask at about 35 radius, 0 tolerance and strength as much as looked good.
Then selected the right shoulder and did the USM routine again
Then did the same with the shawl over his left shoulder.
The technique to 'create' detail on a hazy area is called Local Contrast Enhancement and there is an excellent post on it ar
Contrast Enhancement
This sounds complicated but took maybe a minute.
Working on the full-res would take longer because you would want better selections.
(all numbers in the above are flexible)




![[No title]](/data/xfmg/thumbnail/37/37605-90c8efaef5b7d1f52d4bf8e7dfd33673.jpg?1734170732)
![[No title]](/data/xfmg/thumbnail/37/37604-7ad625e983f92f880eb65a264eeef5e4.jpg?1734170732)
![[No title]](/data/xfmg/thumbnail/37/37602-1ef8dbb1c2d0e4ff347ee65d328c3603.jpg?1734170730)