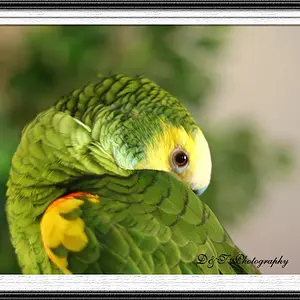
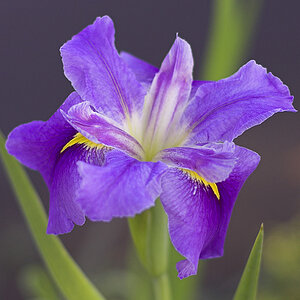
...Can anyone give me a formula that would bring these out? Gave one as an example. Thanks
I took a look at your first image in PS (I currently use PS/CS4, but any PS will do), looking at the Histogram. All of the image data is piled together in the middle, nothing in the deep shadow area and nothing in the extreme highlights. A basic fix would start with:
1. Display the Histogram panel and note that all the data is lumped in the middle. Leave this visible.
2. Access Image/Adjustments/Levels... (or if your version of PS has it Layers/Adjustment Layers/Levels...) and drag the highlight and shadow pointers until the data curve in the Histogram panel expands to just barely fill the full width. If you have one of the newer versions of PS, the histogram will also be displayed as a background image in the Levels control panel or dialog (varies from version to version).
3. With the Levels control still visible, drag the center pointer around until the skin tones look their best. This was moving it noticably toward the shadow pointer with the image I experimented with.
4. You will probably want to then access Image/Adjustments/Hue-Saturation..., or the Adjustment Layer version, and reduce the color saturation. This seemed to be the case with the image I experimented with.
















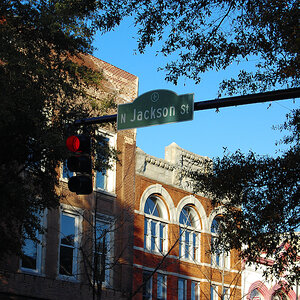
![[No title]](/data/xfmg/thumbnail/30/30881-c36788e79b12973b7bf57c94b46961e9.jpg?1734158883)
![[No title]](/data/xfmg/thumbnail/38/38744-40fa9998379b0f33925964a11a718029.jpg?1734172603)

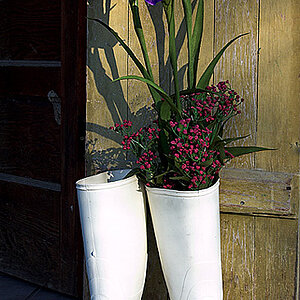

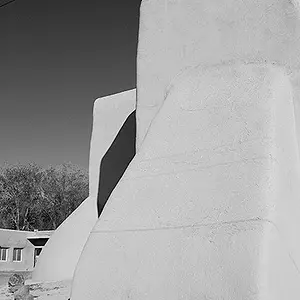
![[No title]](/data/xfmg/thumbnail/30/30878-f33da8abe01acde1dcee7898f41310e1.jpg?1734158874)
![[No title]](/data/xfmg/thumbnail/40/40288-4d5d7a8aa74ddfceb5fb82062d9b21be.jpg?1734174702)