Brandy's Engagements

twocolor

No longer a newbie, moving up!
Joined
Feb 26, 2008
Messages
1,044
Reaction score
227
Location
Utah
Website
www.twocolorphotography.com
Can others edit my Photos
Photos NOT OK to edit
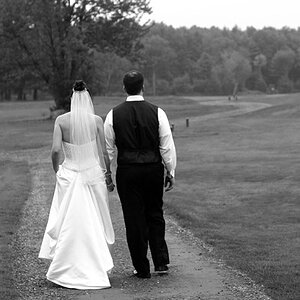
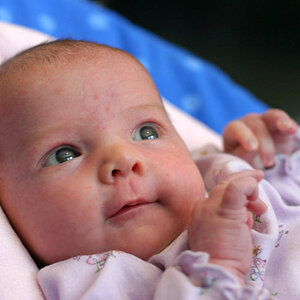
Here's some bridals. The lighting, especially around the windows was quite difficult. I still think they turned out nicely.

1.
2427731277_d87071deb2.jpg


2.
2427730961_9c619c86a3.jpg


3.
2427730895_77a3f69e0e.jpg


4.
2427729547_cdc56f5a50.jpg


5.
2428542224_2b0178a557.jpg


6.
2427728191_ae72494c18.jpg


7.
2428541028_c8e9e10daa.jpg


8.
2428540934_d5c0ac56dd.jpg


9.
2427727865_314954f18c.jpg
 
Have you done any post processing on them? They look flat and lack contrast.
I like the poses though;]

What do you think about these?

2427829361_3a095cff71.jpg


2428642808_bb74181ebe.jpg


I'll delete them from my gallery whenever you want.
 
I personally like the softer ones better...especially at a wedding. I think they are great shots!
 
They're all really flat and none of them really 'pop'.

They just need some simple contrast adjustments and eye sharpening:
 
sandra - I love your version of my pic, can you share a little of what you did to it?
 
Right path but a little more oomph.

With the one I did, I went into curves and created a loose S shape, lighten a tiny bit, adding contrast.

For her eyes I sharpened twice and then with curves brought up the contrast in her eyes.

As for the skin I use a plug in called Imagenomic Portraiture, it's FANTASTIC for stuff like this, I'd suggest looking into it :)
 
I think you did a marvelous job on these bridal photos. (Though I did get a chuckle with the title. I was curious as to how one individual could have engagement photos!)

Anyways, I took teh liberty to try editing two, feel free to ask me to take them down if you wish.

(Ah! It went a bit neon on my here. Sorry about that!) Anyways, I found that the hot spot in the flowers was really distracting from teh main subject. Your DOF and focus are spot on though. I evend out her skin tones and tried to remove a bit of a colour cast (that could use some more work though) One though is compositionally her eyes are dead centre so maybe next time consdier including more of the bouquet to push her eyes 'upwards' in the frame
pfedit1.jpg


Okay, I LOVE the concept here. Only thoughts are to watch posing. She looks a wee bit like an amputee so perhaps have her stick one foot out just a bit and then have her hold her bouquet in her other hand and have her stretch it out a bit (I don't know if that would work. Just a thought) Also, watch her neck, she seems to be having a hard time holding that veil up :lol:
pfedit2.jpg


Great job though. She will be delighted.
 
brittany, thanks so much for the kind words. Tell me how you got her eyes to look bluer? I tried to play around with it, and could only come up with a sort of gray color. Also, did you use a plug-in to even out her skin? If so, which one - if not, which technics did you use?

I agree with you on the amputee thing, I did one with her ankles crossed and knees slightly bent, her feet showing out from the bottom of the dress, but that made the whole neck issue even more prominent!
 
Nope no plug-ins or actions :) It's really easy actually

Eyes

1. Use the marquee tool and select around the irises of both eyes (using the shift tool to select the second eye) and copy (Ctrl-J) to a separate layer.
2. Change the blending mode to soft light
3. Create a making layer and using a black brush in it with a low hardness erase all of the whites of the eye/skin. This will leave only the skin (Technically you can do this using the eraser tool as well but using a masking layer is a bit less finicky)
4. Select the 'eye' layer again (not the masking layer) and upon up curves. I usually jut clip some highlights and bring over the shadows some to add a touch more contrast
5. Play with opacity
6. For this one I actually left her left eye completely, but I selected from the previous selection her right eye and used colour balance to add some more cyan and blue so it matched her left eye.

Evening the Skin Tones
This one is even easier!
1. Duplicate the base layer (Ctrl-J)
2. change to screen mode
3. Add a layer mask and using the paint bucket tool turn it ALL black (it should look the same as the base layer now)
4. Grab a white brush on a low opacity (around 10%) and start painting away the darker part of her skin and her veil

Wa-la
 

Most reactions

New Topics

Back
Top