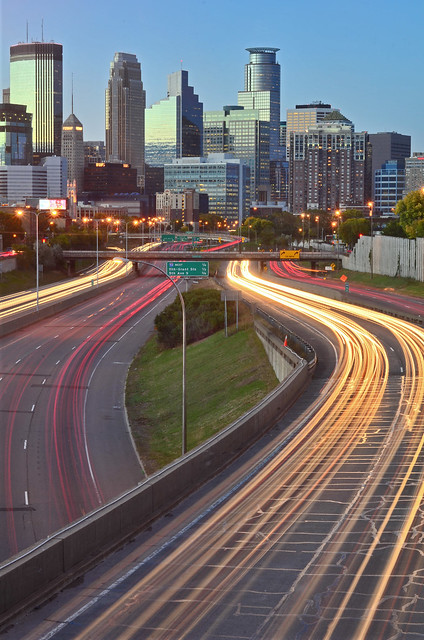
As an amateur, I'm not expected to produce completely professional results, although I do try my best.
I've found the easiest way to handle bright lights and dark areas together is to expose somewhere in the 'middle', essentially over-exposing the bright lights a bit and underexposing the darker areas a bit. Then, during post processing with Lightroom or Photoshop Elements (the programs that I use), use the 'highlights' and 'shadows' sliders to adjust the exposure. The 'trick' is to not have blown out the highlights to the point where all details are washed out, and not to underexpose the darker areas so much as there is no visible details. It's not a 'great' solution, but it's easy enough and works well enough for me that I'm happy with it.
Note, too, the same problem occurs with indoor photography and a brightly lit outdoors cause the windows to get blown out exposure. I use the same technique there, as well.
Alternatively, depending on your post processing skills, take two shots, one properly exposed for the bright lights and the second exposed for the darker areas. Then combine them during post processing. However, if it's the emergency vehicle is moving along the roadway, I think I'd try the auto-bracket capability on my camera and set it for + and - 2 full stops. That way, the vehicle won't have moved very far in the fraction of a second between exposures.


![[No title]](/data/xfmg/thumbnail/31/31739-79afec4abf40a7270ab73b65a6bbf108.jpg?1734160457)

