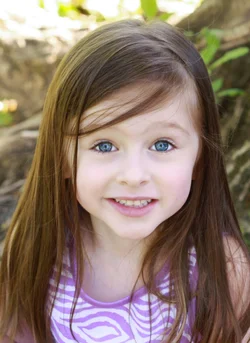
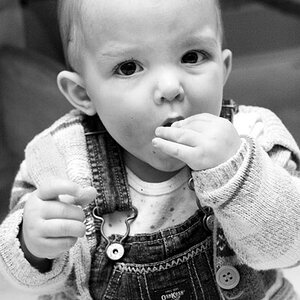
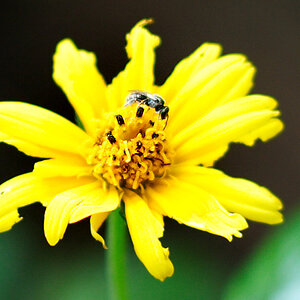
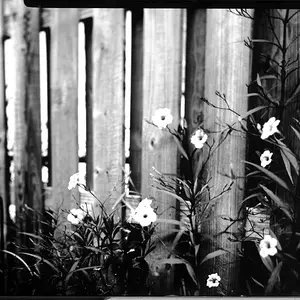
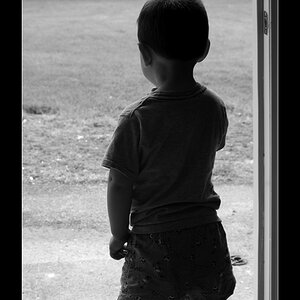
This was originally taken in landscape, just learned this basic rule...lol. Makes sense portrait in portrait...duh. I am also struggling with color issues... also is this overexposed? Any help is welcomed... thank you.
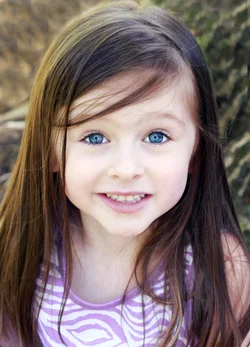
Crop just barely into the top of her head, take out that bright area at the top.
Increase exposure just a bit, if the skin tone does not clear up use the eyedropper. It may have a slight tint, hard to tell on this crappy monitor.
Personally I'd just ignore the burnout in the background and learn from the mistake -- don't do it again.
This photo is hard because you have her in mixed light. The blue light of the open shade plus green light from the foliage -- and it's unevenly distributed over her face. There's a strong green highlight on her right.
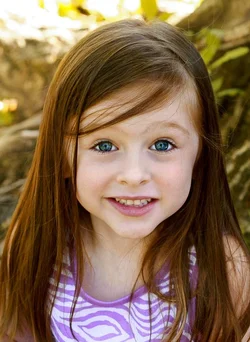
Your processing is flat and blue. The second attempt has better contrast. Here I used Levels to adjust the tone response and I tried to get a normal skin color for her by adjusting the white balance less blue and then using Photoshop's Selective Color to try and supress some of those green tints.
Thank you so much... After playing around with it so much, I couldn't even tell what it should look like. This edit looks much better. I definitely will learn from this... Would it be easier to keep my subject away from the green or blue? Or should I just try to keep it overall the same? Sorry so many questions... I just want to get better.
Mixed light is always trouble unless it's intentional (theatrical). You see that green highlight in her hair on the top right -- that's also there to a lesser degree on her right forehead and down over her right eye. That puts you into the position of trying to make local color changes which is often hard to blend -- it's work you don't want to do. Nothing wrong with the open shade; that's easy enough to white balance. Selecting a good location with good lighting is a critical first step.
I try to stay away from green shaded light, if I have to use it I use a bit of fill flash to keep the skin color.
If you have to shoot in green shade try to stay near the edge of it so you get better, not so green light.
Usually an eyedropper will clean up your colors....except in the green shade it sometimes will still take some tweaking.
Sorry if this is such a noob question... but.... I have heard two references to an eyedropper fix. Is this referring to correcting white balance by selecting something white or gray...(lightroom)? I am using lightroom and photoshop..
Yeah i think it was fine to begin with as well. You also dont want to get carried away with trying to fix the colors and change how the girl really looks. I feel like her hair color changed a million times. I dont even know whats her real hair color. You want to capture the girl, how she REALLY looks, not how she looks after you changed a million things. And remember we see things in way more detail then people who dont take pictures. That doesnt mean dont learn from your mistakes it just means take it easy and dont freak out about every little detail.
Like diskojoe said, think less shoot more
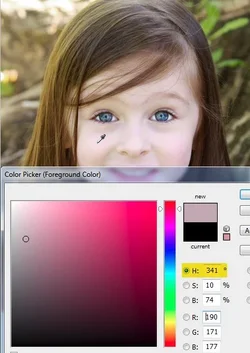
It was not fine to begin with. Thinking less is rarely a good idea. How the girl REALLY looked is that she's probably a normal, healthy, fair-skinned Caucasian child. Human skin color is of course varied, but an average can be measured and deviations from that average can be calculated. With that information in hand, the skin color of the young girl in the original suggests she needs immediate medical attention for cyanosis. Even newborn Caucasian babies aren't that blue. Hue values for newborns typically fall into the 350s to single digit range. I read 341 off her cheek. With a little thinking it's easy to see what's wrong and correct it.
Sorry if this is such a noob question... but.... I have heard two references to an eyedropper fix. Is this referring to correcting white balance by selecting something white or gray...(lightroom)? I am using lightroom and photoshop..
Not completely sure what they were referring to -- LR and Photoshop have a lot of eyedroppers. In LR you have a Color Sampler eyedropper and a White Balance eyedropper. The Color Sampler will give you RGB values for a color in the photo. The White Balance eyedropper will allow you to click in the photo on something you select to be neutral. LR will then make that color neutral and shift the rest of the photo accordingly. If you select the right spot in the photo (something that really was neutral) then you're usually real close to a white balanced photo. The trick of course is: Was there something in the photo that you know was neutral? In this photo I'm not sure there was. That's what a grey card is all about. If you include one in the shot then you can white balance from it later -- it's a known constant.
A similar process is available in Photoshop via the Levels and Curves dialogs. There you find three eyedroppers. There's a black and white point eyedropper and then a grey or neutral eyedropper. The grey/neutral eyedropper will also get you very close to a white balanced photo if you can click on a known constant in the photo that was indeed neutral grey.
A grey card is a precise known constant, but what you do have in this photo is human skin and that's likewise a known constant just not as precise. What I did was measure her skin color with Photoshop's Color Picker (eyedropper). I discovered it was both very blue and also contained too much variation. In the sRGB color space average Caucasian skin color has a Hue value around 19.