nick_cool
TPF Noob!
- Joined
- Feb 19, 2011
- Messages
- 50
- Reaction score
- 4
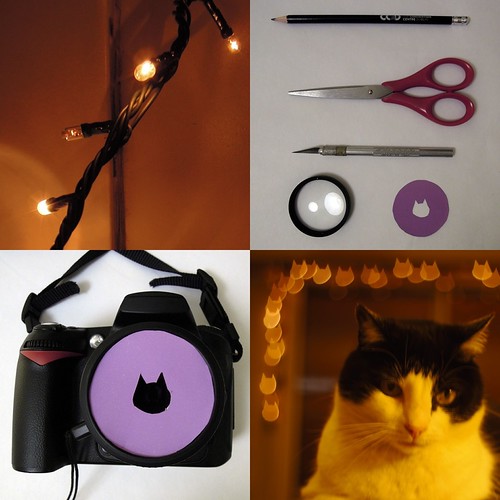
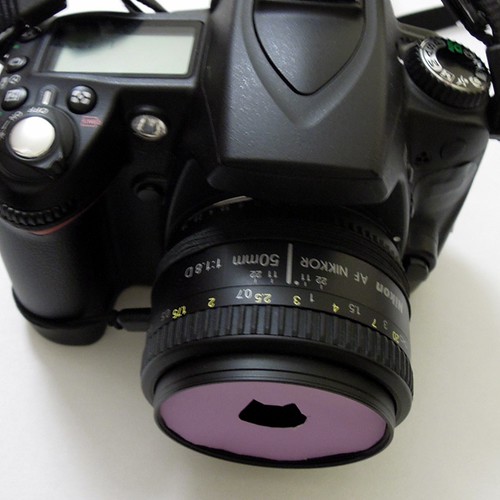
- Get a dark paper or carton and cut a circle the size the lens you have, 52mm in my case.
- Cut in the center the image you want.
- Put the paper in front of the lens and set the camera at aperture priority with the maximum aperture (smaller f number)
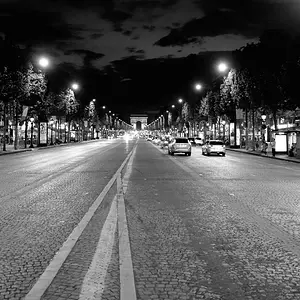
- Put some punctual small lights on the background at 4 or 5 times the distance to the main subject. I used the miniature lights used in Christmas trees, but any source that generates strong contrast with small zones of light will work.
- Focus in a near subject letting the background out of focus, you should be able to see the bokeh.
- Adjust the desired bokeh changing the distance to the in focus area, or eventually the size of the hole made.
- Shoot!
- Try with several sizes and shapes, it is just paper and a lot of fun!
Note, every lenshave different bokeh, I tried with a Nikon 24mm, a Tokina 70-210mmand Nikon 50mm f/1.8, and the last one got the better results.
You should be able to see circular bokeh just focusing in a near subject and letting theproper background out of focus. What is changed is the bokeh’sshape.
More DYI at:
http://www.flickr.com/photos/nick_cool2000/
Last edited: