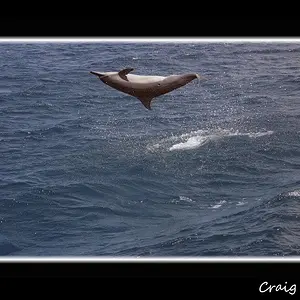
There's an original of the second shot. I adjusted the levels in my raw software to get a bit more contrast. The exposure was right on out of the camera. I bracketed when I shot.
I didn't want to upload another version of this to my site, (it's getting cluttered

), so this example has a sharpening layer and a softening layer, which I'll explain below.
After tweaking the levels in raw, I export an 8bit 300 dpi tiff to PS 7.0.
In PS I duplicated the background layer, inverted it (ctrl + i), then set the blend mode to "color". That's all it takes to get that color. The colors are simply inverted. Then I went back and duplicated the background layer again. This new layer is between the background and the color invert layer. I ran 4 USMs on it. 40%, 20, 0 - 10%, 100, 0 - 300%, 0.3, 0 - 500%, 0.2, 0. This oversharpened it quite a bit, but that's ok. I then duplicated the background layer again, and moved this layer above the sharpened layer, but underneath the color layer. I gaussian blurred this layer by 6 pixels, and then set it's opacity to 50%. Now I just needed to tweak the opacity of the sharpening and softening layers to blend them together nicely. I ended up with 40% sharpening, 25% softening.
That's it. After that I bicubically resampled this image up to 4800x7200 pixels (16"x24" at 300 dpi) for print.
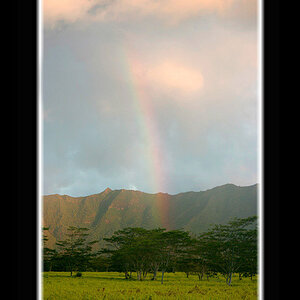
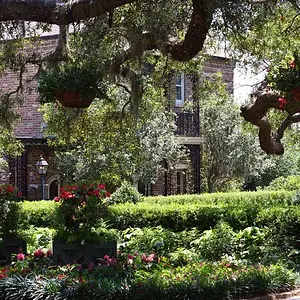
The process was virtually the same for the other 2 photos. If the exposure wasn't perfect, that was the first thing I would fix, either with levels, or curves, or both. Another way I get good contrast is to convert the photo to B&W with a channel mixer adjustment layer. I adjust the 3 channels to get a good strong B&W contrast, then I set the blend mode to "soft light", and adjust the opacity to around 30%-40%. That gives a very nice contrast.
Make sense? Pretty simple editing. I think it looks good without the color change also.




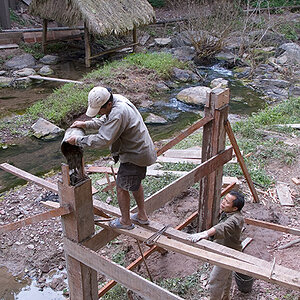
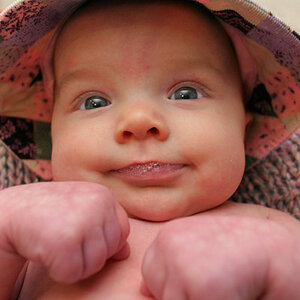
![[No title]](/data/xfmg/thumbnail/36/36683-f6eb24f9964981cb4cafa35336058881.jpg?1734169175)
![[No title]](/data/xfmg/thumbnail/36/36680-2f2b1d32244516c9d5cf39af9b78b382.jpg?1734169174)
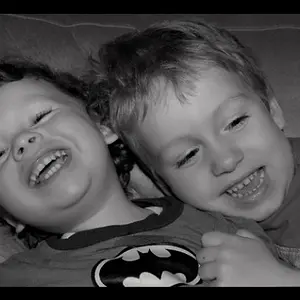
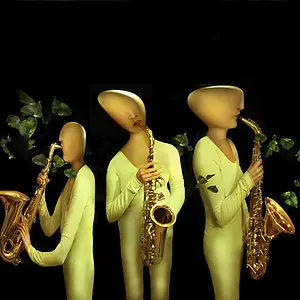
![[No title]](/data/xfmg/thumbnail/33/33493-f055dbbe7f00f271d3959dd3a6482165.jpg?1734163605)
![[No title]](/data/xfmg/thumbnail/33/33356-9cfc19255e84aab13c903f781a99cf9f.jpg?1734163274)