Dominantly
TPF Noob!
- Joined
- Jul 30, 2009
- Messages
- 3,032
- Reaction score
- 168
- Location
- San Diego, CA (RB)
- Can others edit my Photos
- Photos NOT OK to edit
Intro:
So I figured I would shed a spark on some basics, learn a little while doing it, teach a little more, and provide a catalyst to get other; more knowledgeable (there is always someone better) people in here to compound on this.
I know quite a few people have been helping out some of the newest photographers here (Mostly Sunny ), recommending books, manuals, etc... Well I thought I would dump some info in here, for them to look through. On top of that I would like to have a few workshops where the material is actually tried out with results posted.
Here is http://www.thephotoforum.com/forum/...tering-white-balance-jpeg-vs-raw-formats.html
So an Exposure, whether you are using film or a digital camera, is the act of allowing light to come in contact with your photosensitive material (film, or Image sensor).
The act of obtaining a correct exposure involves properly adjusting your 3 key factors; Shutter Speed, Aperture, and ISO.
Aperture-
Your camera will display a variety of Apertures, IE. 4, 5.6, 8, 11, 16, 22, and so on. Each of those numbers is going to relate to a specific opening inside your lens, called an f-stop (f/4, f/11, f/16, etc). The whole purpose of these f-stops is to control the amount of light that reaches your sensor or film during the exposure.
The smaller the f-stop number, the LARGER the opening. The larger the f-stop number, the SMALLER the opening.
Where does this f-stop stuff come from? Well f= Focal length (of your lens), the / means you divide by, and the number means the stop in use. So, a 35mm lens at f/1.8 would have a aperture opening of 19.4mm... Make sense?
Each time you drop down from one f/stop to the next (f/4 - f/5.6), you cut the light hitting the medium in half, and if you go the other way (f/8 - f/5.6) you double it. Now most cameras offer 1/3rd stop intervals as well, you will see this when adjusting your Aperture..... f/4, f/4.5, f/5, f/5.6, f/6.3, f/7.1, f/8, f/9, f/10, f/11, f/13, etc....(bold is basic full stops).
Now besides changing how much light is allowed to enter and hit your sensor, the size of the Aperture determines the DEPTH OF FIELD for a photo. A smaller Numerical f/stop value and larger Aperture like f/1.4, has a SHALLOW depth of field whereas a larger f/stop Numerical value and smaller Aperture like f/22 had a larger depth of field.
So if you have a subject on a field that's 10 ft away and you set your Aperture to f/1.4 (or your lowest) and shoot them, you will notice how everything leading up to them in the foreground is blurry, with them in focus, and then everything behind them blurry. This is selective focus and we will talk more about it later. NOW on the opposite side of that, if you set your aperture to F/22 and shoot them again you will have more of the photo in focus. This is a storytelling Aperture and is good when you have a background or foreground that you feel will enhance a photograph.
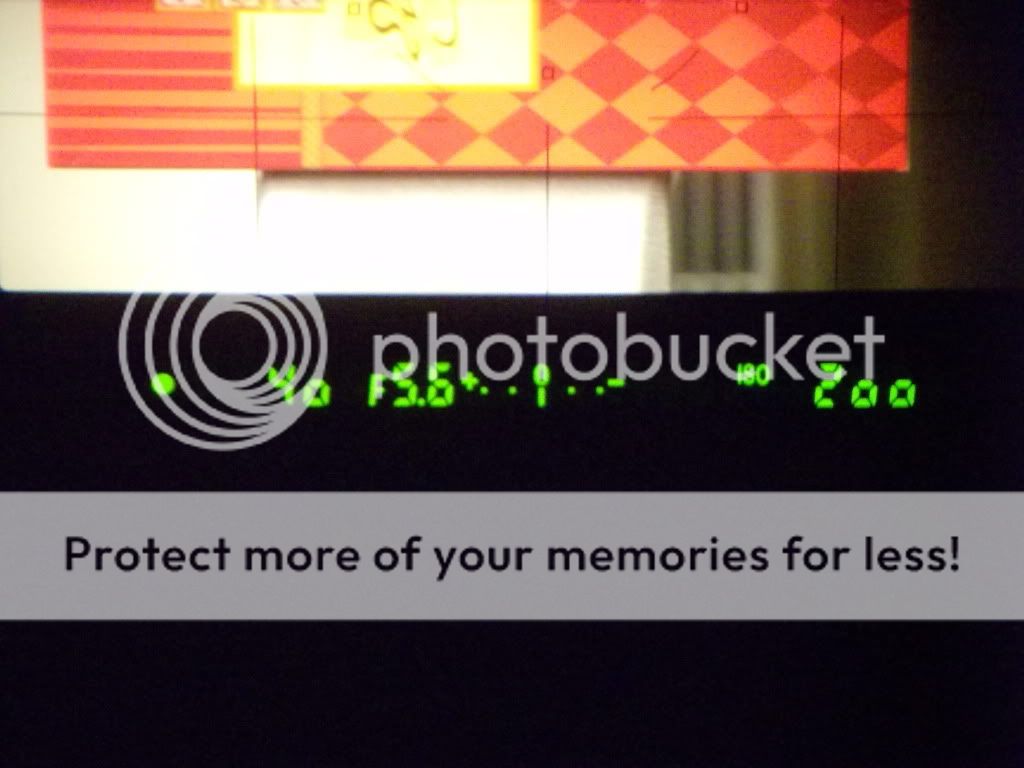
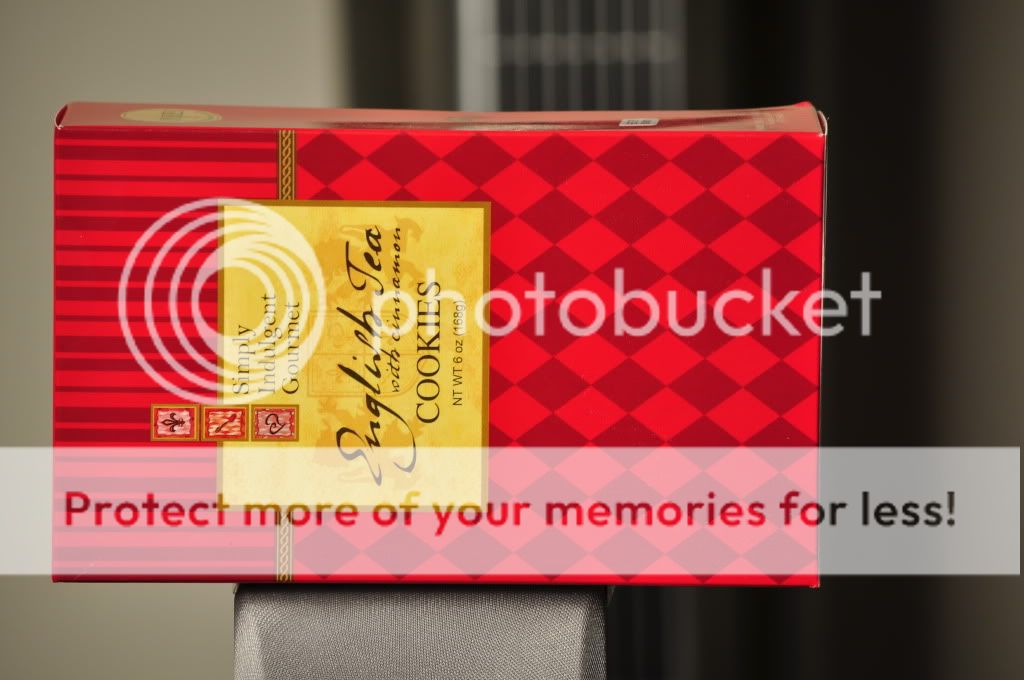
Same Shutter Speed, just adjusting the ISO to compensate your the smaller Aperture:
f/5.6 1/50 ISO 200
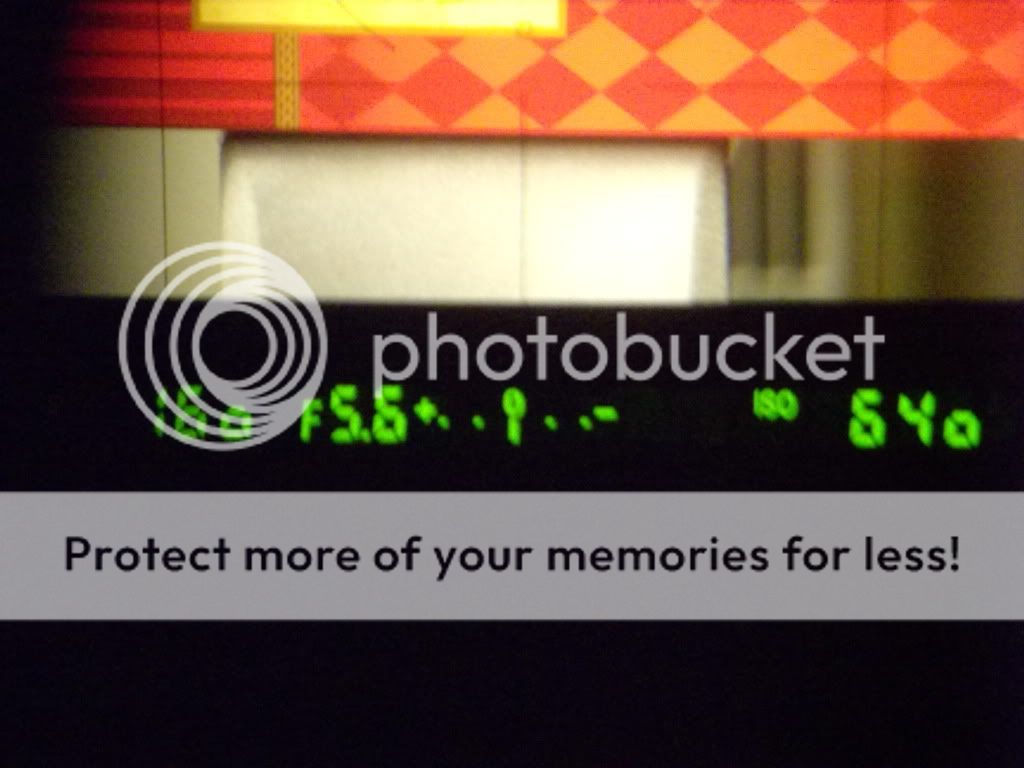
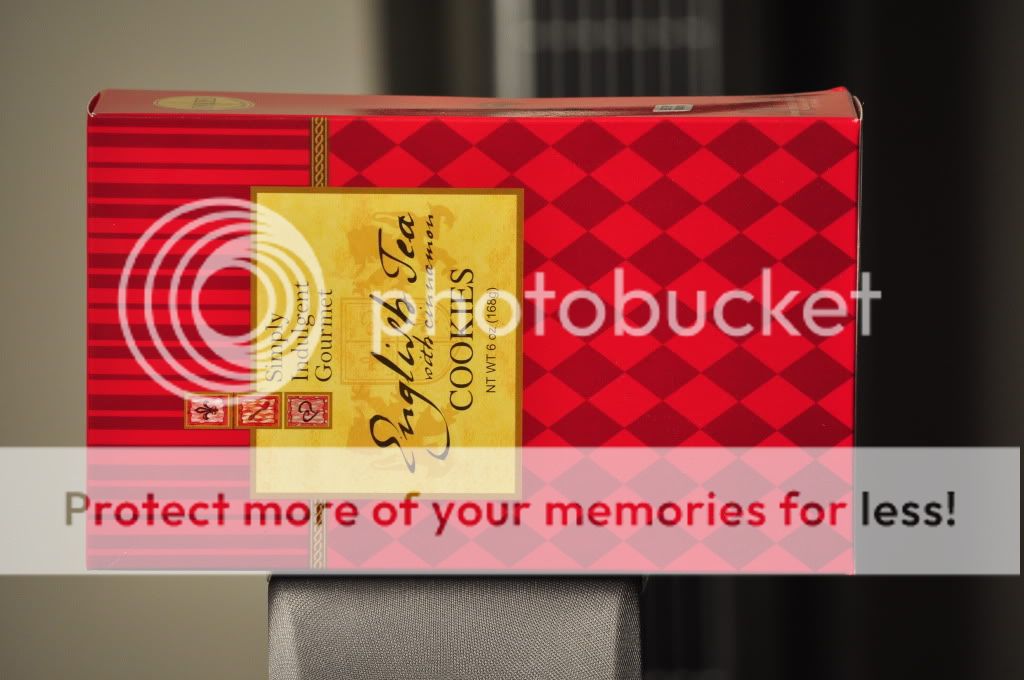
f/8 1/50 ISO400
f/11 1/50 ISO640
f/16 1/50 ISO 1250
f/22 1/50 ISO 3200
f/29 1/50 ISO Hi.3


Shutter Speed-
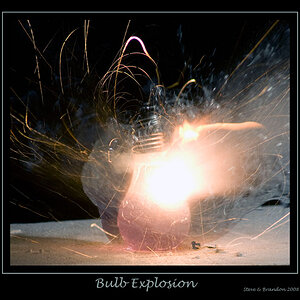
So with the different models of cameras out there, we have different capabilities as far as shutter speed go. We can go from 1/8000th of a second, down to 30 seconds, or BULB (gives you the ability to open and shut the shutter using a remote -ideally).
The Shutter and Aperture work together, the shutter is what is opening to allow the light hit the sensor, and the aperture is what is controlling the AMOUNT of light hitting the sensor.
We have the same halving or doubling that we had with Aperture, here with Shutter speed. For example if you go from 1/1000th of a second to 1/500th, you have cut the shutter speed in half, or if going the opposite, you've doubled it; 1 full stop.... As with Aperture, you also have 1/3rd stops which are there to give you the ability to really dial in your exposure.
Shutter speeds and what they do:
1/4000 to 1/2000.......... Stop a Hummingbirds wings
1/1000 to 1/500............ Freeze a human running and most athletes
1/250 to 1/60............... Stop most daily movement and handheld blur safe
1/30 to 1/8.................. Blur motion (camera should be on a tripod)
1/2 to long time............ Dark scenes, night time, etc (tripod only)
ISO (International Organization for Standardization)-
ISO is basically your Image Sensors, sensitivity to light, or your film speed in traditional cameras.
With digital cameras we generally have a range from 50-3200.
** So lets say we both have the same camera setup, you set your camera to ISO 200, f/5.6 and to obtain a correct exposure, your cameras light meter tells you to set your shutter speed to 1/250... now I set my camera to the same f/stop- f/5.6, then change the ISO to 100 and meter the same subject, my camera tells me that in order to get the correct exposure I need 1/125th of a second. Thats a one stop difference because your cameras sensor was twice a sensitive as mine, allowing a faster shutter for the same exposure.
LAB:
Now if you want to try this out, grab your camera and go into manual mode, set your ISO at 200, and f/8. Now point the camera at something in the room and adjust the shutter speed until your light meter tells you that you have a correct exposure (now write that down). Go back into your menu and change your ISO to 400 and point it back on that same subject in the room and adjust your shutter speed to get the correct exposure (write it down again), and now do the same thing with ISO 800.....
My straight out of the camera results:
f/5.6 1/40 shutter, ISO 200
f/5.6 1/80 shutter, ISO 400


f/5.6 1/160 shutter, ISO 640
As you increased your sensitivity by 1 stop, you should have seen close to one full stop difference in your shutter speed requirements.
So we've learned that when you increase your ISO, you increase the sensitivity of your image sensor, allowing you to use a faster shutter speed. You can do the same thing by leaving your shutter speed constant and adjusting your Aperture to get the correct exposure.
So ISO is awesome right? Why not set it as high as it will go and leave it? Well, the downside to increased ISO is you gain NOISE and lose contrast as you increase it. SO your sharpest photos with the least noise and highest contrast will be seen at your lowest ISO. You will have to use it where necessary in order to achieve your desired results. THe good news is that with the advance$ in technology, we are getting higher and higher ISO's with le$$ and le$$ noise.
Light Meter-
Alright, so I am going to tell you how this works, just like it was told to me, and thats with an analogy (love those things).
We are at your sink, your faucet is your cameras Aperture which is at f/8; now lets say the opening to your faucet is the SAME SIZE. Your handle to your faucet is your Shutter Speed. Below the faucet are 100 tiny empty buckets that represent your ISO. Now your camera's LIGHT METER is going to determine how long your faucet handle (or Shutter) needs to be open in order to fill those buckets with water (or Light) based on the size of your faucet (or Aperture). If the faucet is left on too long, you overfill (or Over expose), if you leave it on not long enough you Under fill (Underexpose).
Ok, so we have a basic over view of the 3 elements that go into properly exposing your photograph. We have learned that they are all interlinked, with the light meter as the ring leader pulling it all together.
As you can probably tell, there are many different combinations to get a correct exposure on any given subject. What you need to determine is your CREATIVE EXPOSURE. What this means is if you are shooting a highway at night, instead of adjusting your 3 ring combination to give you a motion stopping exposure, it may be more creative to use a long shutter and get some motion blur. Or on the opposite end, if you are shooting a Hummingbird; you may want to use a faster shutter to try and stop the wing motion (or slower to blur it).... It's all really up to you and your vision.
So, I'll end this one here. Hope it helps someone understand some of the basics.. :thumbup:
So I figured I would shed a spark on some basics, learn a little while doing it, teach a little more, and provide a catalyst to get other; more knowledgeable (there is always someone better) people in here to compound on this.
I know quite a few people have been helping out some of the newest photographers here (Mostly Sunny
), recommending books, manuals, etc... Well I thought I would dump some info in here, for them to look through. On top of that I would like to have a few workshops where the material is actually tried out with results posted.Here is http://www.thephotoforum.com/forum/...tering-white-balance-jpeg-vs-raw-formats.html
So an Exposure, whether you are using film or a digital camera, is the act of allowing light to come in contact with your photosensitive material (film, or Image sensor).
The act of obtaining a correct exposure involves properly adjusting your 3 key factors; Shutter Speed, Aperture, and ISO.
Aperture-
Your camera will display a variety of Apertures, IE. 4, 5.6, 8, 11, 16, 22, and so on. Each of those numbers is going to relate to a specific opening inside your lens, called an f-stop (f/4, f/11, f/16, etc). The whole purpose of these f-stops is to control the amount of light that reaches your sensor or film during the exposure.
The smaller the f-stop number, the LARGER the opening. The larger the f-stop number, the SMALLER the opening.
Where does this f-stop stuff come from? Well f= Focal length (of your lens), the / means you divide by, and the number means the stop in use. So, a 35mm lens at f/1.8 would have a aperture opening of 19.4mm... Make sense?
Each time you drop down from one f/stop to the next (f/4 - f/5.6), you cut the light hitting the medium in half, and if you go the other way (f/8 - f/5.6) you double it. Now most cameras offer 1/3rd stop intervals as well, you will see this when adjusting your Aperture..... f/4, f/4.5, f/5, f/5.6, f/6.3, f/7.1, f/8, f/9, f/10, f/11, f/13, etc....(bold is basic full stops).
Now besides changing how much light is allowed to enter and hit your sensor, the size of the Aperture determines the DEPTH OF FIELD for a photo. A smaller Numerical f/stop value and larger Aperture like f/1.4, has a SHALLOW depth of field whereas a larger f/stop Numerical value and smaller Aperture like f/22 had a larger depth of field.
So if you have a subject on a field that's 10 ft away and you set your Aperture to f/1.4 (or your lowest) and shoot them, you will notice how everything leading up to them in the foreground is blurry, with them in focus, and then everything behind them blurry. This is selective focus and we will talk more about it later. NOW on the opposite side of that, if you set your aperture to F/22 and shoot them again you will have more of the photo in focus. This is a storytelling Aperture and is good when you have a background or foreground that you feel will enhance a photograph.
Same Shutter Speed, just adjusting the ISO to compensate your the smaller Aperture:
f/5.6 1/50 ISO 200
f/8 1/50 ISO400
f/11 1/50 ISO640
f/16 1/50 ISO 1250
f/22 1/50 ISO 3200
f/29 1/50 ISO Hi.3
Shutter Speed-
So with the different models of cameras out there, we have different capabilities as far as shutter speed go. We can go from 1/8000th of a second, down to 30 seconds, or BULB (gives you the ability to open and shut the shutter using a remote -ideally).
The Shutter and Aperture work together, the shutter is what is opening to allow the light hit the sensor, and the aperture is what is controlling the AMOUNT of light hitting the sensor.
We have the same halving or doubling that we had with Aperture, here with Shutter speed. For example if you go from 1/1000th of a second to 1/500th, you have cut the shutter speed in half, or if going the opposite, you've doubled it; 1 full stop.... As with Aperture, you also have 1/3rd stops which are there to give you the ability to really dial in your exposure.
Shutter speeds and what they do:
1/4000 to 1/2000.......... Stop a Hummingbirds wings
1/1000 to 1/500............ Freeze a human running and most athletes
1/250 to 1/60............... Stop most daily movement and handheld blur safe
1/30 to 1/8.................. Blur motion (camera should be on a tripod)
1/2 to long time............ Dark scenes, night time, etc (tripod only)
ISO (International Organization for Standardization)-
ISO is basically your Image Sensors, sensitivity to light, or your film speed in traditional cameras.
With digital cameras we generally have a range from 50-3200.
** So lets say we both have the same camera setup, you set your camera to ISO 200, f/5.6 and to obtain a correct exposure, your cameras light meter tells you to set your shutter speed to 1/250... now I set my camera to the same f/stop- f/5.6, then change the ISO to 100 and meter the same subject, my camera tells me that in order to get the correct exposure I need 1/125th of a second. Thats a one stop difference because your cameras sensor was twice a sensitive as mine, allowing a faster shutter for the same exposure.
LAB:
Now if you want to try this out, grab your camera and go into manual mode, set your ISO at 200, and f/8. Now point the camera at something in the room and adjust the shutter speed until your light meter tells you that you have a correct exposure (now write that down). Go back into your menu and change your ISO to 400 and point it back on that same subject in the room and adjust your shutter speed to get the correct exposure (write it down again), and now do the same thing with ISO 800.....
My straight out of the camera results:
f/5.6 1/40 shutter, ISO 200
f/5.6 1/80 shutter, ISO 400
f/5.6 1/160 shutter, ISO 640
As you increased your sensitivity by 1 stop, you should have seen close to one full stop difference in your shutter speed requirements.
So we've learned that when you increase your ISO, you increase the sensitivity of your image sensor, allowing you to use a faster shutter speed. You can do the same thing by leaving your shutter speed constant and adjusting your Aperture to get the correct exposure.
So ISO is awesome right? Why not set it as high as it will go and leave it? Well, the downside to increased ISO is you gain NOISE and lose contrast as you increase it. SO your sharpest photos with the least noise and highest contrast will be seen at your lowest ISO. You will have to use it where necessary in order to achieve your desired results. THe good news is that with the advance$ in technology, we are getting higher and higher ISO's with le$$ and le$$ noise.
Light Meter-
Alright, so I am going to tell you how this works, just like it was told to me, and thats with an analogy (love those things).
We are at your sink, your faucet is your cameras Aperture which is at f/8; now lets say the opening to your faucet is the SAME SIZE. Your handle to your faucet is your Shutter Speed. Below the faucet are 100 tiny empty buckets that represent your ISO. Now your camera's LIGHT METER is going to determine how long your faucet handle (or Shutter) needs to be open in order to fill those buckets with water (or Light) based on the size of your faucet (or Aperture). If the faucet is left on too long, you overfill (or Over expose), if you leave it on not long enough you Under fill (Underexpose).
Ok, so we have a basic over view of the 3 elements that go into properly exposing your photograph. We have learned that they are all interlinked, with the light meter as the ring leader pulling it all together.
As you can probably tell, there are many different combinations to get a correct exposure on any given subject. What you need to determine is your CREATIVE EXPOSURE. What this means is if you are shooting a highway at night, instead of adjusting your 3 ring combination to give you a motion stopping exposure, it may be more creative to use a long shutter and get some motion blur. Or on the opposite end, if you are shooting a Hummingbird; you may want to use a faster shutter to try and stop the wing motion (or slower to blur it).... It's all really up to you and your vision.
So, I'll end this one here. Hope it helps someone understand some of the basics.. :thumbup:
Last edited:


![[No title]](/data/xfmg/thumbnail/35/35948-700e0d840da0ca73727b1bd6d99b4142.jpg?1619737257)
![[No title]](/data/xfmg/thumbnail/31/31749-6cf0f99d6bdedf47f7387c5b943fb717.jpg?1619734989)