What's new

First thread showing off a couple photos

zacus

TPF Noob!
Joined
Jan 1, 2013
Messages
8
Reaction score
1
Location
United States
Can others edit my Photos
Photos OK to edit
Took these with a my friends Canon Powershot that I borrowed for a few weeks


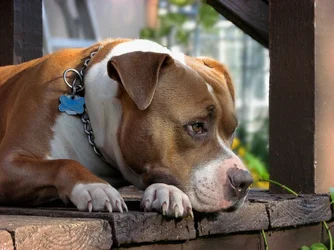
IMG_0561.jpg


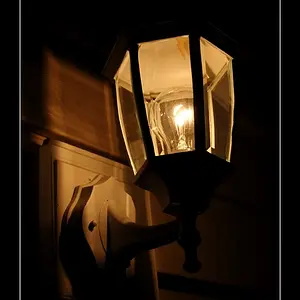
IMG_0564.jpg


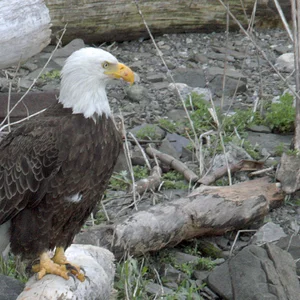
IMG_0418.jpg


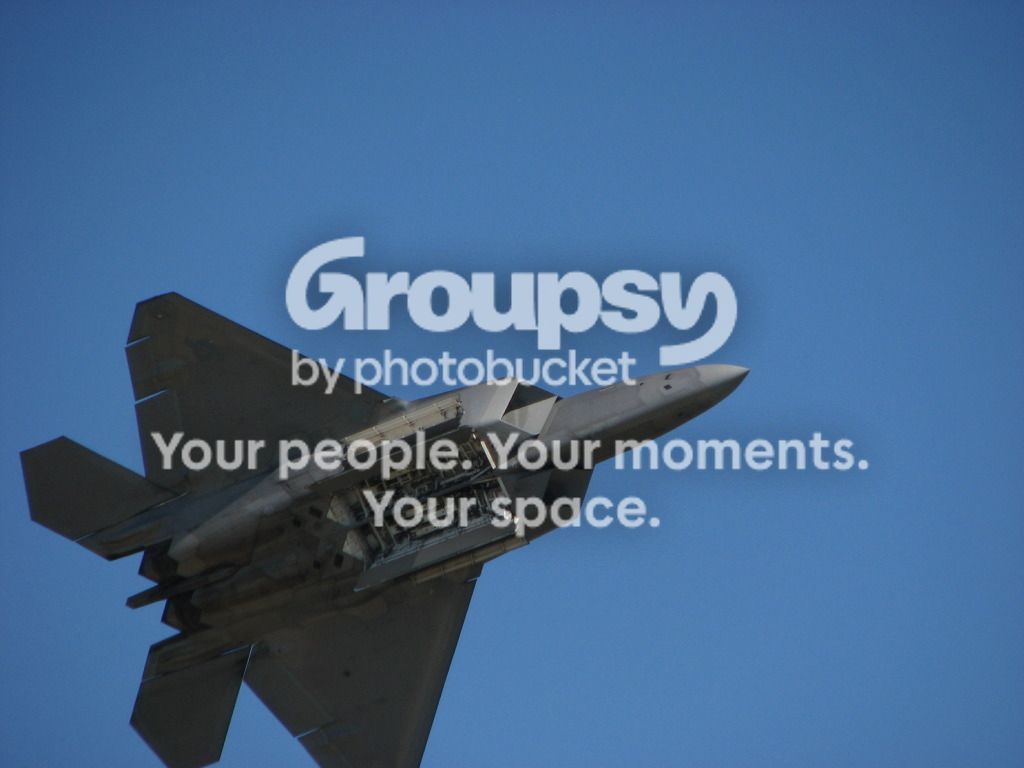
Horribly out of frame but it was my first time shooting moving planes and let's just say I have a whole lot more respect for people who get these type of shots.
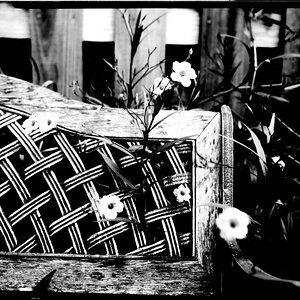
IMG_0674.jpg


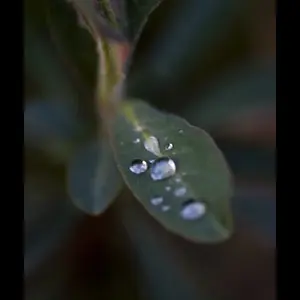
Shot this with my new Finepix S4250 I got for Christmas.

DSCF0163_zps51185a63.jpg


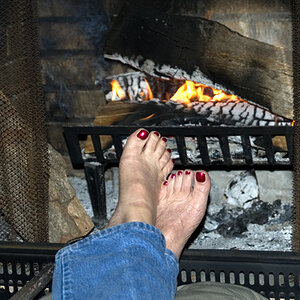
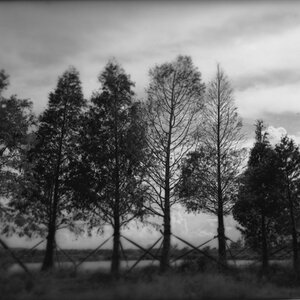
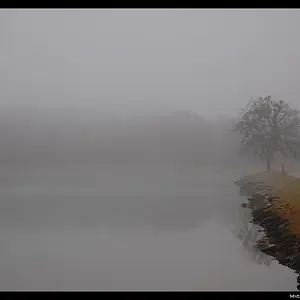
I know, nothing prestigious or special but that's why I'm here..trying to get better and learn more about shooting.
 
That first shot is nice.. really captured the dog well!
 
The first shot is your best
 
love the first shot too.. and the eye..
 
Thanks everyone. Personally I thought the first picture was the only one worth posting, maybe the one of my niece too but I didn't want to make a thread with just one or two pictures.
 
#1 really is the best but could use a bit of processing.

Since your signature says it's ok to edit... I'll show you what I did:

1 - use a "levels" adjustment to make the darks darker. This basically just improves contrast except with a normal contrast adjustment it makes the darks darker and the lights lighter. I didn't want the lights to be any lighter (actually I want them darker too) so I only adjusted the darks by sliding in the left of the histogram about 7-8%.

2 - I used the burn tool to slightly darken that lower left corner. The first plank of wood on the deck was a bit light and, I thought, distracting.

3 - I added a very gentle "sharpen" effect around his eyes.

4 - I added some fake bokeh to the background with the "blur" tool. Normally I prefer natural blur -- not very do-able with a point & shoot camera. You can get away with this in image editing programs in some images (particularly where the area to be blurred is nicely bounded as it was in this case.) It doesn't always work. I can do this in two ways... the long-but-good way is to create a series of photoshop layers & masks and then blur the appropriate layer. The quick-but-not-as-good way is to just go at it with the "blur" brush. I used the brush on your photo (the quick but not as good way).

$IMG_0561.webp

(Click it to enlarge)

BTW, the color levels probably "look" stronger in this edited version. I did NOT TOUCH the color. This image only looks like I enhanced or saturated the color because I grabbed the "levels" and increased the darks, thereby increasing overall contrast. What you're seeing is simply a higher contrast version (which naturally causes images to look more saturated.)

I'm not nuts about the rest of them.
 
^ Whoa that looks much better! Thank you!

I really need to learn how to edit my photos.
 

Create an account or login to comment

You must be a member in order to leave a comment

Create account

Create an account on our community. It's easy!

Log in

Already have an account? Log in here.

Back
Top Bottom