How to make your old car look great again!

LWW

TPF Supporters
Supporting Member
Joined
Aug 3, 2005
Messages
1,352
Reaction score
62
Location
Dayton,Ohio
I am going to be posting the same thread on a few forums I belong to, so you may see references to photography, billiards, and sports cars sprinkled throughout.

On forum that all ow large photos they will of course be included.

On those that do not I will at the end link to forums which will have the illustrated thread.

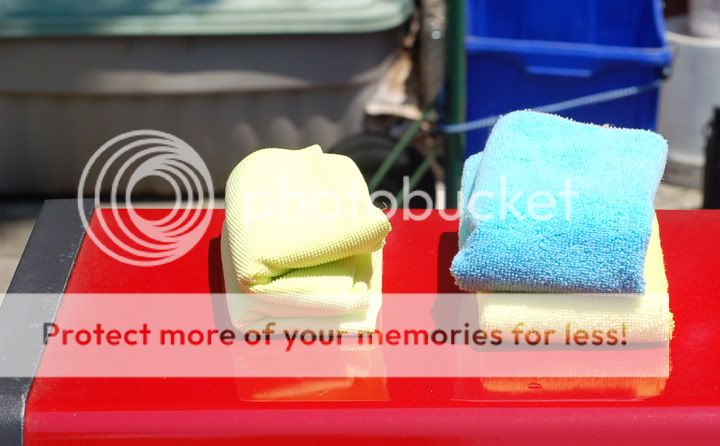
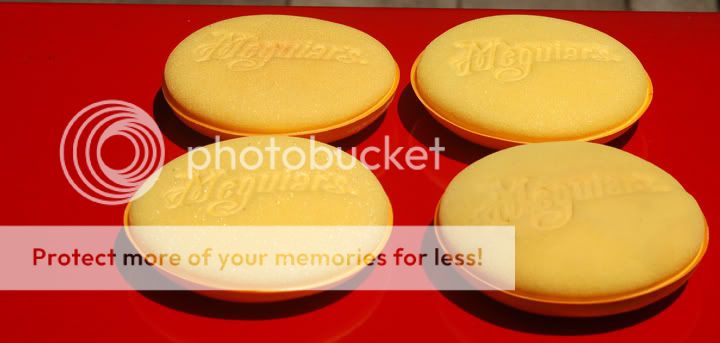
I am going to assume that you have a few basics such as buckets, and either wash mitts or large sponges. If not, you will need to acquire or borrow them.

I am also going to be going through a pretty serious paint regimen. If your car is newer there may be some steps you can slide on. That being said, if you have a cr over 3 years old and/or over 30K miles I suggest you do the whole process.

A few other points:

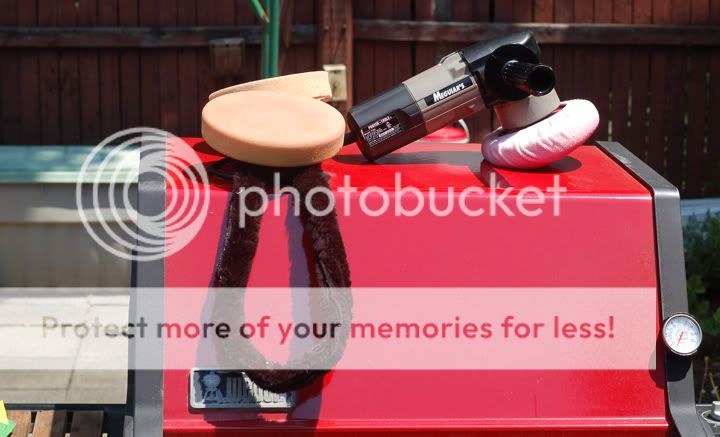
- If you have absolutely nothing, you will spend around $300 +/- to do it right, with half of that being the polisher itself.

- There are a few less expensive options I will touch on.

- Even going the premium route you will have less invested than a detail shop would charge to do the entire process.

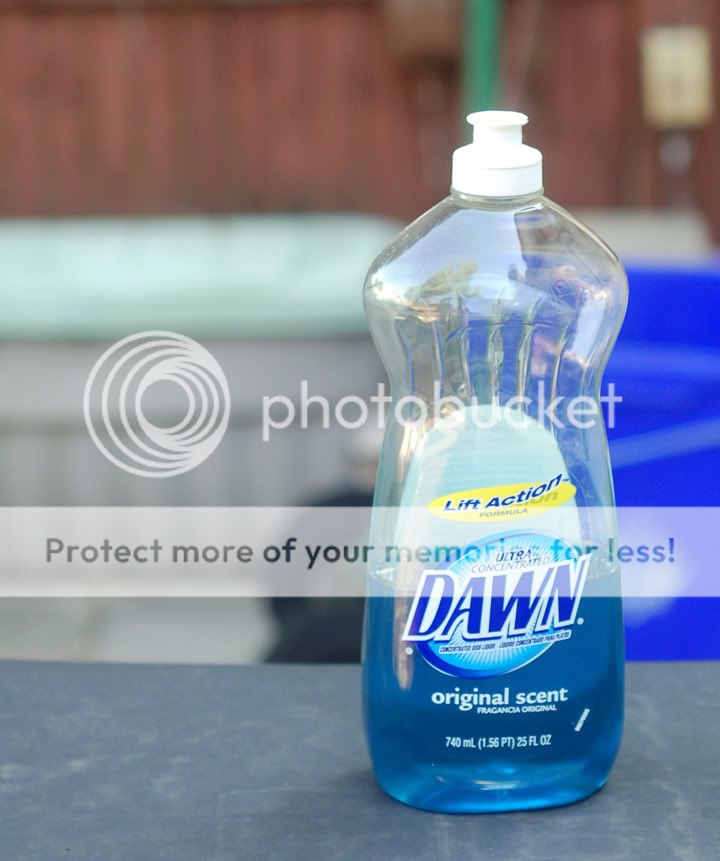
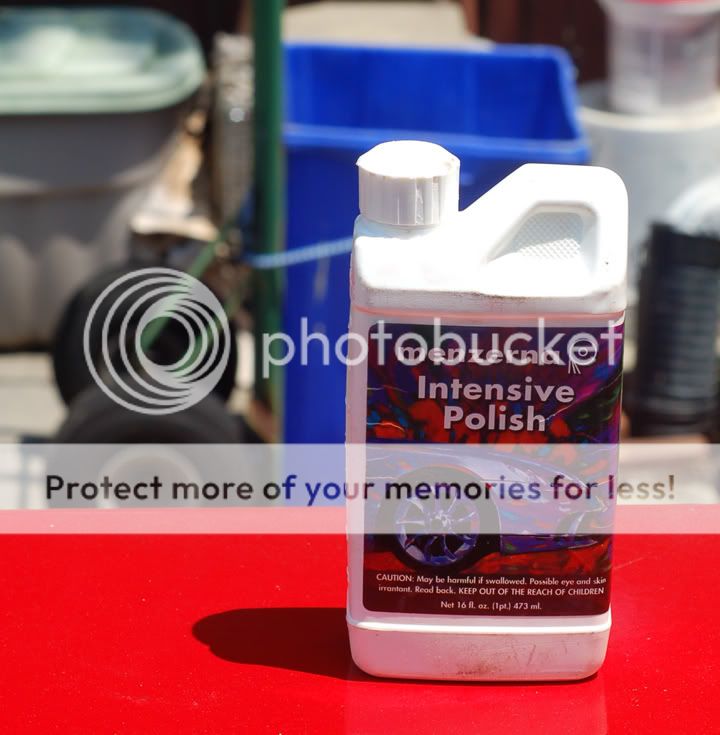
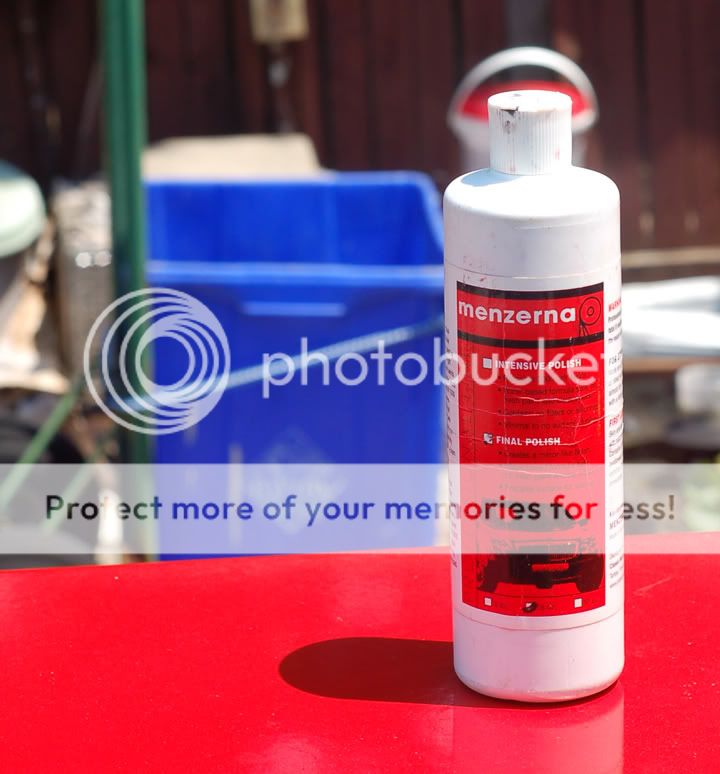
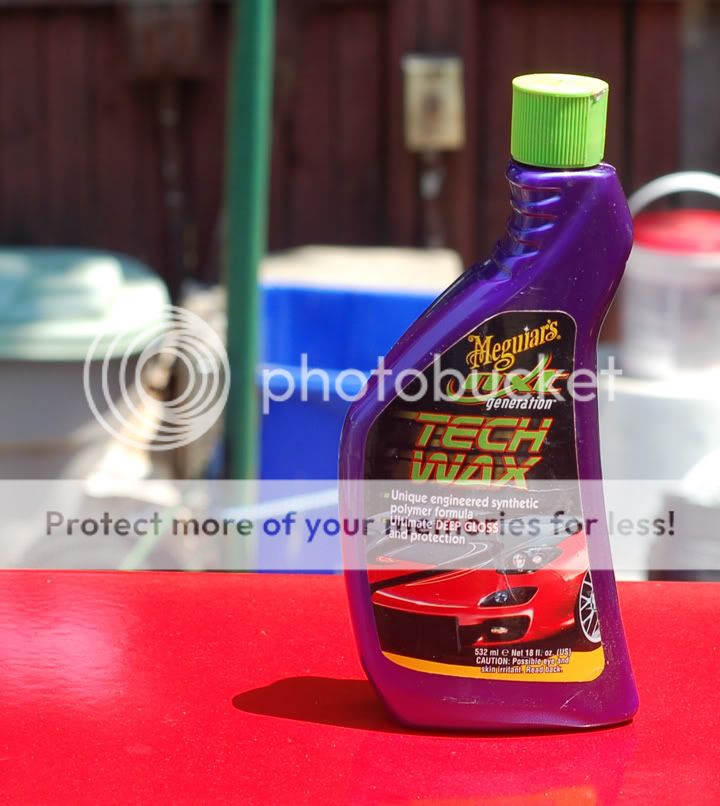
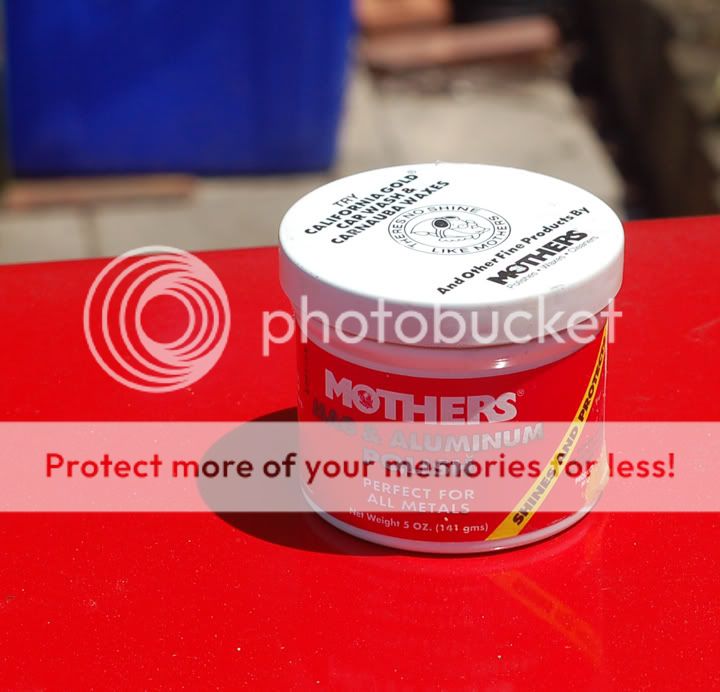
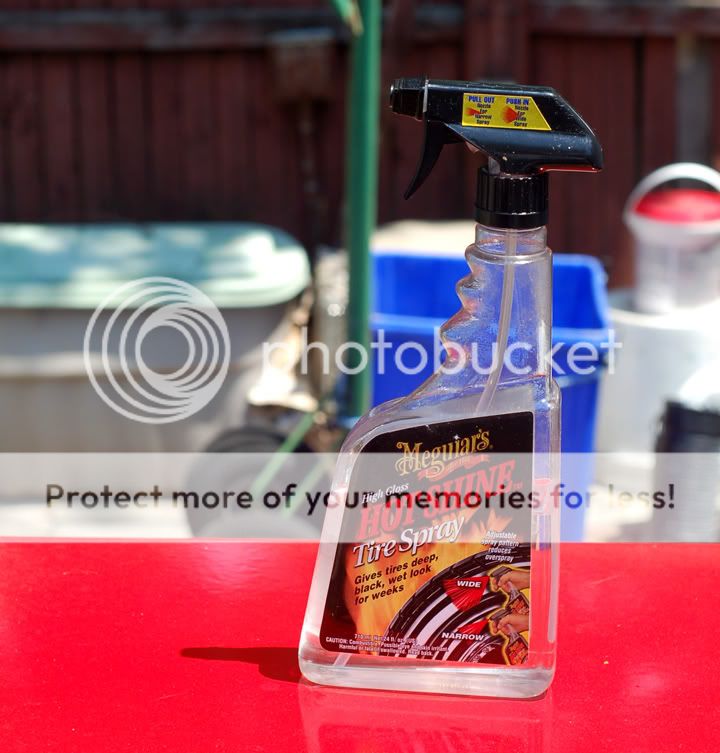
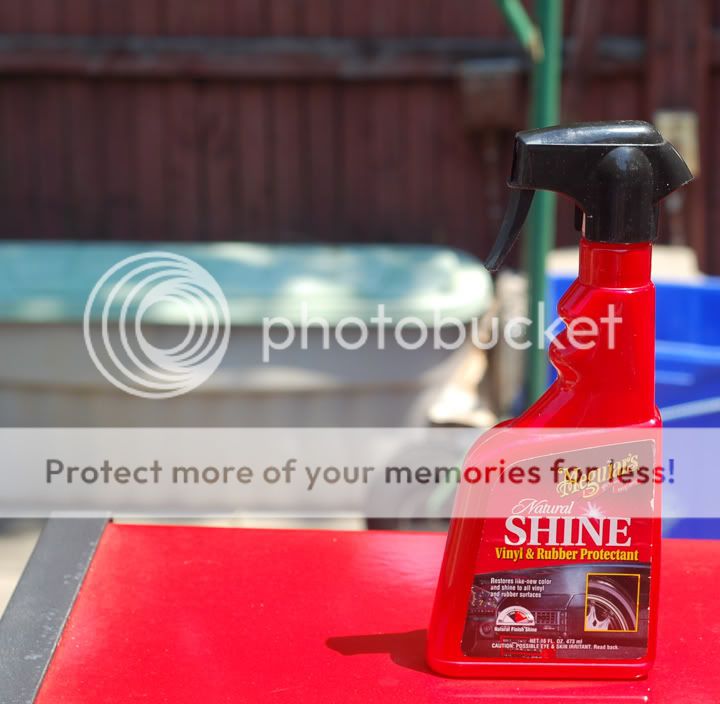
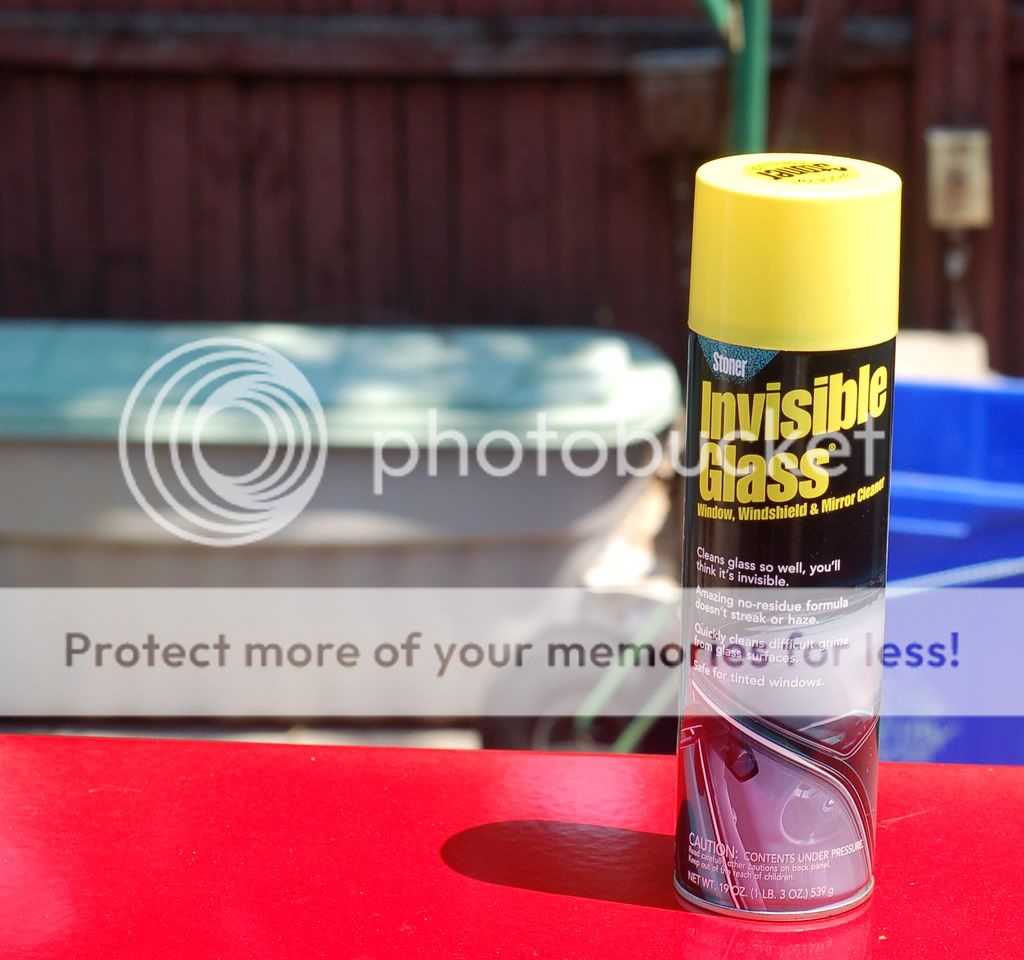
- I will list the products that I myself prefer. Usually that preference is based on availability, price, and ease of use more than anything else.

- Don't get hung up on specific brands in most cases, since if you do the process correctly you will get far better results using less expensive products than you will with the better stuff and a flawed process.

- For that reason I hope not to get into the typical "My Nicanica rules while your Canikony sucks!" as so often happens with devotees. There are numerous good brands in most products and if you are using something else and get results you prefer then by all means stay with it. The few times when I will advise strongly a ceratin brand is because over the 35 years I've done this (Starting in HS and have done my own cars my whole life.) I've found it to truly be superior ... and I've tried almost everything.

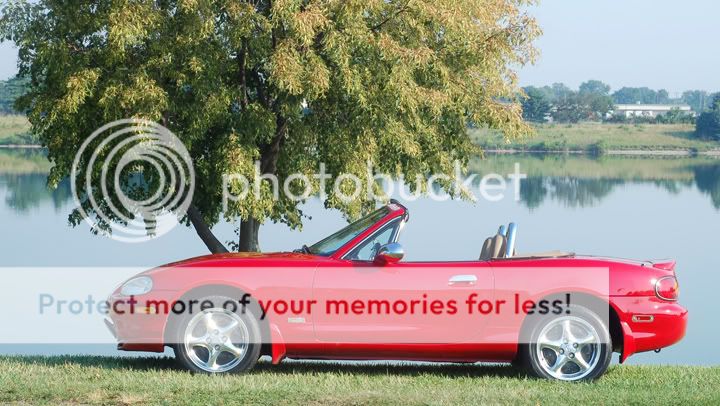
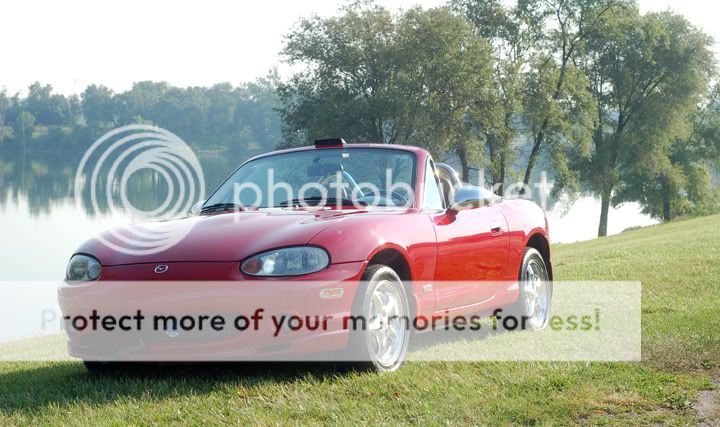
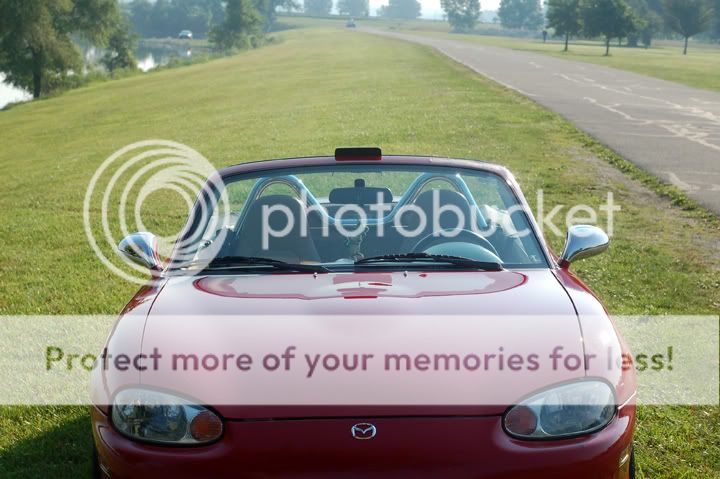
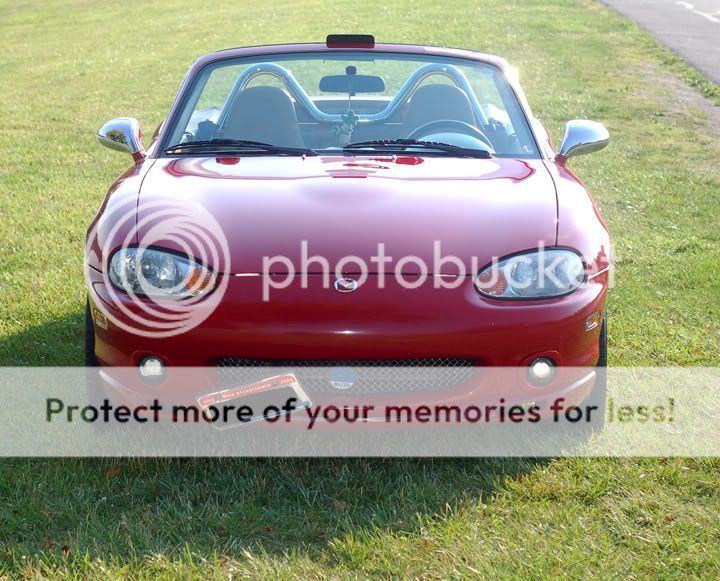
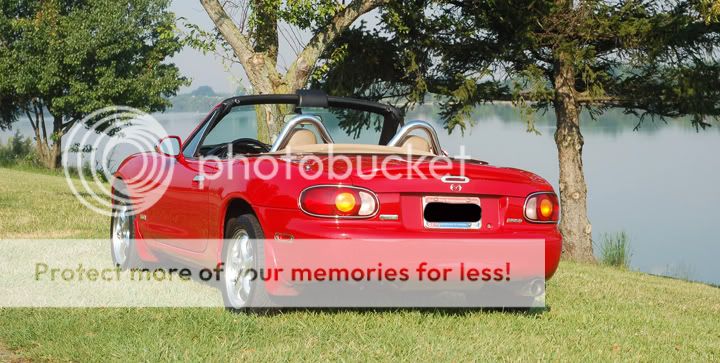
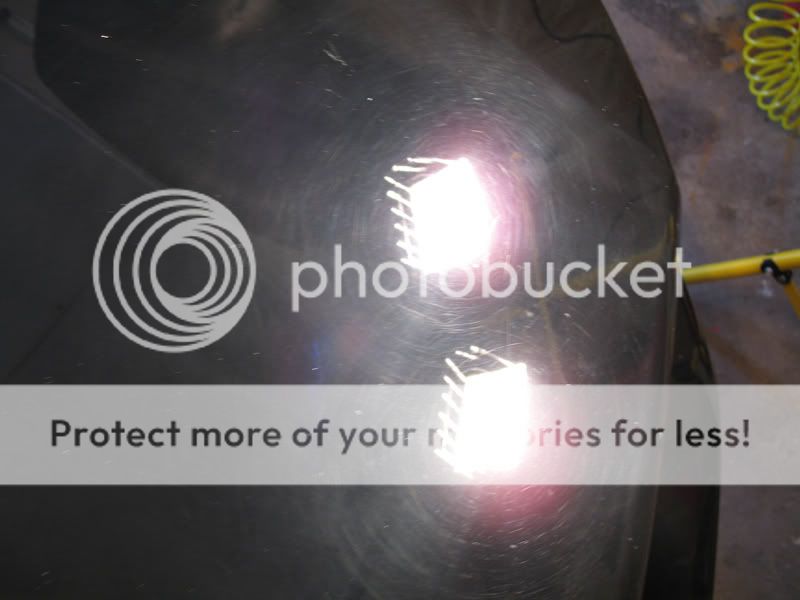
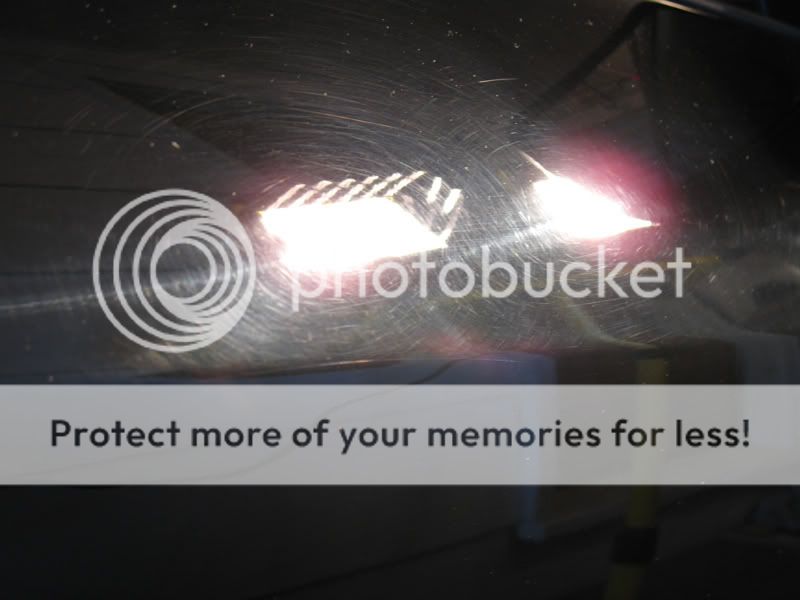
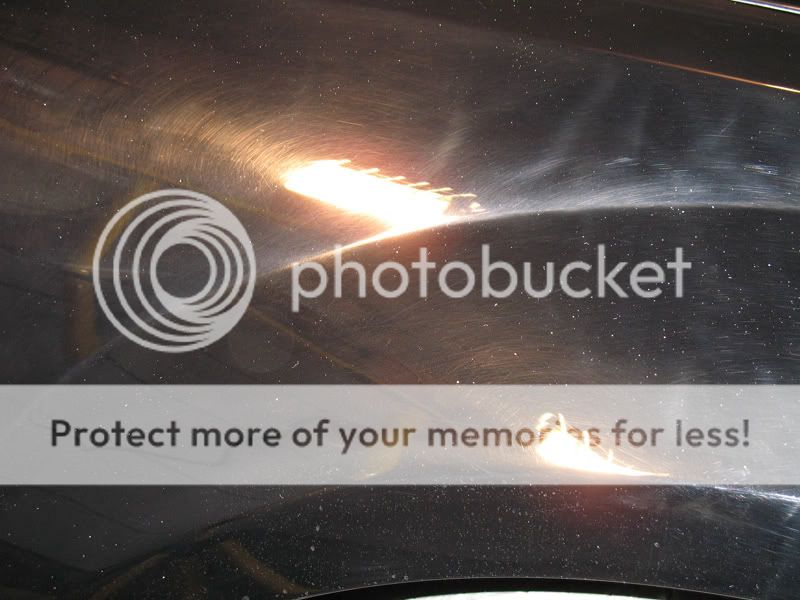
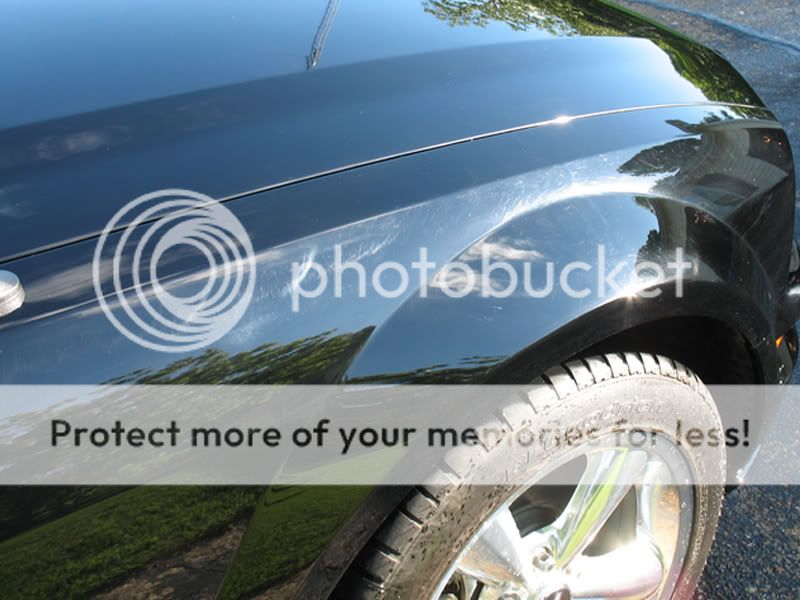
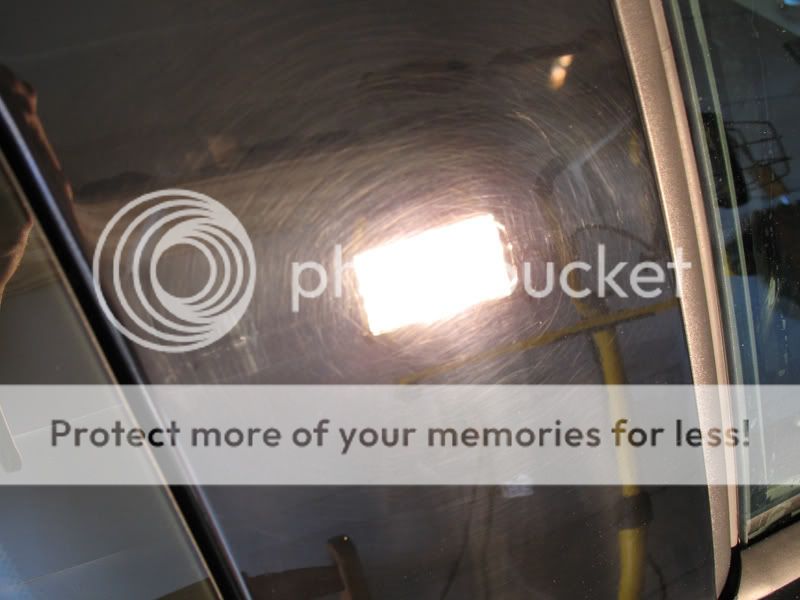
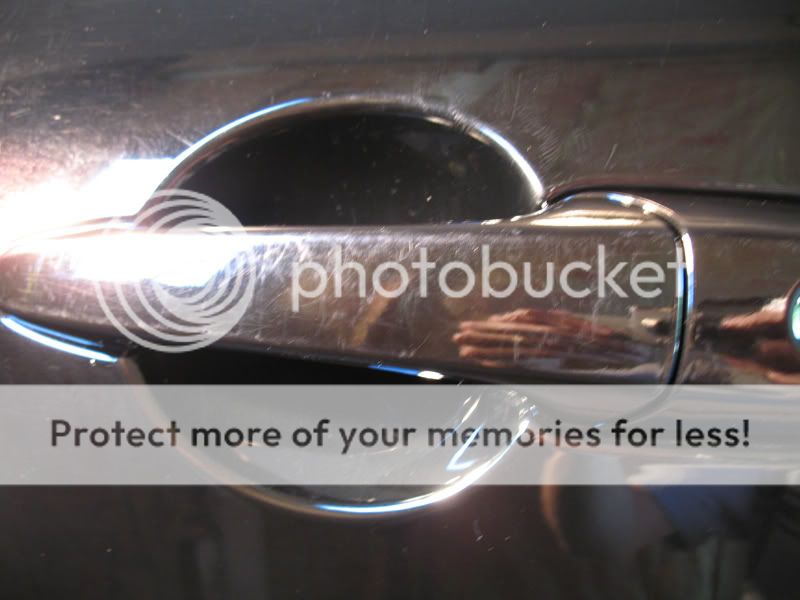
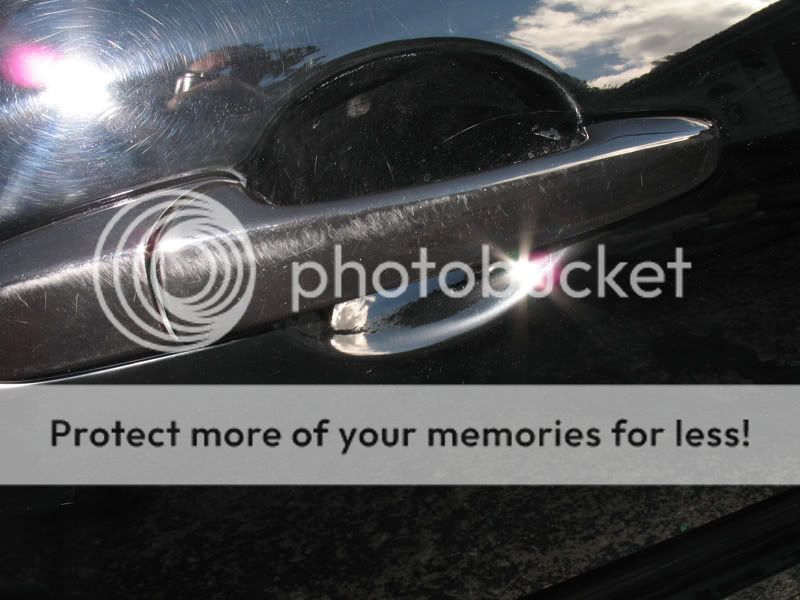
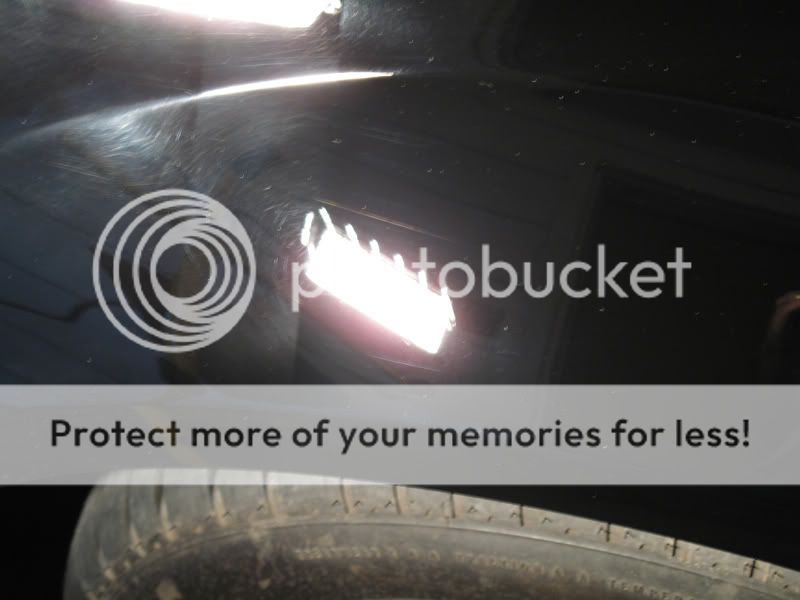
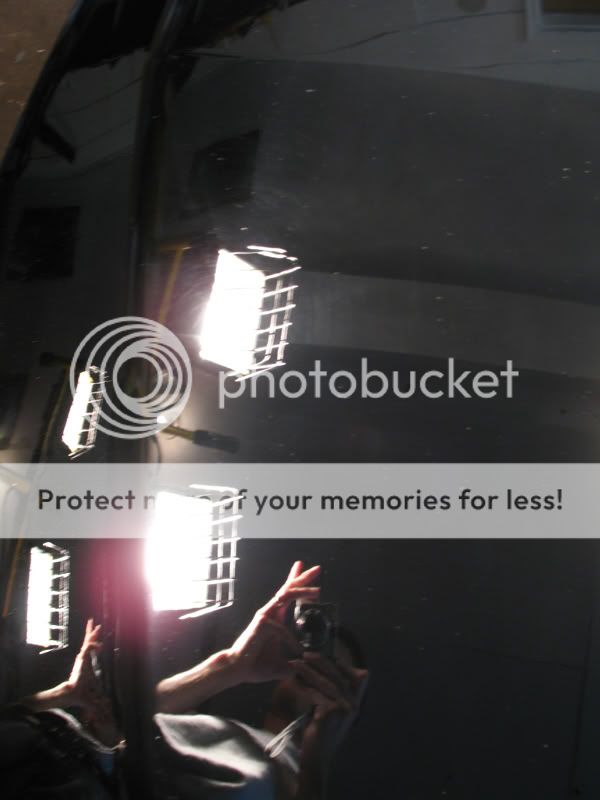
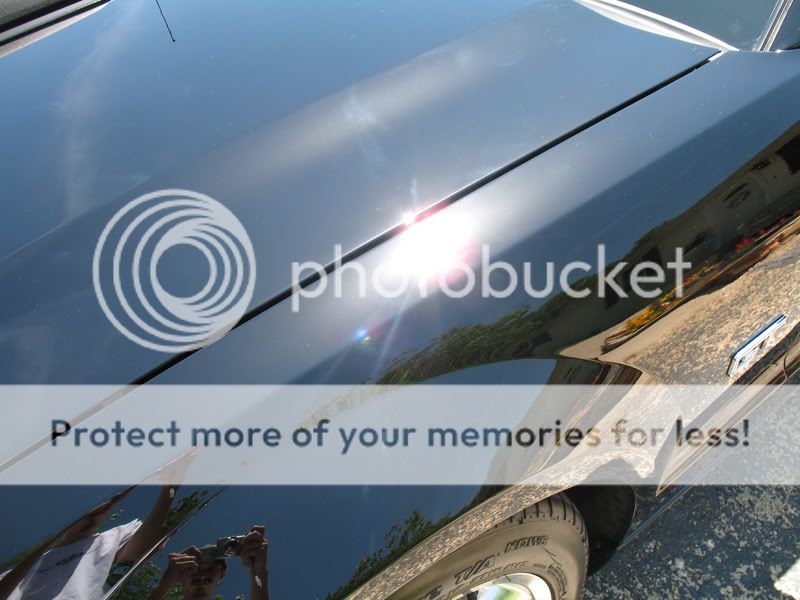
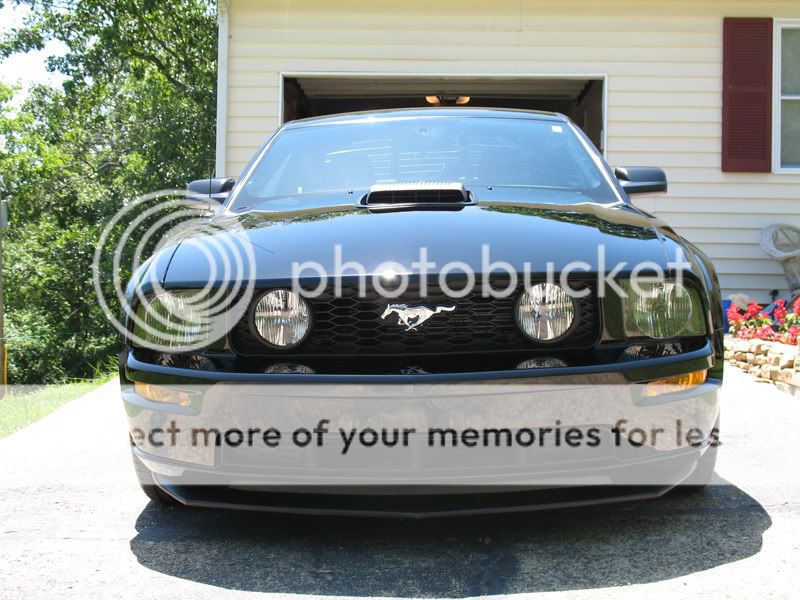
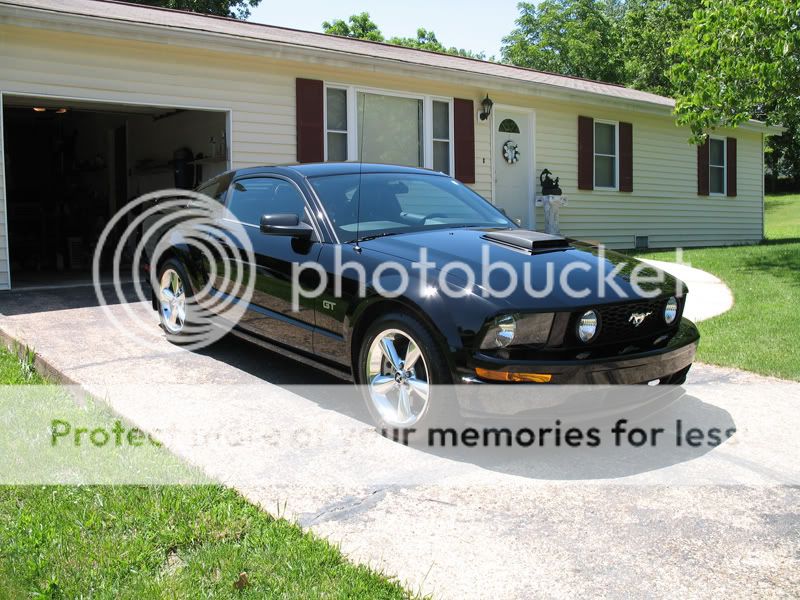
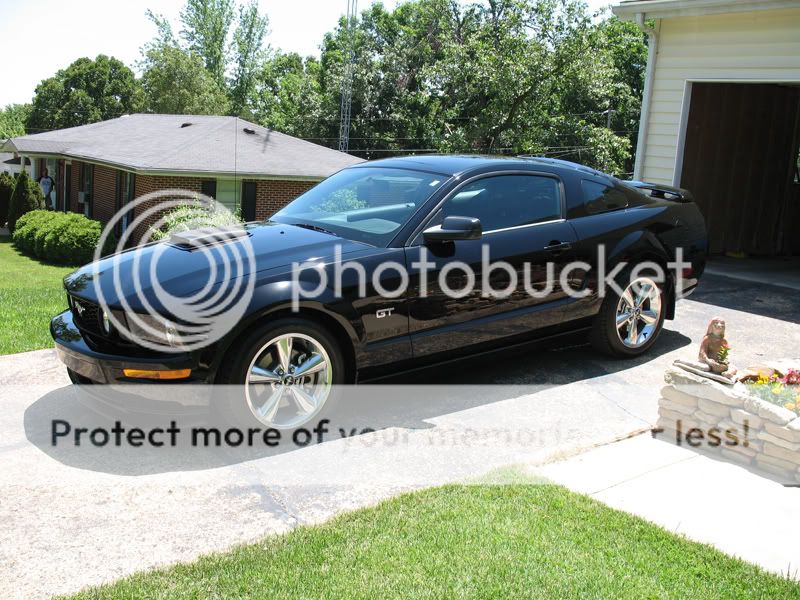
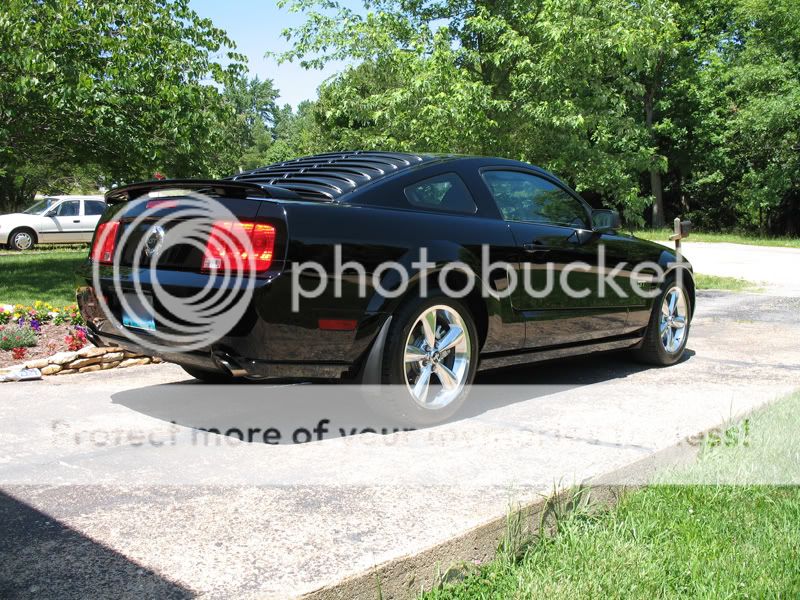
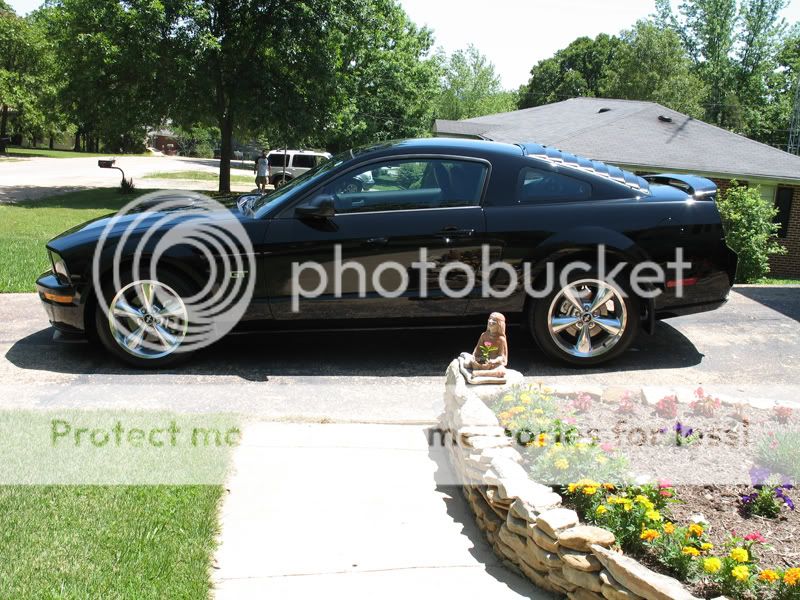
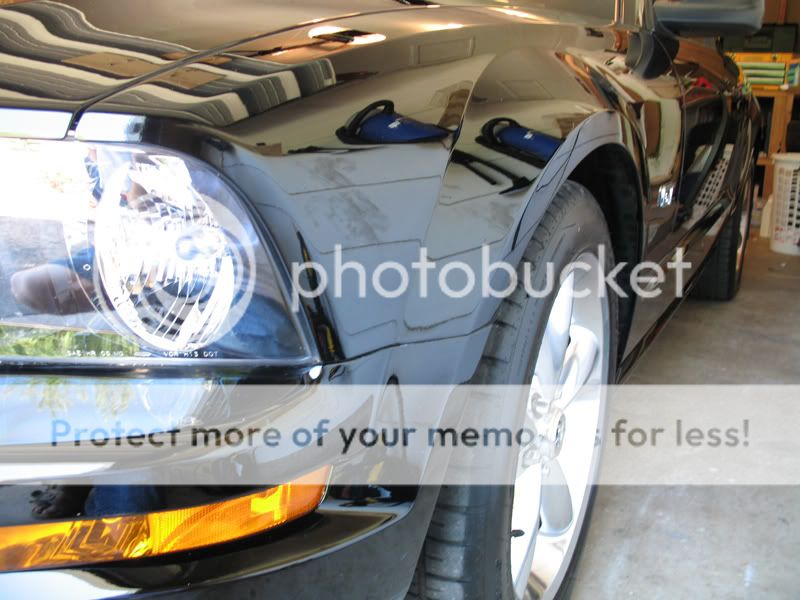
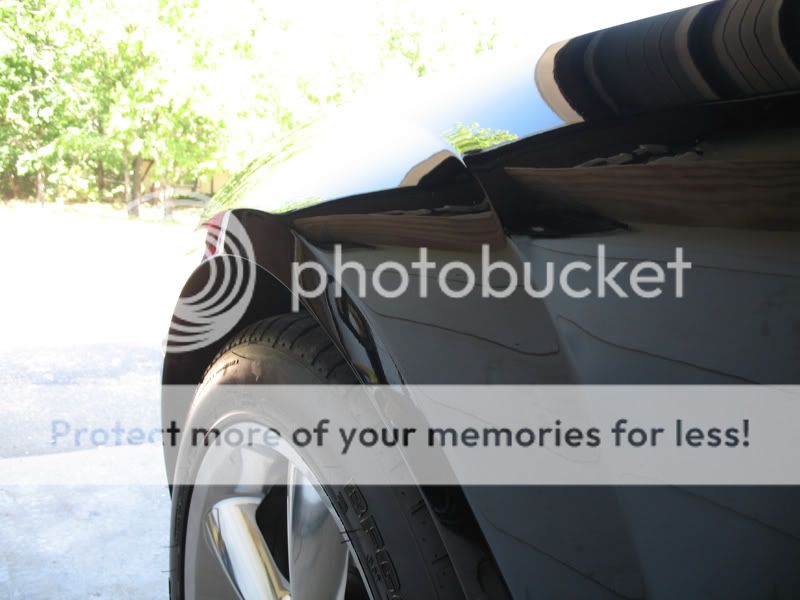
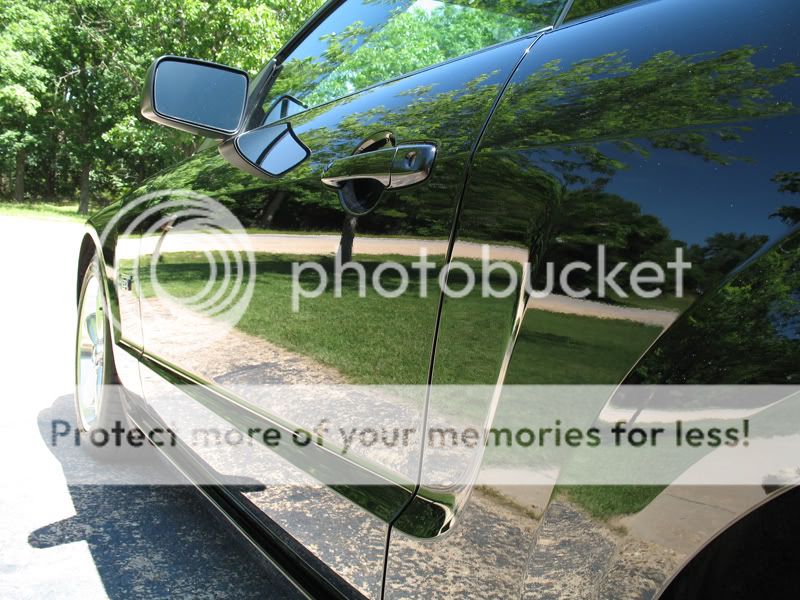
- The car I am going to be using as an example is not a cream puff by any stretch. It is soon to be 10 years old, gas over 60K miles, is driven aggressively, parked outside, auto - crossed, and in general has it's fair share of paint blemishes.

LWW
 
Last edited:
This may sound simple, but I've seen more than one person ruin their paint by rubbing on products with dirt on the car.

Don't do it.

If your car has a typical amount of road grime, a good test is if the paint no longer really feels smooth to your hand when running it across the surface, or bugs or tar then I would start with a bucket of warm water and about 1/2 cup of a good degreasing detergent.

I like Dawn, but and good degreasing detergent soap will do fine. Dawn just seems to be a bit stronger, and ease of use is an important factor to me.

001DAWN.jpg


If your car is relatively new you may get by a good commercial car wash soap. There are many available.

I like Meguiars. This is their "GOLD CLASS" which may or may not still be available as Meguiar's has replaced it with what is called "NXT CAR WASH" and both will do an outstanding job of lifting light dirt away from the paint.

002GOLD.jpg


You will also need a good drying towel. I strongly suggest the "ABSORBER" as it lasts longer than regular towels, isn't as expensive as a true chamois, and one will dry a large car. Mine is about 10 years old now.

003ABSORBER.jpg


When washing remember that the object is to get dirt off and not on the paint. If you drop a wash mitt or sponge on the ground or driveway get another one until that one has been laundered. If not you will likely regret it.

LWW
 
Last edited:
Now that you have degunked the car it should feel fairly smooth to the touch. If you think you have done good ... you haven't seen anything yet!

You will need a claybar:

006CLAYBAR.jpg


and a bottle of quick detailer, or QD:

007QKDETAILER.jpg


Meguiars, Mothers, and others make both products and I honestly haven't noticed a quality difference from one to the other. I buy what I can find on sale.

A clay bar will usually do 4 to 6 cars safely. Once it starts getting real gray instead of the original white or yellow it's time to move on.

A lot of people are scared of using a clay bar, but it's unwarranted. If you have the common sense sand wood with the grain then you can do this. In essence clay bars are an uber fine wet sanding of the finish. It will strip off old wax buildups and anything else the wash process didn't get ... including removing mild acid rain spots and/or tree sap damage if done correctly.

Like with your wash mitt/sponge always keep it off the ground. You will be amazed at the amount of junk it will eat and absorb, but a tiny pebble grating on your paint because you dropped the bar can be disastrous.

If you do drop it, wet it and inspect it thoroughly to get everything gnarly off of it. You can then reshape it with your hand to be extra safe. Reshaping after each body panel has been barred will also keep a fresh surface to the paint.

Now, take your QD and lightly spray about 2 sq foot of a panel. Next, take the bar and with enough pressure to get a flat contact point with the bar rub it back and forth, up and down, and circular over the QD's area, if you feel it startt to grab then your surface isn't quite wet enough.

Once that section is done just repeat the process until the entire car has been clayed. Allow it to dry while you get a drink. Towel drying at this point will only result in a messy towel.

LWW
 
Last edited:
As you have been through the first 2 steps, you should have been noting where your paint surface has issues ... and all paint surfaces have issues when it comes to cars so don't feel too bad.

One thing to remember ... nothing except new paint fixes scratches. If this is popular I may do another thread on paint touch up tips. Anything that is to the primer needs paint repair. Period. That can even be a touch up for the short term, but bare metal and weather aren't a good thing. The same with marks that go through the color coat ... get some touch up on it as a minimum.

Now, where you have scratches, swirls, yadda yadda yadda which don't go through the clear coat we can work some magic ... we can't make paint grow back, but we can make it seem to happen.

If you could look at a color/clear coat with a scratch in profile it would look something like this:

________ _________________
|_______|_|________________|

with a good polish will take the scratch from canyon shaped to valley shaped which changes all of the light refraction angles. When later filled in with the top coat or sealant the scratch will become far far far less noticeable.
_______ ________________
|______\_/________________|

If your car has some fairly large marks I suggest you start with a stronger polishing compound. I like Menzerna products, but again Meguiars and several others make good products which will work well
008INTENSEPLSH.jpg


If your problems are less then you can skip the intensive and just do a final polish application.

009FINALPLSH.jpg


To do the 1 or 2 step process I strongly suggest a random orbital buffer and not a circular buffer. A circular can burn right through paint in inexperience hands.

For an RO polisher IMHO the only one to have is the Porter - Cable brand. This one is branded Meguiars but is the same tool. I purchased it with a package of detailing stuff which helped offset the Meg's markup for their name. If you get the Meg branded polisher it comes with a lifetime guarantee which is a benefit, although the tool is well built and seems indestructible.

The $30 cheapie RO's are a waste of money IMHO as they don't work very well and burn out quickly.

The P-C has a ton of power, more than any RO I've ever seen, but being that it makes circles which orbit round the spindle instead of directly under it the chance of burning paint is gone unless you use way too much pressure on the machine ... and I'm not sure you could burn the paint even then.

A wonderful tool and it will probably be used by your grandkids if you take care of it.

It's like an old Nikon F body.

010PORTER-CABLE.jpg


You will also need at least 3 pads, one harsher one for the polish (2 if you do the 2 step) and one for the final sealer coat and one to polish off the excess and bring it to a final shine.

You will also save a lot of time and effort if you have a good supply of micro fiber towels, one for each product used because you don't want to contaminate a step with a prior product.

004MICROTOWELS.jpg


I use the QD again to get the polish applicator pad very slightly damp then apply a thin X of the polish on the pad.

Set the polisher on 3 and put the pad on the paint before turning it on, otherwise you will sling polish everywhere.

Use the polisher to cover about a 2 square foot section in a circular motion, then do an up and down, followed by a back and forthe, and then finally a diagonal XX motion of the area.

This will cut any defects from several angles and remove minor swirl marks. Once the polish starts to haze it means you have worked it as fine as it will get, go on to the next section.

Use an MF towel to wipe off any excess. If you are doing the 2 step polish process just repeat with the final polish.

LWW
 
Last edited:
On the sealer coat I really love Meguiar's NXT for a few reasons.

- It delivers a great shine.

- It dries clear so you don't have a residue issue if you get it on a wheel or something.

- It is remarkably easy to work with.

- It can easily be done with an applicator and MF towel if you want to redo it ever couple months or so as additional coats.

011NXT.jpg


I apply it with a buffer when doing the entire process just because I have it out, but as mentioned for re-touches it is easily done with a pad and a towel.

I use the QD to lightly moisten the pad again, and here's a great think about NXT ... I only use 2 - 4 drop to cover an entire body panel. The thinner you spread it the tighter it bonds as it cures and the better it shines. If even think there is a remote possibility you used too much ... you used too much.

Once it's applied let it dry for a half hour and it almost falls off with a soft polish pad on the buffer or with a clean MF by hand.

Here's an extra tip ... after it has been polished out, wait 24 hours and add a second coat. You won't believe it.

The pictures I will add in of the car are after 1 coat and maybe 2 hours curing. NXT will actually look better after 24 - 48 hours. A really cool product.

FWIW it seems to work best on non metallic colors, but still returns an awesome shine on metallic paint also.

LWW
 
Last edited:
For other products you will need a series of applicator pads, these are cheap and all seem to be of about equal quality.

005APPLICATORS.jpg


On any polished metal such as chrome/polished wheels, roll/style bars, etcetera I would ONLY use Mother's. Stuf that works as well is hard to use and stuff as easy to use doesn't work as well.

A couple of points however:

- DO NOT USE ON PAINTED OR CLEAR COATED PAINT.

- Unlike the Meg's products it has a chemical smell. It doesn't really bother me, my wife is asthmatic and can't get near the stuff inside because of the smell. If you are susceptible to these problems use it outside.

On this car it was used on all the shiny bits including the wheels.

012MOTHERS.jpg


There are many good tire shine products. I like "HOT SHINE" because it lasts a good while and goes on easy with an applicator and isn't messy or runny.

Be careful with tire black products to apply it evenly and not use too much. Runs look bad.

013TIRES.jpg


There are also many good interior shine products. I just tried this and it works well, but I honestly will return to using Mother's "BACK TO BLACK" next when this is used up.

Whatever you use, stay away from silicone based stuff.

Both Meg's and Mother's dry quick, leave an even shine, and don't leave that greasy look and feel which some products do.

014INTERIOR.jpg


For convertible tops/boots and vinyl roofs and truck tonneaus I've found NXT PROTECTANT to be my favorite.

015TECHPROTECT.jpg


On windows, I really like SToner's "INVISIBLE GLASS" but have tried Meg's NXT glass cleaner and it works well also.

I have found everything else to be a notch below.

016INVISIBLEGLASS.jpg


LWW
 
Last edited:
Now, the results.

This from the side:

017SIDE.jpg


and the front:

018FRONT.jpg


and the front and a few of the hood and the reflective capabilities aven before fully curing or a second coat:

019HOOD.jpg


020HOOD.jpg


022HOOD.jpg


021HOOD.jpg


and one last one from the back:

018REAR.jpg


LWW
 
Last edited:
All photos of the car shot in JPEG autoexposure on a Nikon D50 with 50 MM F1.8 AF lens in natural light without flash at Eastwood Lake in Dayton, Ohio.

The products were shot from high atop our our Weber with the same equipment.

I will be happy to answer any questions and I hope this has been a help.

A process such as this is about a half day's work and easier than yard work.

If you car runs well you will enjoy it more when it looks good, and if you are wanting to sell it this should easily pay for itself in increased value ... plus you have enough stuff to service 2 or more cars many times.

I hope this has helped.

LWW
 
Last edited:
Yep thats how its done. When I first used the clay bar I was shocked at all the junk that came off my "clean" car. Like you said don't drop the clay!
 
So shiney !!:afro: need glasses lol.

The car looks like it could be dropped down a little , the tires seem far from the wheel wells for that type of car.
 
I wish I could treat my car like that. I live on a dirt road, though, so a shiny coat like that would literally last about 30 seconds... And I get a crack in my windshield about once every 6 months... It sucks.

Beautiful Miata, btw. I love roadsters, and it is one of the few being made now (S2000 is the only other one I can think of). Anyway, neat ride!
 
I think I've got this area covered. :mrgreen:

http://www.thephotoforum.com/forum/showpost.php?p=1310282&postcount=36

Less than £6 for a bottle of t-cut and I used my existing wax. I've found machines to do a terrible job when the paint is bad so do it all by hand (takes a few days...) and then use some more t-cut and a machine to get the t-cut I've used on the car off. Then polish it up whilst it's wet and slap some wax on.
 
I wish I could treat my car like that. I live on a dirt road, though, so a shiny coat like that would literally last about 30 seconds... And I get a crack in my windshield about once every 6 months... It sucks.

I feel your pain. Our road is paved, but there is plenty of dust along the sides and in the driveway. Both of my vehicles are gold/tan colored so it doesn't show up much. I think I've washed my truck at most 4 times since I got it in August '06.

Anyone have tips on polishing my Chevelle's primer? :p
 
I didn't read it all but here's a few problems I see.

1. If you have softer clearcoat like on a Honda/Acura then an absorber will marr the surface. Also the absorber has no way of pulling any dirt left from beyond the surface. A good waffle weave Microfiber drying towel will work much better and safer for softer paints.

2. NEVER let the buffer's pad touch any surface other than the car as it is in your picture. Any dirt that accidentally gets in the pad from that surface will just get spun around all over the paint.

3. Dawn.....I suppose it's okay if it's used only before a full detail, but I'm still not a fan as it seems to dry out rubber trim and seals. I perfer to use a mix of my normal car wash soap plus an ounce of APC per gallon of water. This will strip the old stuff off but not bother the rubber seals like Dawn.

4. I would never put a product directly on the paint as you could marr the paint by setting those bottles there. Set a microfiber cloth on the paint and then the product on that. No sense in risking damaging the paint when you're putting as much time into as this.

Edit: Here's a detail I did awhile back to show what can actually be done with the process if done correctly. The OP only showed afters which makes it hard to see what can actaully be accomplished. Oh and to the person who said they only do things by hand. I'd bet you a hundred bucks that you couldn't fix something below by hand, regardless of how long you spent. Sometimes you need power to level the paint from bad scratches.

The Story:
THis car was beat up pretty bad last fall from a tornado that came through town. It ended up needing a lot of body work and a complete repaint. Well, where to begin. After 3 months, the owner wanted his car back from the body shop. They rushed the final buffing and there were rotary holograms/buffer trails over the entire car. THis was my first experience removing them. Next......this was the softest clear I've ever seen. I couldn't hardly wipe the polish without scratching the paint. Oh, and it had a few swirls in it too from the soft clear coat.

In the end, I wasn't able to remove everything, but got pretty close. The hardest part was getting it to finish down completely without marring from my PC....yeah it was so bad that Meg's #9 and a final finishing pad marred if I wasn't careful. Tried an Orange pad, but it left as much marring as it removed, so on to the green.

Process:

Wash w/ 2 bucket
(didn't need clay, but I tested various spots incase)
SSR 2.5 w/ Propel Green Pad - PC Speed 6 (twice in some areas)
Meguiars #80 w/ Propel Green Pad - PC Speed 6 (twice or three times in some areas)
Meguiars #80 w/ Propel Blue Pad - PC Speed 6 (only in some areas)
Meguiars #9 w/ Propel Blue Pad - PC Speed 6 (medium pressure, then letting up to light pressure)
Meguiars #26 w/ Propel Blue Pad
Final Wipe Down with Meguiars Last Touch

Windows got Invisible Glass
Interior got a wipe down with Meguiars NXT Interior Protectant
Vaccumed
Wheels Polished with Mother's Liquid Aluminum Polish
Exhaust Tips Polished with Mother's Liquid Aluminum Polish
Tires got Meguiars Hot Shine

I think that's everything. Now on to the horror shots


BEFORES
BeforeHood.jpg


BeforePDoor.jpg


BeforePFender1.jpg


BeforePFender3.jpg


BeforePQuarter.jpg


BeforeDoorHandle3.jpg


BeforeDoorHandle2.jpg


AFTER 1 Pass of SSR2.5 on hood
After1Pass-3.jpg


Some Half and Half Shots
HalfandHalf5.jpg


HalfandHalf4.jpg


HalfandHalf3.jpg


AFTERS
AfterFender2.jpg


AfterFender1.jpg


After1.jpg


After3.jpg


After4.jpg


After5.jpg


After7.jpg


Some Reflection Shots......just because
Reflection7.jpg


Reflection6.jpg


Reflection4.jpg


Reflection3.jpg


Thanks for looking.

I'd like to mention that there are more than one way/combo to do a good detail. Different combo's of pads and products can achieve the same end goal. However there are many more wrong things that can be done so do your research people before tackling a big job. Research products/pads, etc... Also regarding the PC. Yeah, it's a good machine, but the new big dog on the market is the Flex Random Orbital. Twice as fast with defect removal, removes twice the defects, and still a safe alternative to the rotary.
 
Last edited:

Most reactions

New Topics

Back
Top