ElizaMM
TPF Noob!
- Joined
- Aug 22, 2015
- Messages
- 106
- Reaction score
- 5
- Can others edit my Photos
- Photos OK to edit
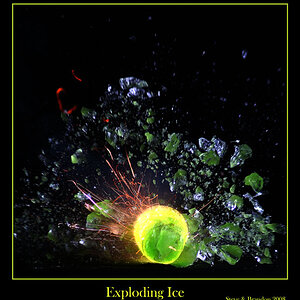
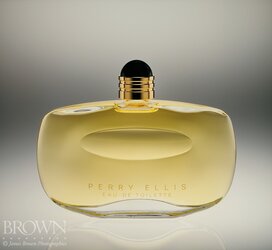
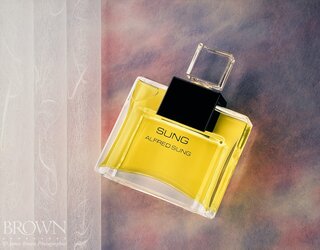
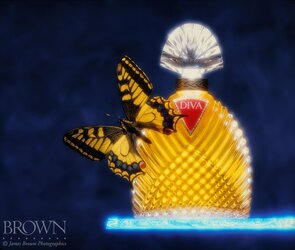
I want to photograph glass and I am looking at two budget-priced soft boxes at the same price, one octagonal and one rectangular. Does shape have an effect on performance?
https://www.amazon.ca/dp/B00QURN7XE...olid=1WP4P4FC1MI51&psc=0&ref_=lv_ov_lig_dp_it
https://www.amazon.ca/dp/B00PIM3I6I...olid=1WP4P4FC1MI51&psc=0&ref_=lv_ov_lig_dp_it
https://www.amazon.ca/dp/B00QURN7XE...olid=1WP4P4FC1MI51&psc=0&ref_=lv_ov_lig_dp_it
https://www.amazon.ca/dp/B00PIM3I6I...olid=1WP4P4FC1MI51&psc=0&ref_=lv_ov_lig_dp_it
As an Amazon Associate we earn from qualifying purchases.
")


![[No title]](/data/xfmg/thumbnail/34/34066-70cfbd1a7917f22be4d9ded0bd7542d8.jpg?1619736262)