voodoo_child
TPF Noob!
- Joined
- Aug 24, 2006
- Messages
- 41
- Reaction score
- 0
So I've been learning from the book "Understanding Exposure" for a few days now but there are a few things that still arent clear to me. I understand the use of aperture (depth of field) and shutter speed (motion effects) and correct exposure.
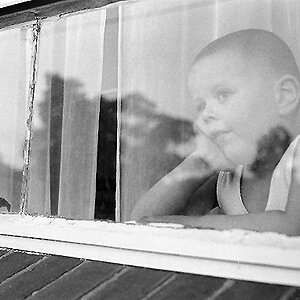
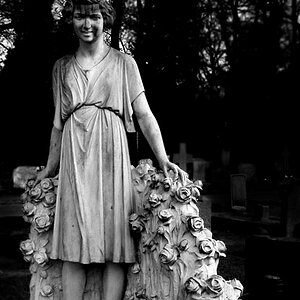
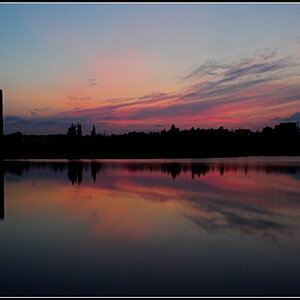
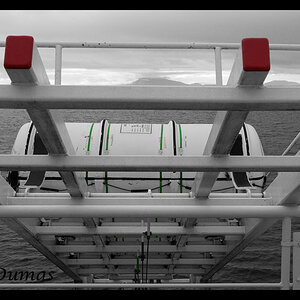
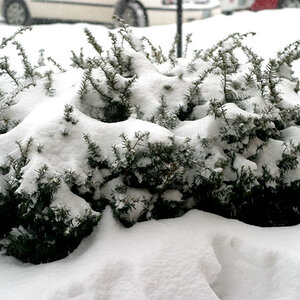
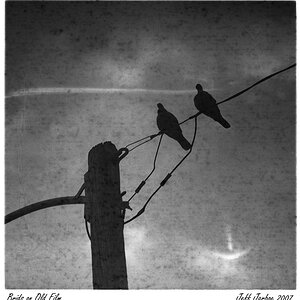
The problem for me is taking a light reading to create a correct exposure. Where do I take the reading from? I know this is completely different for every situation so I will give some examples.
In each of these pictures can you tell me where the reading was taken and why?
1
http://img438.imageshack.us/img438/6627/1eh8.jpg
2
http://img451.imageshack.us/img451/3726/2id6.jpg
3
http://img436.imageshack.us/img436/1650/3kz9.jpg
4
http://img451.imageshack.us/img451/1761/4jw6.jpghttp://img412.imageshack.us/img412/6784/5jx0.jpg
the last one is from bryan peterson's book the others I just collected over the months since I got broadband.
BTW im using an olympus OM2, the manual says it has "TTL direct 'OTF' light metering" if it makes any difference.


![[No title]](/data/xfmg/thumbnail/36/36680-2f2b1d32244516c9d5cf39af9b78b382.jpg?1619737677)

![[No title]](/data/xfmg/thumbnail/36/36681-6b091a8cd7318d47018c823a2eff3185.jpg?1619737677)