What's new

More B/W converstion questions

Hair Bear

TPF Noob!
Joined
Sep 20, 2006
Messages
398
Reaction score
0
I can see its been on here before and I have read other sites but all the examples seem very long winded to me.

I have just been converting colour to B/W in the Image>Mode in Photoshop, then back to RGB same menu

Then I use levels to adjust how I need, for complicated pics I might have a double copy of the image on layers that i can 'burn' through to reveal a slightly different contrast.

Thats it! Do i really have to go through all these channel mixing bits? Really?

Here is an image I took recently on colour film, scanned to CD and I converted it using the above method. It also has a 4/0/-4 setting in the colour levels to give it some sepia rather than the blue it has in RGB

Is it that off?


48470034bwvk5.jpg
 
That's pretty good, the levels are fairly healthy, you've got a good tone on the skin. I'd say the white areas are bordering on slightly overblown, especially the rose/carnation, so I'd be tempted to drop the lightness slightly and boost the contrast a little to give a bit more depth to it. It might be worth as an alternative method (my favourite) trying the following routine:

Adjust levels and curves to make the image a little too bright but histogrammatically even.
Apply a red filter at 30% preserving luminosity.
Apply gradient map
Desaturate
Apply warming filter (to give sepia appearance) or use duo-tone

Rob
 
Well, for me, I convert color to black and white in PS CS2 by...

Converting to lab mode color
Select lightness channel
Convert to grayscale
Set selection to current channel
Inverse
New fill layer, solid color, slot color grayscale, gray 100
New layer, opacity 5%
Play with curves
High pass filter, 10px radius
hard light layer, opacity 30%
then flatten image.

Done!

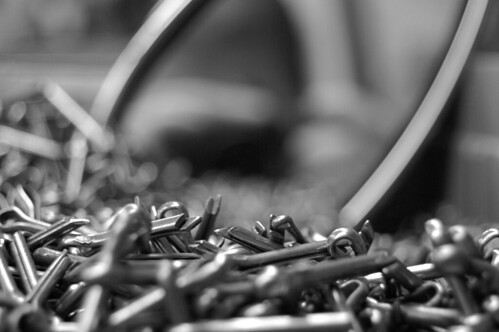
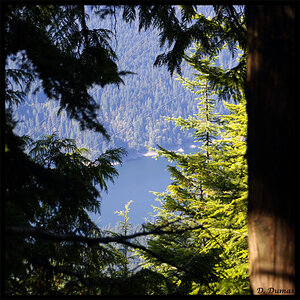
224166384_27daafb56e.jpg


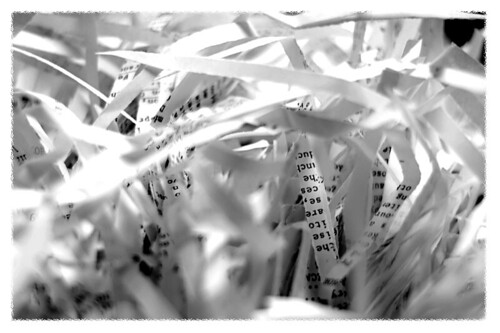
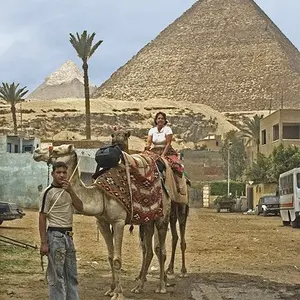
237404058_9c0f19931d.jpg


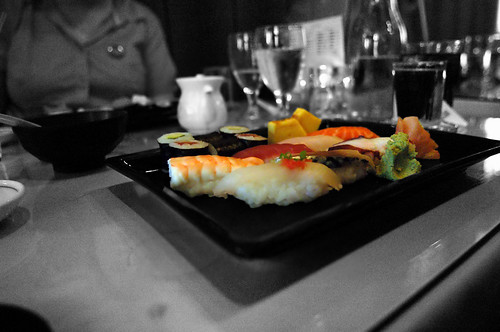
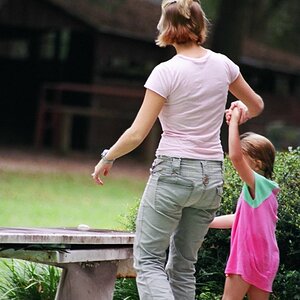
222260142_5b7ab09296.jpg
 
I was tought to use Channel Mixer in RGB. Use starting point 70
10
20
Check the monochromatic box int he bottom left hang corner.
I was always tought NEVER to desaturate or just change to grayscale.
For one it damages your histogram becuase it is just "moving" things around.

Hope you find this helpful:)
 
Maybe the best thing to do would be to try several of the methods here and see what sort of results I get.

I have to confess there are other pics in that batch that I couldn't convert and get a rich tonal value in b/w.

Ill take the hardest image and this one and run several methods to see how they work and post back later < v busy at the moment so this may take a few days.
 
Tiberius said:
Just Desaturating the image (converting to Grayscale) produces rather dead pictures most of the time. I'd highly reccomend trying some of the tweaks here:

http://www.kenrockwell.com/tech/photoshop/b-w.htm


Tib, I had a look at that link and it was good to see the various ways to convert with examples.

However, I'm not sure I like the results.

If you look at the colour pic and the tonal values of the image, I do this by squinting at it < yes crude but as you squint harder you see less range. By squinting you can quickly find the lightest and the darkest area and compair tones.

The building is darker than the sky IMO but in the end results in B/W its lighter?
 
JDP said:
Well, for me, I convert color to black and white in PS CS2 by...

Converting to lab mode color
Select lightness channel
Convert to grayscale
Set selection to current channel
Inverse
New fill layer, solid color, slot color grayscale, gray 100
New layer, opacity 5%
Play with curves
High pass filter, 10px radius
hard light layer, opacity 30%
then flatten image.

Done!

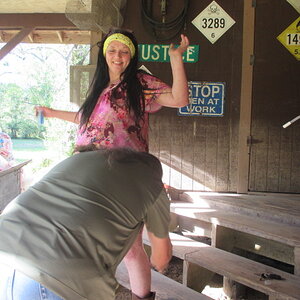
I like these images, the last one has a very nice feel. Very dark in the background but still well lit on the subject and jug.

I will add your method to one of my images to see what happens
 

Create an account or login to comment

You must be a member in order to leave a comment

Create account

Create an account on our community. It's easy!

Log in

Already have an account? Log in here.

New Topics

Back
Top Bottom