First and foremost get him away from your backdrop. Leaving a couple of feet between the subject and backdrop allows for the depth of field to help you immensely with the backdrop problems.
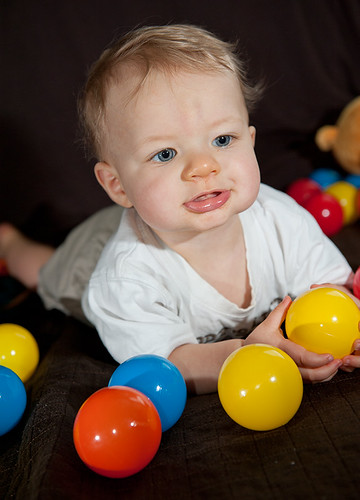
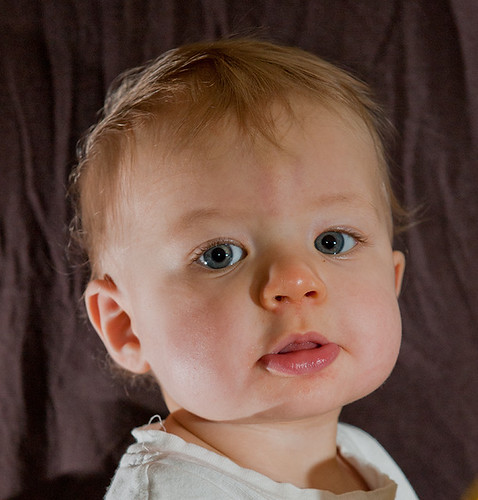
1 is very nice with a pretty decent front/angle to the light. He has a touch more shadow on our left/his right side of the face while being very evenly lit.
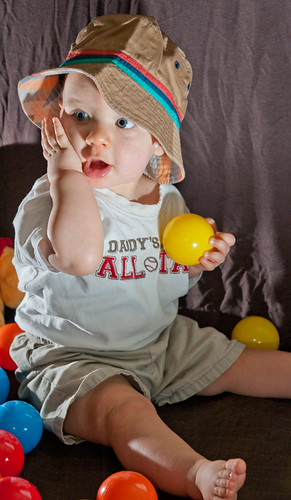
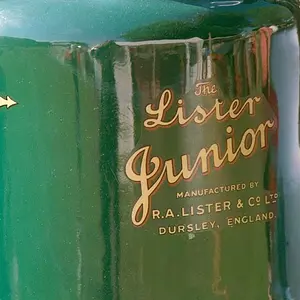
2 has shadow problems from the angle and from the hat. Your light needs to come from below the hat or a reflector needs to help it out there. Here it's hitting the top side of the hat and it's very concentrated. What are you using as a modifier for the light? It almost seems as if this is a small light source that is spot lighting that side of the hat. The larger your light source the softer and more even the light will seem. This is why MANY of us choose a nice big softbox as our main modifier. Umbrellas work well too, so don't think you have to run right out and buy a huge softbox if you don't have one. You want to spread that light out and make it softer.
Also the closer your light is the softer it will be. A closer light at a lesser power is better than a high powered light source from many feet away in this instance.
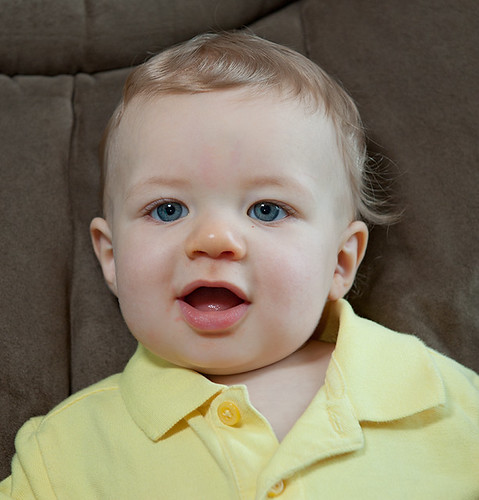
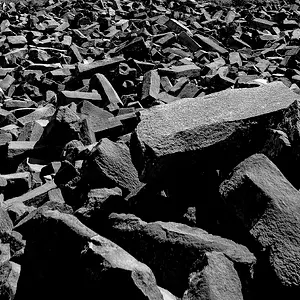
3. is pretty decent flat lighting. It is above him still and I would have wanted to drop it down a bit. I prefer the first one to the completely flat lighting, however with small children flat lighting is often HUGELY beneficial. They tend to not stay where you put them and if you are using a more specific lighting setup they can find the most ways possible for it to not work on them.
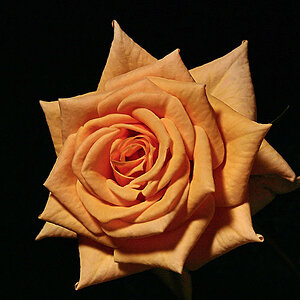
4The light is behind him to our left here and it really isn't working. I am guessing you were working on maybe highlighting the hair or backlight? In which case he should have been further from the backdrop with the light actually behind him so that it wasn't falling on his face at all.
Are you using any lighting tutorials, books or anything to guide you?
When you get images like these pick apart what you expected to happen as opposed to what actually came out on the image. Then try to figure out why it turned out the way it did.
The assignments I used to give in a lighting class I taught was to work a one light setup and to do much the same as what you did here. They had to have one shot with the bare flash adjusted properly to light the subject correctly from right, left and center. Before those shots they were to write down what each position of the light would produce as far as the lighting, shadows and colors would look.
After they took the images they needed to write down what they actually got as opposed to what they expected.
The next class the assignment was to use a white shoot through modifier-either umbrella or softbox and do the steps all over again.
The third class the assignment was to add in a reflector and to repeat the assignment with the umbrella or softbox. Place the softbox and the reflector opposite to get proper fill...
The following week we started to add in an additional light and so on down the line.
Of course, being a college course I had diagrams where they were to place the lights and modifiers, but I hope you have more common sense than most of my students had! LOL!
After that they had to design the photograph from start to finish ON PAPER and hand it in... Then shoot it. If it came out exactly how they expected they passed. If it didn't they had to then figure out how and where they screwed up and they had to continue to come to class for the remaining week while the others had 3 freebies to cut. Most of them passed it on the first try.




![[No title]](/data/xfmg/thumbnail/40/40285-2ce5915035c220ccb3485030863b62d0.jpg?1734174700)
![[No title]](/data/xfmg/thumbnail/40/40288-4d5d7a8aa74ddfceb5fb82062d9b21be.jpg?1734174702)
![[No title]](/data/xfmg/thumbnail/40/40284-f59f6230f0d5b9eacf977f8b0392f087.jpg?1734174694)

![[No title]](/data/xfmg/thumbnail/37/37540-73002ccb910b97978bc38658622a34d3.jpg?1734170695)