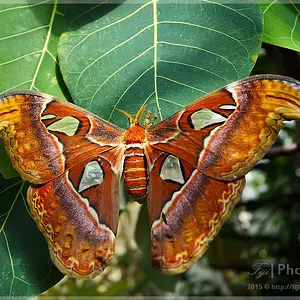
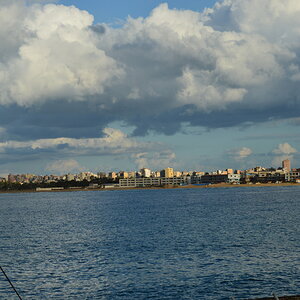
Hey Noyze. do you use or have photoshop? If you do, with that bottom image you could create a HDR looking image from that as it is properlly exposed, and it shouldn't take long.
Hope you don't mind me editing your photo

Im not sure if you have photoshop or if you know how to use it, so I'm just giving a brief step by step. You can use this for most images though some you might have to use different methods, depending on how you wish to edit.
Basically in photoshop, you create a copy of the background layer and change the blending mode of that copy to Hard Light (works well for this image). Now we are going to create a Burn layer so you can use the Brush tool to darken the bright areas, i.e sky etc. Now if you go Layer, New Adjustment Layer, Curves. Once the Curves dialog box opens, click on Mode, and choose Multiply. The image will turn very dark, so if you change the background/foreground colour (on tool box, far left of screen down bottom) from white to black and then press Ctrl I, the new Curves layer background colour will go to black and the image will return to how it was. Then using the Brush tool, (make sure the hardness of the brush is on 0%) change to whatever thickness and opacity and apply the brush to the sky or whereever you wish. (If that doesnt work and the foreground/background colour is black, just change it to white and also make sure the curves layer mask is selected.)
You can do the same to create a Dodge Layer (lightens the image where you apply the brush.) just by going through the same steps but instead of Multiply under mode, choose Screen.
You can also create Contrast layers via a similar way, but thats another topic lol.
Hope this helps to whoever reads it.



![[No title]](/data/xfmg/thumbnail/35/35263-86f580cf5d28d23109a45984030a79ad.jpg?1734166920)

![[No title]](/data/xfmg/thumbnail/31/31012-f5e0c7cdea2f2c3e44737e3f61c2461a.jpg?1734159086)