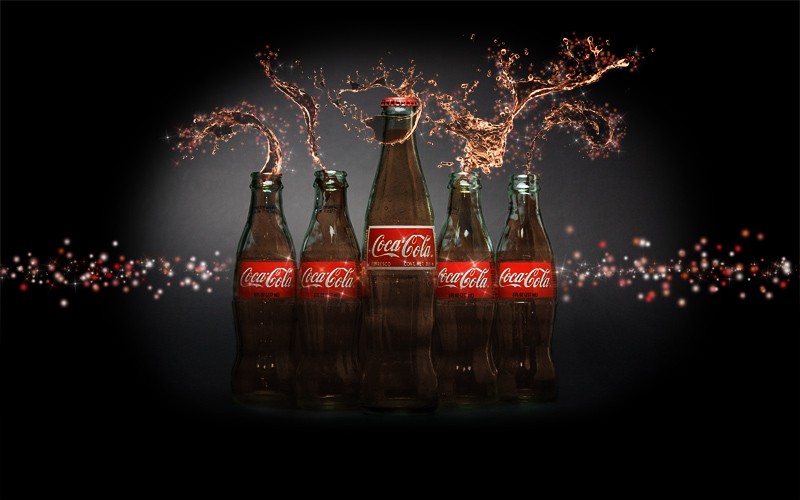
Splash of Goodness

Here is a simple walk through of the basic steps I took to creating the image.

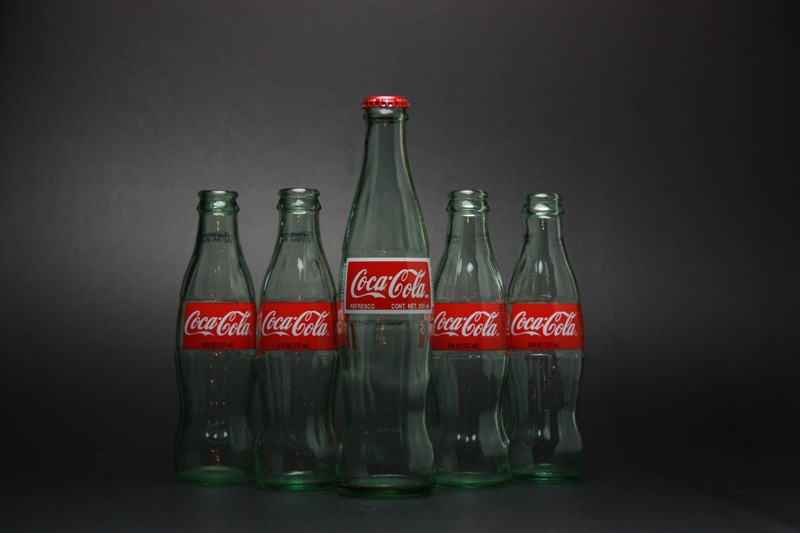
Step 1 - Original Shot
- Here is the original image i shot myself.
CokeBottle2o.jpg


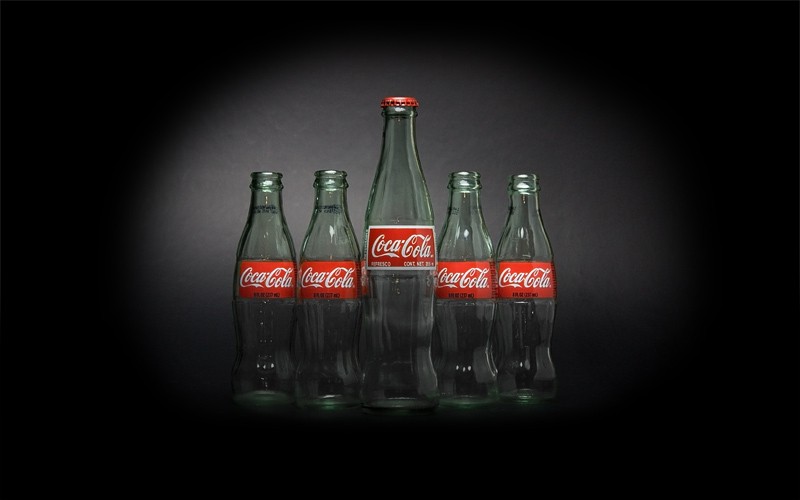
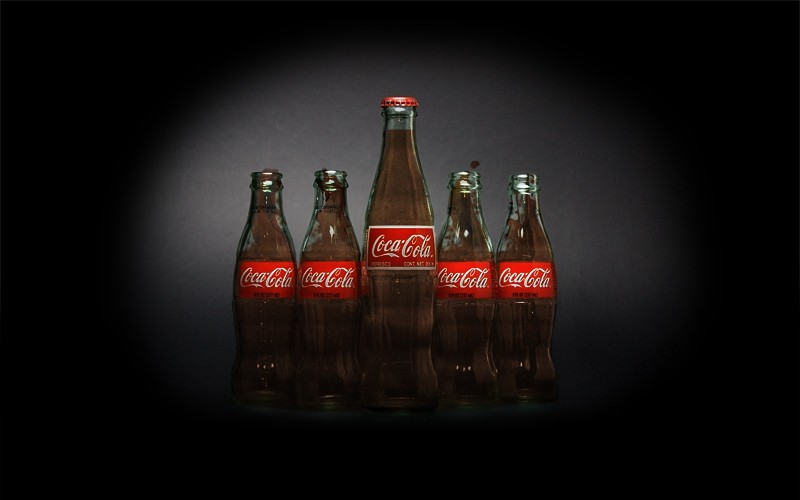
Step 2 - Basic Adjustments
- Next was to add the vignette and some contrast/color/brightness/saturation adjustments.
- This also included some cloning out some imperfections i didn't like
- Sharpened the image also
CB2-01.jpg


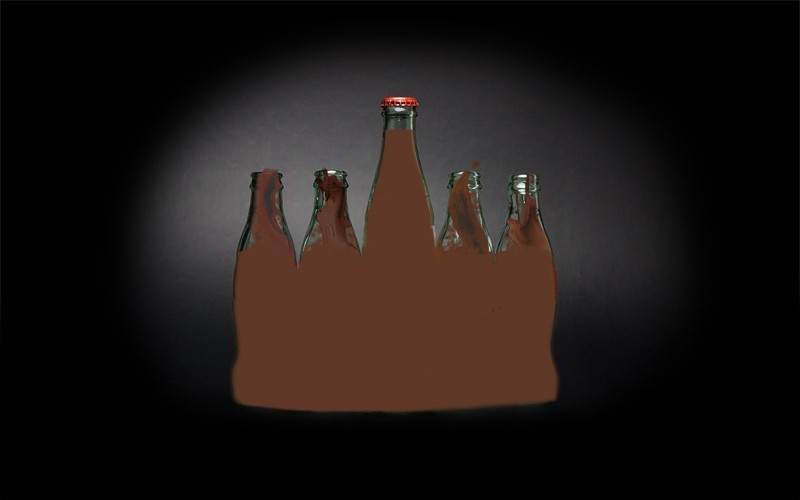
Step 3 - Add Some Coke
- I knew i wanted to create some actual fluid into the image. So I created a layer with some brown.
- Most of it is a solid brown and then used some stock image splashes of some orange juice.
- This was to create the geyser effect coming out of the bottles.
CB2-02.jpg


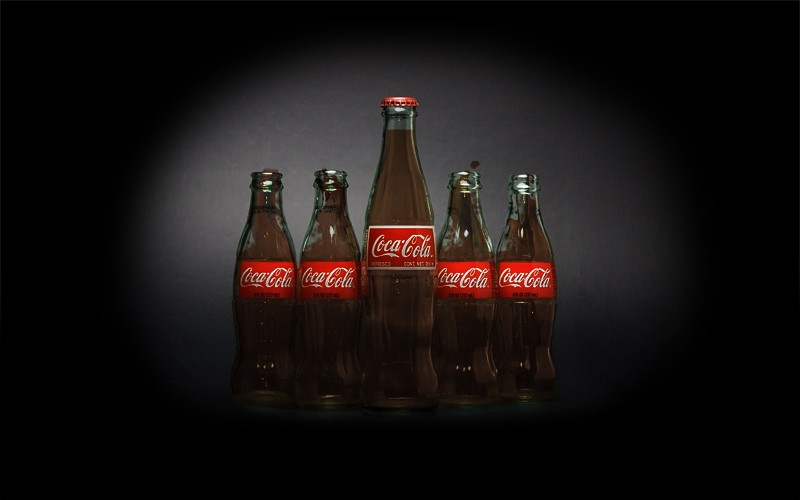
Step 4 - Blending the Coke
- Basically just applied an "Overlay" blend to the layer. Also adjusted the Opacity some.
CB2-03.jpg


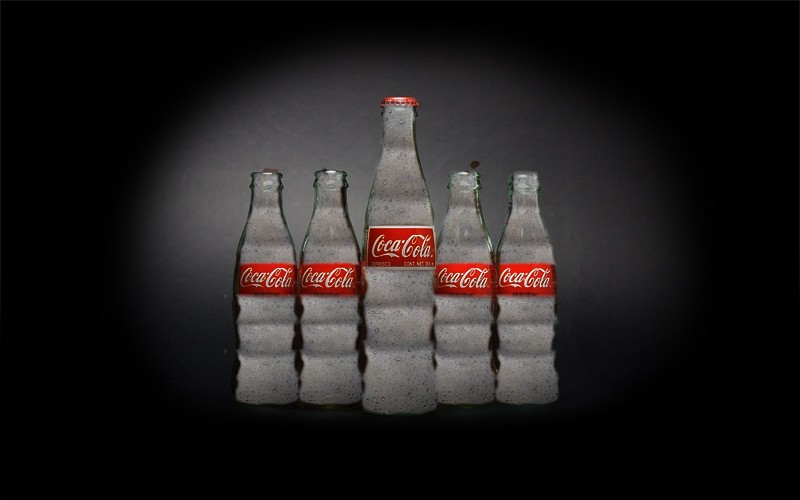
Step 5 - Water Drops
- Took some stock images of rain drop on a window and masked them out in the shape of the bottles.
CB2-04.jpg


Step 6 - Blending Drops
- Just another "Overlay" and Opacity adjustment.
CB2-05.jpg


Step 7 - Splash Time
- Used several stock images of splashes of water.
- Had to do a bit of blending and color correcting.
- I know it doesnt look like real Coke but i wanted a Vibrate touch. If i made it dark it just didnt look good
CB2-06.jpg


Step 7 - Sparkles
- I wanted to add the typical "Coke Magic" touch.
- Basically using the paint brush with a soft circle and a star brush.
- Under brush setting i just set a stagger and color effect.
CB2-07.jpg
 

Most reactions

New Topics

Back
Top