No problem Melis! My pleasure. Glad you like it.

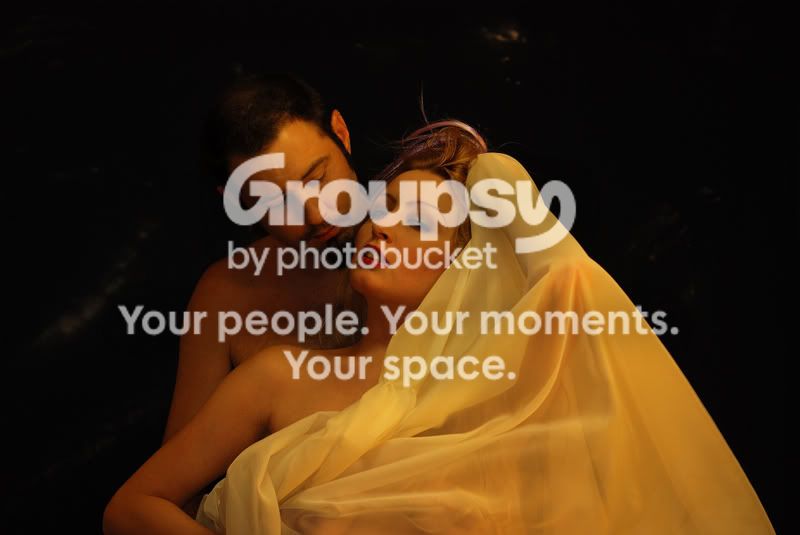
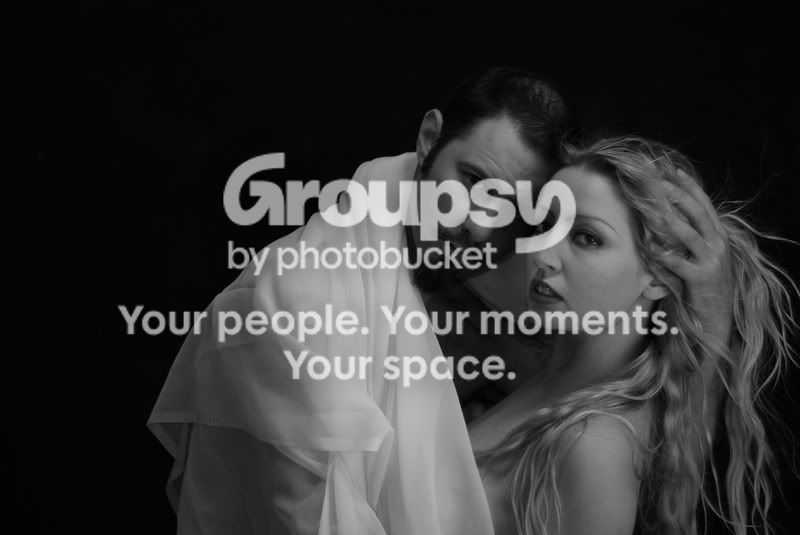
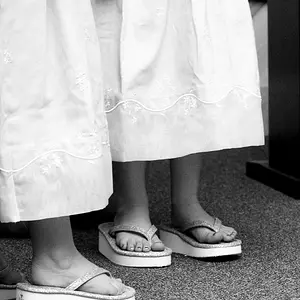
The image was already very classy and sexy as it was. All I did was push up the light values to where they should be, so that the viewer gets all the effect of the shadows and highlights. With black and white images, contrast is really important. It looks best if you push the highlights as far as you can without blowing them out. The midtones and shadows will work themselves out in the process.
My workflow on this particular image was:
1. Adjusted Levels in PS. I saw that it was underexposed, so I pulled the righthand notch until it was up to the right most edge of the black part (its hard to explain without looking at the histogram).
2. I upped the contrast with the Contrast/brightness filter in PS. Settings were Contrast +10 and Brightness +10.
3. One very important thing about the contrast boost though...I made a selection around the white silky material and selected Inverse, which in doing so, selected everything else except the material. Then I made the contrast adjustment. The reason I did that is because the material was already bright enough, and I didnt want to include that in the overall contrast boost. Make sense?
4. I used the dodge tool at 15% opacity and carefully brightened the eyes, and the whites around the eyes. Be careful not to go too far with that, because it can look fake very quickly. It only takes a couple passes with the brush.
5. I used the burn tool at 20% opacity to tone down the white material even more. This allows the viewer to focus more on you, the subjects, and not so much the bright material.
6. I then took it into Neat Image and cleaned up the slight noise in the image. The Noise Levels (luminescence channels) were reduced about 50%, and the sharpening amount was set to about 75%.
7. Lastly, I took it back into PS, and used USM and sharpened again at settings 75%, 0.3, and 0 (to give it that extra pop for web viewing).
Hope this helps. This is just my process, and it changes somewhat with every image, depending on whats needed IMO.
Oh, and by the way, there was no HDR tone mapping done with this at all.

NJ






![[No title]](/data/xfmg/thumbnail/42/42481-e35ff0c514a554d7bd4381fb2ae79c5a.jpg?1734177006)
![[No title]](/data/xfmg/thumbnail/41/41493-60071420f928565170996b4edc3de2f0.jpg?1734175887)
![[No title]](/data/xfmg/thumbnail/36/36300-760519cb9a8ebbfc57cc3d1fda5dd37c.jpg?1734168623)
![[No title]](/data/xfmg/thumbnail/31/31744-f06a1a9bb9c74e3b8b332878f5fe71f1.jpg?1734160459)