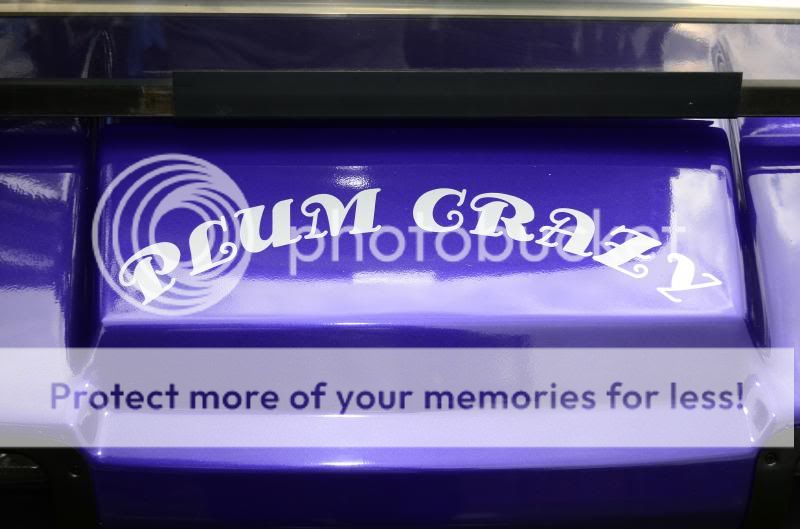
Wonder what I need to manipulate in the camera setting to get the right colors.
Basically, you need to get two things that you probably don't have yet:
1. A white balance tool. A neutral gray card is standard. They come in many different materials, sizes and costs, from something you can keep in your wallet or even on a keychain, on up to big whopping reflectors with a neutral gray target pattern on the back to be used for white balance. Some are very expensive, and don't necessarily do any more than the cheaper ones. The key is that it must be a neutral gray in order to get proper white balance, which is in turn key to getting proper color adjustment.
2. A monitor calibration device. This is a puck type instrument that you hang in front of the monitor that assesses your display and adjusts it to the correct color balance settings so that your white balance tool will actually work. Xrite and Datacolor make popular ones, like the ColorMunki and Spyder series of calibration devices. They too come in various versions and prices. Some will also calibrate your scanner(s) and printer(s), in addition to your monitor(s). No other method, especially not those involving your eyeballs, will do the job of calibrating your monitor.
So, that's the hardware you need to get that you probably don't have yet. But there's more you need to get a handle on. Get those two things, and you'll be able to get the a much better rendition of the correct colors of everything from golf carts to people's skin, and everything in between, as long as it fits in the monitor's color gamut (which includes most things that actually exist in the real world).
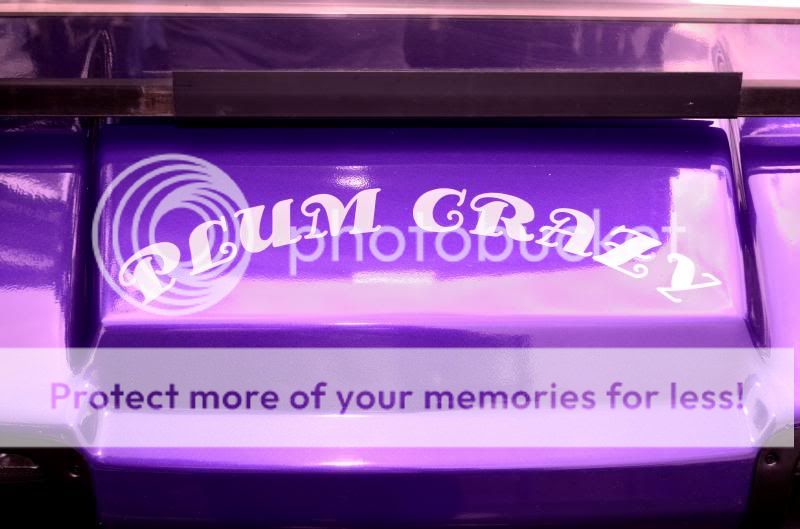
But it doesn't end there. Color is about hue, saturation and brightness. Even after correctly using the tools above, if your photo is too dark or too light, the colors in it will be darker or lighter than they looked naturally when you shot it.
But the same is true about color in real life, though our eyes adjust automatically, so we don't notice it as much. Look at this golf cart (or anything else) in dim light after the sun's dipped below the horizon vs noon sun, and the colors will look much different - darker or lighter. Look at something in bright sun, then shade, then in the light of a tungsten light bulb, then a fluorescent light - every different lighting condition makes it look slightly (or sometimes vastly) different in color. So the light conditions you shoot in will render different colors as well, and you can begin to ask yourself the question, "what color is this REALLY?" Is it darker or lighter? It all depends on the light it's in; the viewing circumstances, and that's where the REAL problem in color matching lies.
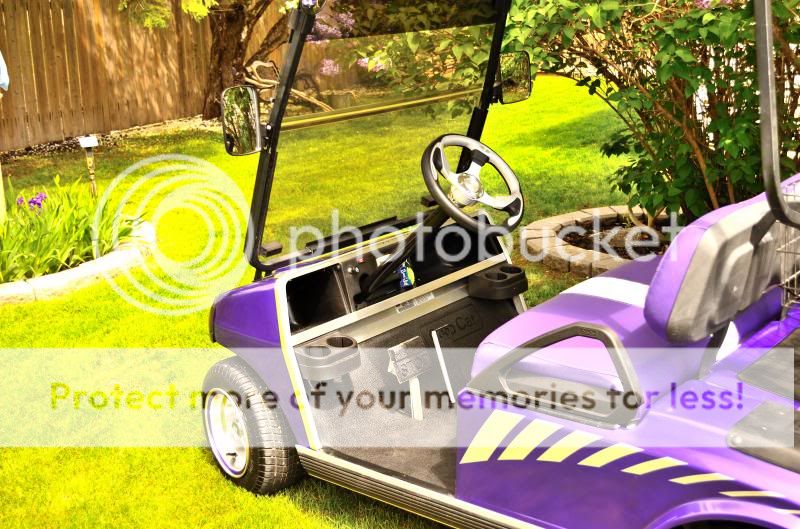
So the next device you need to have and learn to use is a light meter to get the brightness correct. The one built into your camera will do a decent job if you learn to work it correctly. It has different settings such as spot, center-weighted, and so on. You need to learn about these settings and understand which is appropriate for which photographic task you wish to achieve.
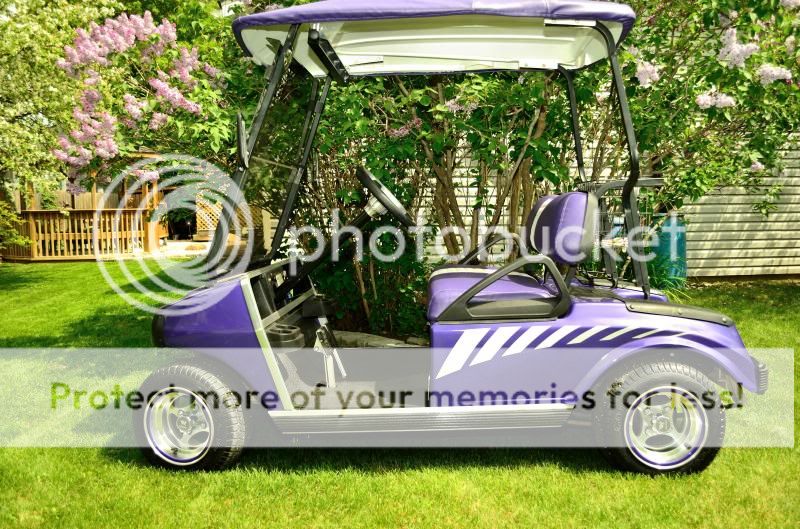
Then there's reflectivity, which affects hue. Just as the chrome wheels look greenish when they're reflecting the green grass, everything, even things that aren't shiny, pick up the colors of the things around them, even if only slightly. Again, our eyes and brains tend to take those things into account and make automatic adjustments, so we don't notice it much, but the camera just renders what gets thrown at it, and that can affect the outcome as well. What happens when you mix purple with green? You get colors that don't necessarily match your expectations.
Bottom line: Color matching isn't as easy as you might have thought or hoped for, and there's no camera setting you can flip to that will fix it outright. It's a combination of knowledge and tools that you'll have to learn about to get a handle on this aspect of photography.


![[No title]](/data/xfmg/thumbnail/32/32806-e16129723fd659a65a21d27ec96c2637.jpg?1734162488)


