Working With Under Exposed Images.
( by Ermin Monzon)
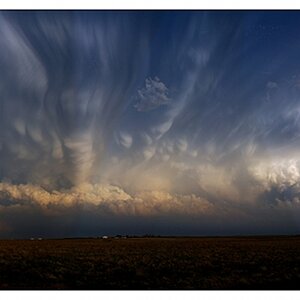
Correct exposure can sometimes be tricky, and from time to time we can run into less than ideal situations. Whether its poor lighting conditions, weather or incorrect exposure. Whatever the case may be, because of todays technology we can work with our digital images thanks to programs like Photoshop and the like.
Heres a quick and easy method on how to work with underexposed images, using Photoshop 7.
Step 1
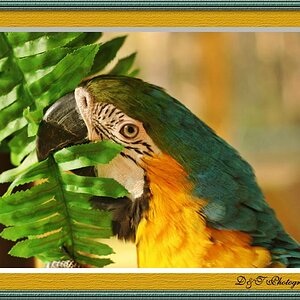
Open your underexposed image.

Step 2
In the layers palette duplicate the image by pressing CMD (PC Control) + J.

Step 3
In the layers palette change the blending mode from Normal to Screen.

Instantly you will see your image brighten. Continue to duplicate the layers until you get the exposure you desire. For this particular picture I only duplicated the layer twice to get the correct exposure.

Step 4 (option)
If you find the image to be too bright simply decrease the opacity setting. Flatten the image by going into Layer>Flatten Image.

There is no replacement for proper exposure, but sometimes certain conditions are not favorable and whether your camera limits you, or you are just learning about correct exposure, or you simply did not use the correct settings, this method is easy enough to work with underexposed images.
I hope you have enjoyed this quick and easy method to digitally work with underexposed images.
( by Ermin Monzon)
Correct exposure can sometimes be tricky, and from time to time we can run into less than ideal situations. Whether its poor lighting conditions, weather or incorrect exposure. Whatever the case may be, because of todays technology we can work with our digital images thanks to programs like Photoshop and the like.
Heres a quick and easy method on how to work with underexposed images, using Photoshop 7.
Step 1
Open your underexposed image.
Step 2
In the layers palette duplicate the image by pressing CMD (PC Control) + J.
Step 3
In the layers palette change the blending mode from Normal to Screen.
Instantly you will see your image brighten. Continue to duplicate the layers until you get the exposure you desire. For this particular picture I only duplicated the layer twice to get the correct exposure.
Step 4 (option)
If you find the image to be too bright simply decrease the opacity setting. Flatten the image by going into Layer>Flatten Image.
There is no replacement for proper exposure, but sometimes certain conditions are not favorable and whether your camera limits you, or you are just learning about correct exposure, or you simply did not use the correct settings, this method is easy enough to work with underexposed images.
I hope you have enjoyed this quick and easy method to digitally work with underexposed images.
")

![[No title]](/data/xfmg/thumbnail/36/36134-64e77d33cc4c68e1253adc2879f24a96.jpg?1619737387)