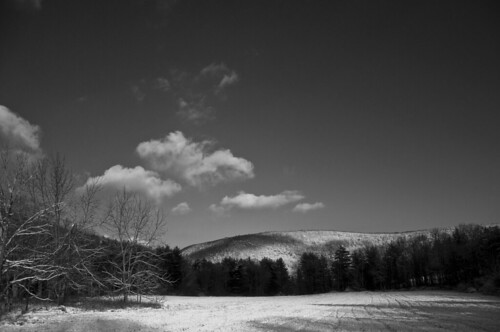
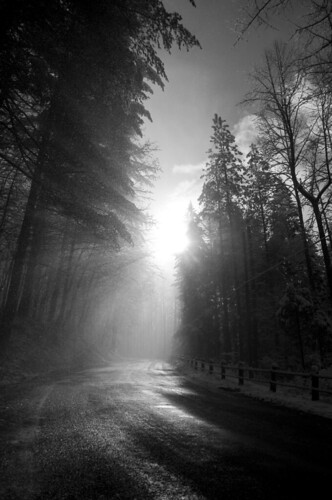
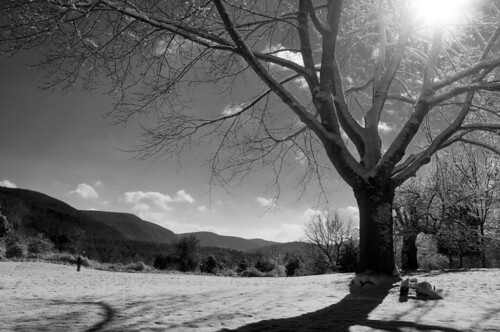
Well, one way to create more local contrast is to apply Unsharp Mask in a rather unorthodox manner. Try applying Unsharp Mask at 30 percent, 250 pixel radius, with a threshold of Zero. Those numbers might seem odd, but then you can apply a Fade to that, and lower the contrast to something like 17 percent, and then maybe repeat the process, and then fade the result until it looks suitable. You can also try applying USM at something like 10 to 15 percent at 125 to 175 pixels, again with the radius set to Zero.
Another thing you can try is to use the Shadow/highlight tool, and then carefully adjust the Curves in Photoshop. Same with using the Gradient Map--I mistakenly wrote Gradient Mask, when I meant using the Gradient Map tool. When doing that, it is easy to convert the RGB data to a black gradient map, and then apply the shadow/highlight tool, and then tweak the curves a little bit to get a nice, rich-looking B&W conversion.
With both of these techniques, it is helpful to have started with a RAW capture in the camera, and process that into a 16-bit .TIF file, or a .PSD file that is a bit "flat" to begin with. If the RAW-to-TIF file or the RAW-to-PSD conversion is made with the full, finished "look" done in Adobe Camera RAW, it makes it hard to tweak the image much in Photoshop or other software later. I like to begin with a kinda' flat, dull-looking RAW conversion that has "some" shadow detail, which I will darken later, when I set the black point. As always YMMV. There are a zillion ways to process images,and some of the Photoshop gurus here know a lot more than I'll ever even hope to understand about how to process images.




![[No title]](/data/xfmg/thumbnail/36/36657-3774cdd7ebbafa5ccac2741386b9949a.jpg?1734169171)
![[No title]](/data/xfmg/thumbnail/30/30887-70db98f68651b2f6c62119e611f707c0.jpg?1734158896)
![[No title]](/data/xfmg/thumbnail/34/34686-9d6b51a2427064204f762b07c8b00f70.jpg?1734165692)
![[No title]](/data/xfmg/thumbnail/34/34685-17f2466cddc9890af6ca67c65e2e7d5c.jpg?1734165691)