Eclectix
TPF Noob!
- Joined
- Aug 8, 2013
- Messages
- 209
- Reaction score
- 70
- Location
- Colorado, USA
- Can others edit my Photos
- Photos OK to edit
I thought this might be useful for anyone looking for a free, simple and effective method to process HDR. I've seen a lot of tutorials that supposedly show how to use GIMP to do this, but most of them are actually something other than HDR, such as tone mapping, and others require masking large areas by hand, which is extremely difficult, time-consuming, and yields far from ideal results. After I developed this method I found that there is a Python plugin that essentially does exactly what this method does, but IMO it is easier to use this method than to install the plugin, so what's the point? Plus, this method allows full control over the image blending while the plugin does not.
Step 1: This method requires you to take 3 exposures. The underexposed image I am calling -1, the middle exposure is 0, and the overexposed image I am calling +1.
Step 2: Load all three exposures into GIMP as layers with 0 on the bottom as the base image, +1 as the next layer, and -1 as the top layer. It helps in this process to have the layers dialog window open.
Step 3: Add a layer mask to layer -1 and layer +1. To do this, right-click on a layer in the layer window, select "Add Layer Mask" from the drop-down menu, and then choose "Grayscale copy of layer." This will create a mask that filters out certain portions of that layer.
Step 4: Invert the layer mask for layer +1 (the overexposed image). To do this, left click on the mask next to the layer on the layers dialog window to select or activate that mask (it should highlight the border in red so you know it is active). Then on the main navigation menu at the top, click the "Colors" tab and select "Invert" from the drop down menu. This should invert the mask to a negative image.
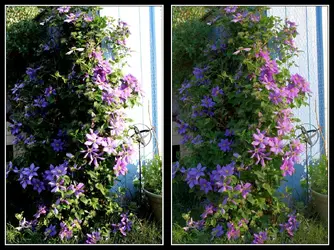
That should be all you need to do! You might want to play with the levels a bit, reduce the opacity of the +1 or -1 layer a bit to get the right balance. Basically the -1 layer should only have the highlights of the image showing and the +1 layer should only have the shaded parts showing, and everything else should show through to the base image, 0. The advantage to this method over having the images composed automatically is that you can make adjustments to them individually as needed and see the effect your adjustments will have in real time. Here is an example created using this method:


![[No title]](/data/xfmg/thumbnail/38/38738-7933157d1b8968c986eeeab2d1828524.jpg?1734172602)


![[No title]](/data/xfmg/thumbnail/37/37094-a3c300cd42f78d01d01fe80c1233002e.jpg?1734169827)


