A B+W question

shefjr

No longer a newbie, moving up!
Joined
Jan 18, 2012
Messages
1,595
Reaction score
418
Can others edit my Photos
Photos NOT OK to edit
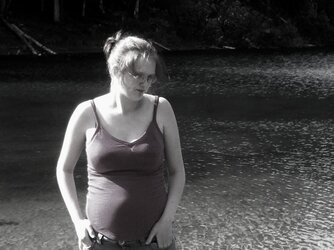
I'm wondering if anyone has any tips for conversion of B&W. I'm having a tough time finding the right conversion for a photo. I find that the image seems to lack something and the skin tones seem either too tan or too white. I can't seem to find a balance that I like. I know that the "right conversion" is subjective but, I just thought maybe some of the much more talented than I might have some knowledge that they could share.

Thank you for any help!
 
You might well have the 'right' conversion, it's just the skin tones aren't in the right place. You may find adjusting the Levels or Curves will get you where you want to be.
 
I don't know if you're shooting JPEG or RAW, but here's an example of my workflow. I open my RAW image and make any adjustments I see fit, EXCEPT for the conversion to B&W. I use Photoshop for this. Once you have opened it to regular PS, start by jumping into Levels or Curves (whichever either you prefer or works better for the image). Adjust to where you like it. After that, this is where things get a bit more complicated. The options here are either Desaturate or Black & White. Normally, I'll just use Desaturate, unless I want to bring out certain elements in the picture, which is when I'll use B&W, where you can use sliders to adjust for that.

When I'm done making all those adjustments, if needed, I'll go ahead and use another adjustment to Levels or Curves. Use your favourate sharpening method (I keep one as an Action for basic stuff that's already pretty sharp). For more complicated sharpening, I'll use a variety of techniques, but that's a different thread.

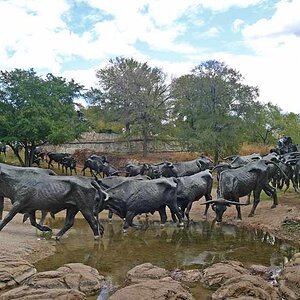
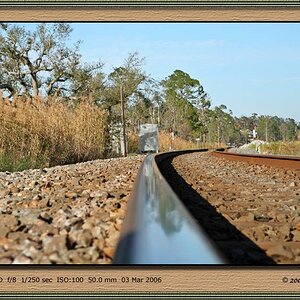
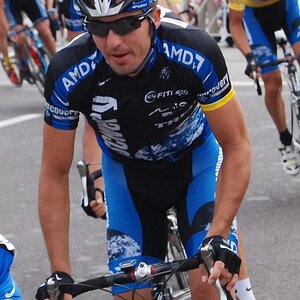
Save it, and call it a day. Here are some examples using my method:

10903840_10152638922275003_8478965000738157214_o.jpg


1048361_10151540930550003_346161596_o.jpg


Caleb.jpg
 

Attachments

  • C360_2011-07-06 17-56-08.jpg
    C360_2011-07-06 17-56-08.jpg
    168.6 KB · Views: 145
I don't know if you're shooting JPEG or RAW, but here's an example of my workflow. I open my RAW image and make any adjustments I see fit, EXCEPT for the conversion to B&W. I use Photoshop for this. Once you have opened it to regular PS, start by jumping into Levels or Curves (whichever either you prefer or works better for the image). Adjust to where you like it. After that, this is where things get a bit more complicated. The options here are either Desaturate or Black & White. Normally, I'll just use Desaturate, unless I want to bring out certain elements in the picture, which is when I'll use B&W, where you can use sliders to adjust for that.

When I'm done making all those adjustments, if needed, I'll go ahead and use another adjustment to Levels or Curves. Use your favourate sharpening method (I keep one as an Action for basic stuff that's already pretty sharp). For more complicated sharpening, I'll use a variety of techniques, but that's a different thread.

Save it, and call it a day. Here are some examples using my method:

10903840_10152638922275003_8478965000738157214_o.jpg


1048361_10151540930550003_346161596_o.jpg


View attachment 101658

Thank you for such a detailed description of your work flow! That is what I was hoping for! My workflow begins with LR4 and then I open the image in CS6. My problem is I think sometimes I play with an image so much that I start to get lost and lose the reality, for lack of a better word, which usually makes me have to walk away for a while and come back to the image with fresh eyes.

I do shoot raw only. ;)
 
The Lightroom filter effects menu is a good place to start...they make a huge difference! Many times you will need to alter the exposure, however. The filters can easily change a photo to a huge degree. The yellow and green filters can be good on some images...at times, the Infrared filter, with then a huge exposure adjustment, can create wonderful effects. As has been mentioned, curves adjustments can also be useful, but the color filter effects offer more global tonal adjustment, where the curves are more contrast adjustment and not so much tonal shifting.
 
The Lightroom filter effects menu is a good place to start...they make a huge difference! Many times you will need to alter the exposure, however.
I have been playing with them. There are quite a few selections to work with which I find a little overwhelming. They really affect the skin tones in my photos also I have noticed.
 
[QUOTE="shefjr, post: 3484005, member: 114435"[/QUOTE]

Thank you for such a detailed description of your work flow! That is what I was hoping for! My workflow begins with LR4 and then I open the image in CS6. My problem is I think sometimes I play with an image so much that I start to get lost and lose the reality, for lack of a better word, which usually makes me have to walk away for a while and come back to the image with fresh eyes.

I do shoot raw only. ;)[/QUOTE]

You're welcome!

The trick is, is to not over-process. One thing I'd recommend is to look into the Nik softwear PS plugin bundle. They have a great program for B&W.
 

Most reactions

Back
Top