Lazy Photographer
TPF Noob!
- Joined
- Jul 4, 2009
- Messages
- 648
- Reaction score
- 5
- Location
- Toronto, Canada
- Website
- lazyphotographer.ca
- Can others edit my Photos
- Photos OK to edit
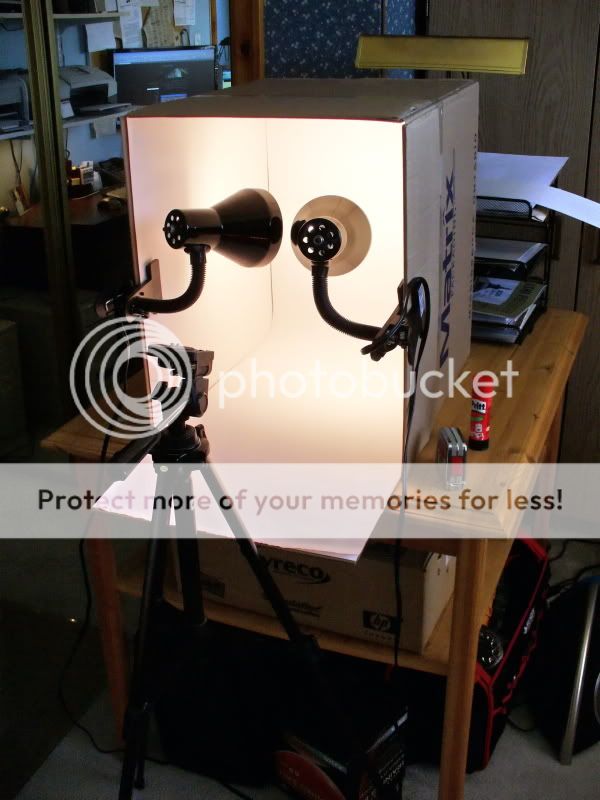
So I built myself a lightbox today. I still have to add the racing stripes and rear view mirror, and I'm still learning how to set up the lighting, but boy am I having fun. I know I've still got a ways to go. And I have to change up the material I used for the floor and back wall, since the current stuff isn't a solid white. I didn't think it would show in the photos but it does.
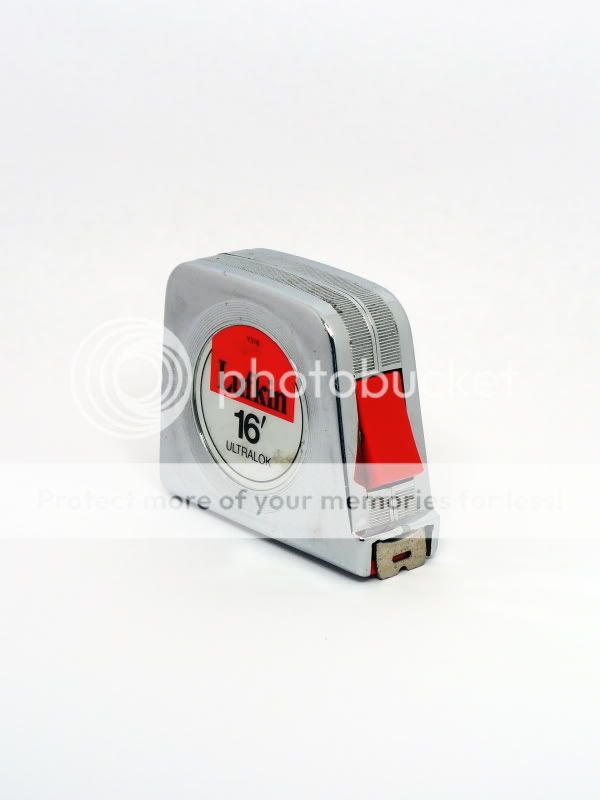
I'd love some feedback on the latest crop. Keep in mind I'm still shooting with my trust 5-yr-old point & shoot.
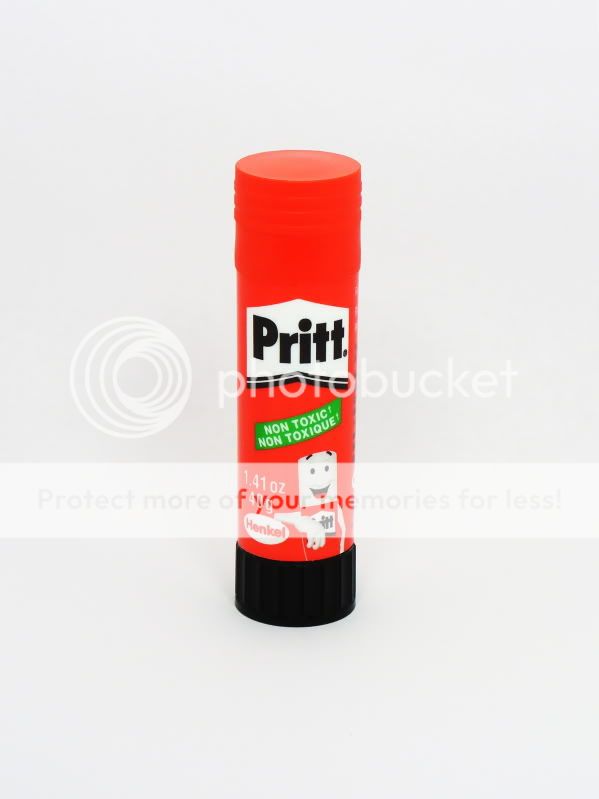
1. The light box
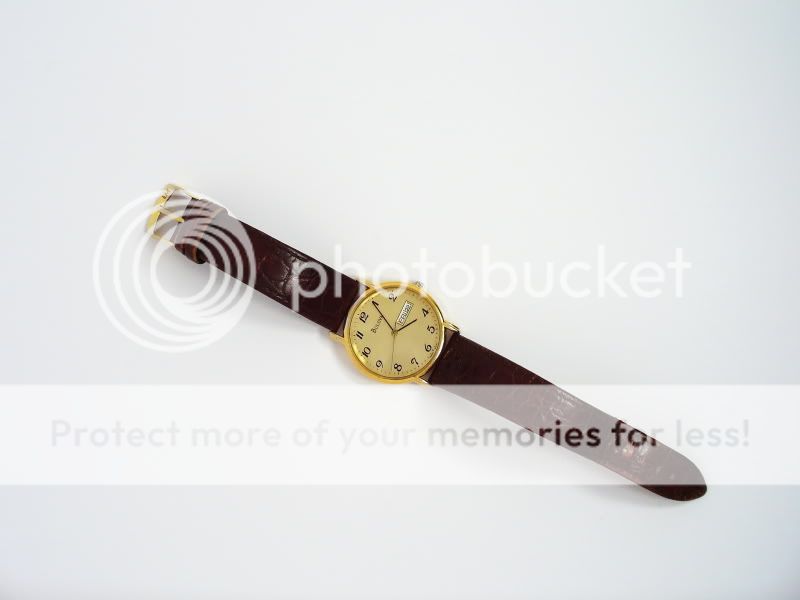
2.
3.
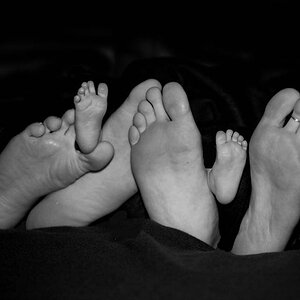
4. Shot from top hatch
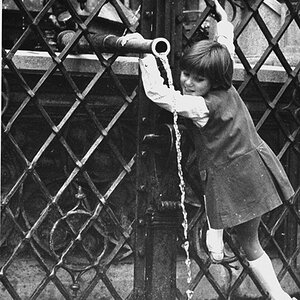
5. Shot from top hatch

I'd love some feedback on the latest crop. Keep in mind I'm still shooting with my trust 5-yr-old point & shoot.
1. The light box
2.
3.
4. Shot from top hatch
5. Shot from top hatch
")

![[No title]](/data/xfmg/thumbnail/32/32930-09414fc020c2a60a456ff59a05c5ef8f.jpg?1619735759)


![[No title]](/data/xfmg/thumbnail/32/32929-22e23acc63d6ecb25e5ee941be87121f.jpg?1619735758)