adamhiram
No longer a newbie, moving up!
- Joined
- Feb 6, 2015
- Messages
- 858
- Reaction score
- 576
- Can others edit my Photos
- Photos OK to edit
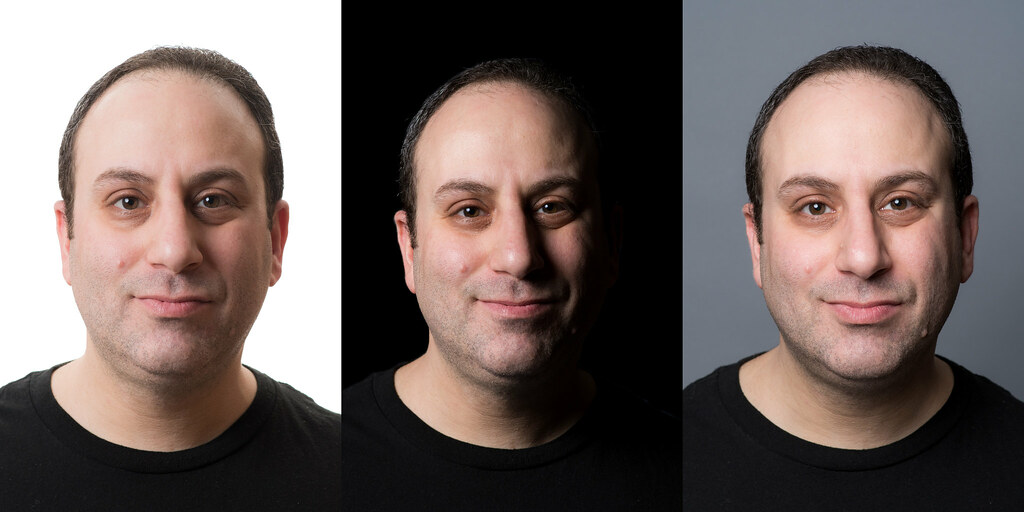
As I continue learning more about portrait lighting, I decided to try out this tutorial I bookmarked last year, "3 in 1 Headshot Method". The idea is that with slight variations on a basic lighting setup, you can get 3 completely different looks: high key white background, low key black background, and a solid medium gray background. These were done using a 38" octobox as the key light and a seamless gray background.
A few quick notes on this and other tutorials I've read/watched:
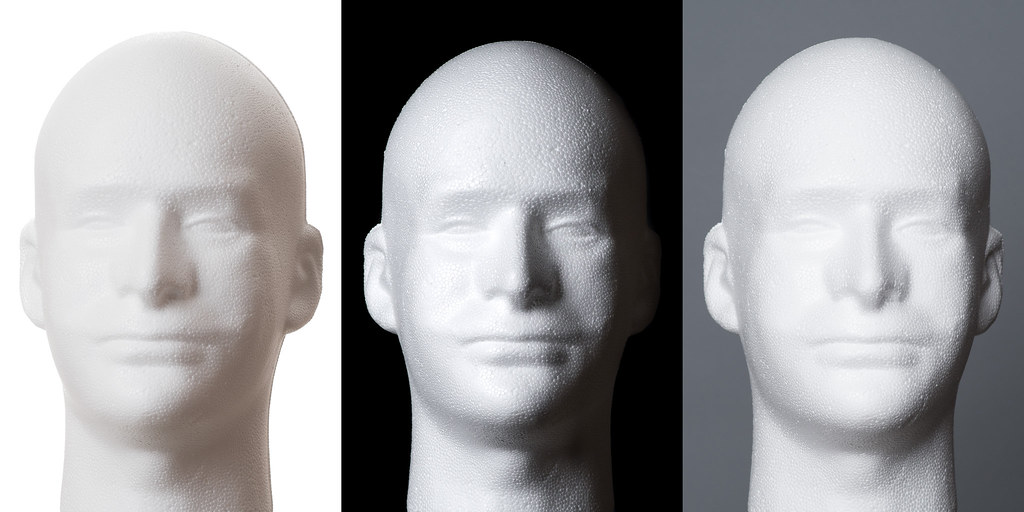
20180309-3in1-test1 by adamhiram, on Flickr
20180309-3in1-test2 by adamhiram, on Flickr
A few quick notes on this and other tutorials I've read/watched:
- When someone says Rembrandt lighting, they usually mean loop lighting
- When someone says to place they key light 45 degrees off axis, they usually mean closer to 30-35 degrees
- When someone says to place the key light above the subject angled down at 45 degrees, they usually mean above eye level and angled down at 15-30 degrees
- Nobody seems very good at guessing distances
- High key: I used a pair of speed lights to illuminate the background. I realized during editing that just because highlights are blown out in the camera's preview doesn't mean they're blown out in the Raw file. Usually this is a good thing, but here I had to do a bit of extra editing to get a pure white background.
- Low key: Based on the distances mentioned in the video, the subject-to-background seemed to be about 5-6 feet. Wrong - and I knew before taking the first shot there would be some spill on the background, even with the grid. If this was a real shoot, I would have moved the subject further from the backdrop or used black in the first place, but for this exercise a bit of work with the adjustment brush got the background to pure black.
- Solid gray: This was pretty straightforward, just move the key light more on-axis to create more spill, and move the subject closer to the background to reduce fall-off.
20180309-3in1-test1 by adamhiram, on Flickr
20180309-3in1-test2 by adamhiram, on Flickr
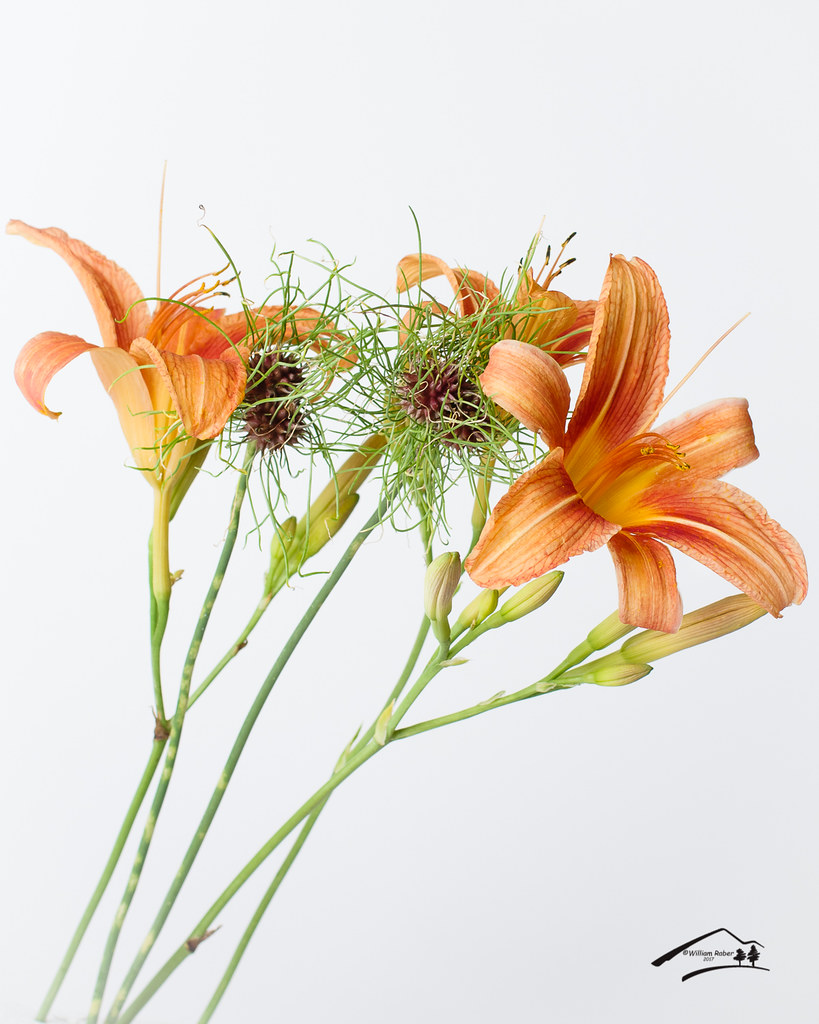 Lily05312017_312.jpg
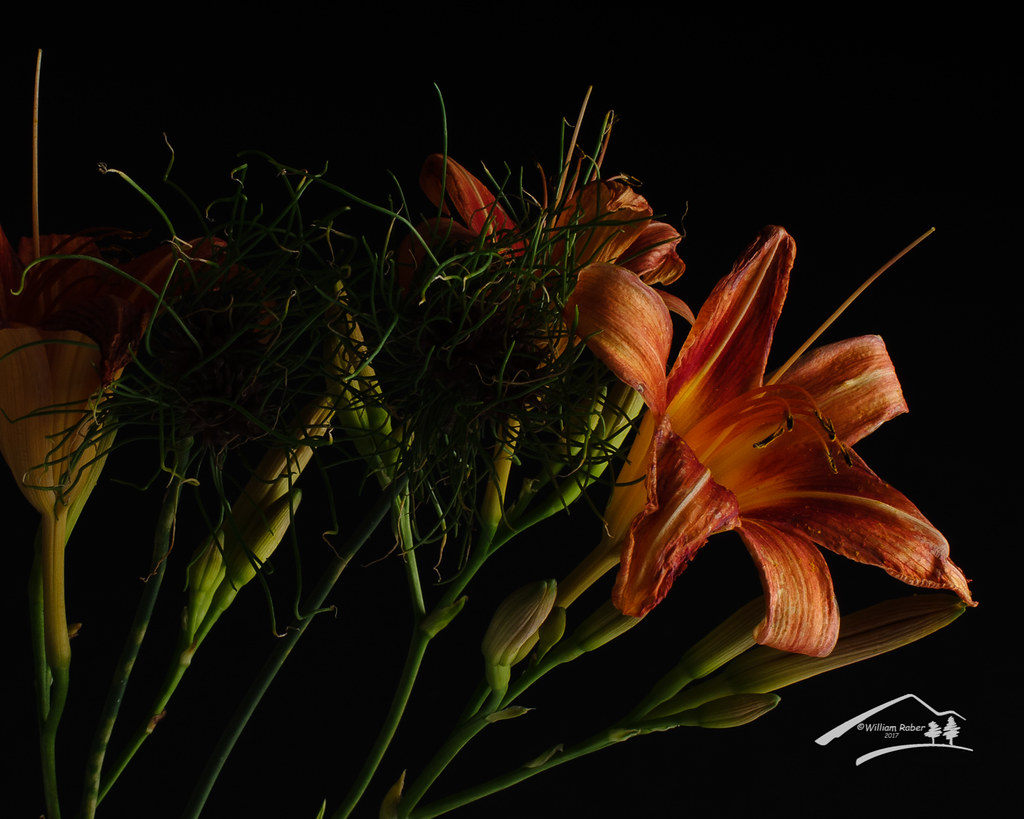 Dark Lily05312017_330.jpg


![[No title]](/data/xfmg/thumbnail/38/38261-db20f6f92ee8f0d4c5cf1536e308638b.jpg?1619738546)
![[No title]](/data/xfmg/thumbnail/38/38729-27329be54dcb93a3723bad97259e6428.jpg?1619738702)
![[No title]](/data/xfmg/thumbnail/38/38740-d1a7721cf77e9309a9b4a4829c65fdd4.jpg?1619738704)