Reyna
TPF Noob!
- Joined
- Jun 18, 2009
- Messages
- 321
- Reaction score
- 8
- Location
- Texas
- Can others edit my Photos
- Photos OK to edit
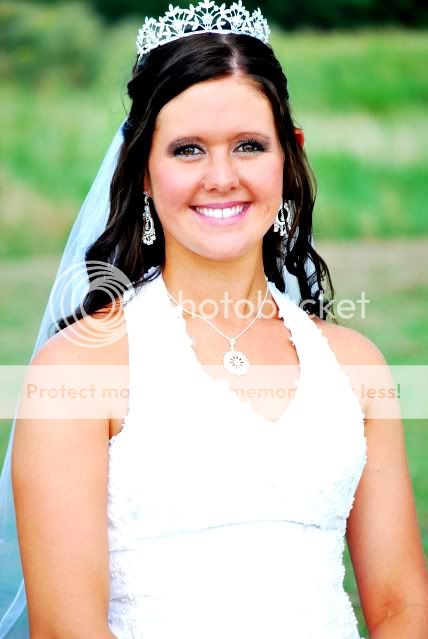
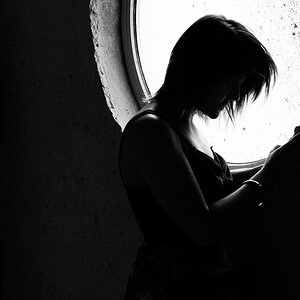
I went to a wedding this weekend and took my dslr. This is my first slr camera and I am still trying to figure it out. I took this pic. that I really like but I can't see the detail in her dress. Can I adjust that using photoshop? What could I do to fix it or can it be fixed?

")


![[No title]](/data/xfmg/thumbnail/31/31742-596f6bbc60b2ba7fed2cd25f5aacf41c.jpg?1619734985)
![[No title]](/data/xfmg/thumbnail/39/39511-592cbd68b1d797ffce7e41e4fbfed890.jpg?1619739066)