@DanOstergren I went back and studied a post you did Monday on Portrait Contouring, paying particular attention to the diagram of the face. Then using a copy of Daryl's OP. I used a combination of dodging highlights, and burning midtones to add those sculpted features to the cheeks. While it definitely helped, and is something I'll remember for the future, I still couldn't remove enough of the skin blemishes in the worst areas. Another layer using the smudge tool set to 37% made short work of them, then lowered the opacity of the layer to just under 50%. The result was a realistic skin without the air brushed look, and was quite fast.
@DGMPhotography no disrespect intended, I've followed your work and you are quite good, the skin challenge was a tough one, because it explores the question "how far should you go" in retouching. I've learned something from your post, thank you for posting this.
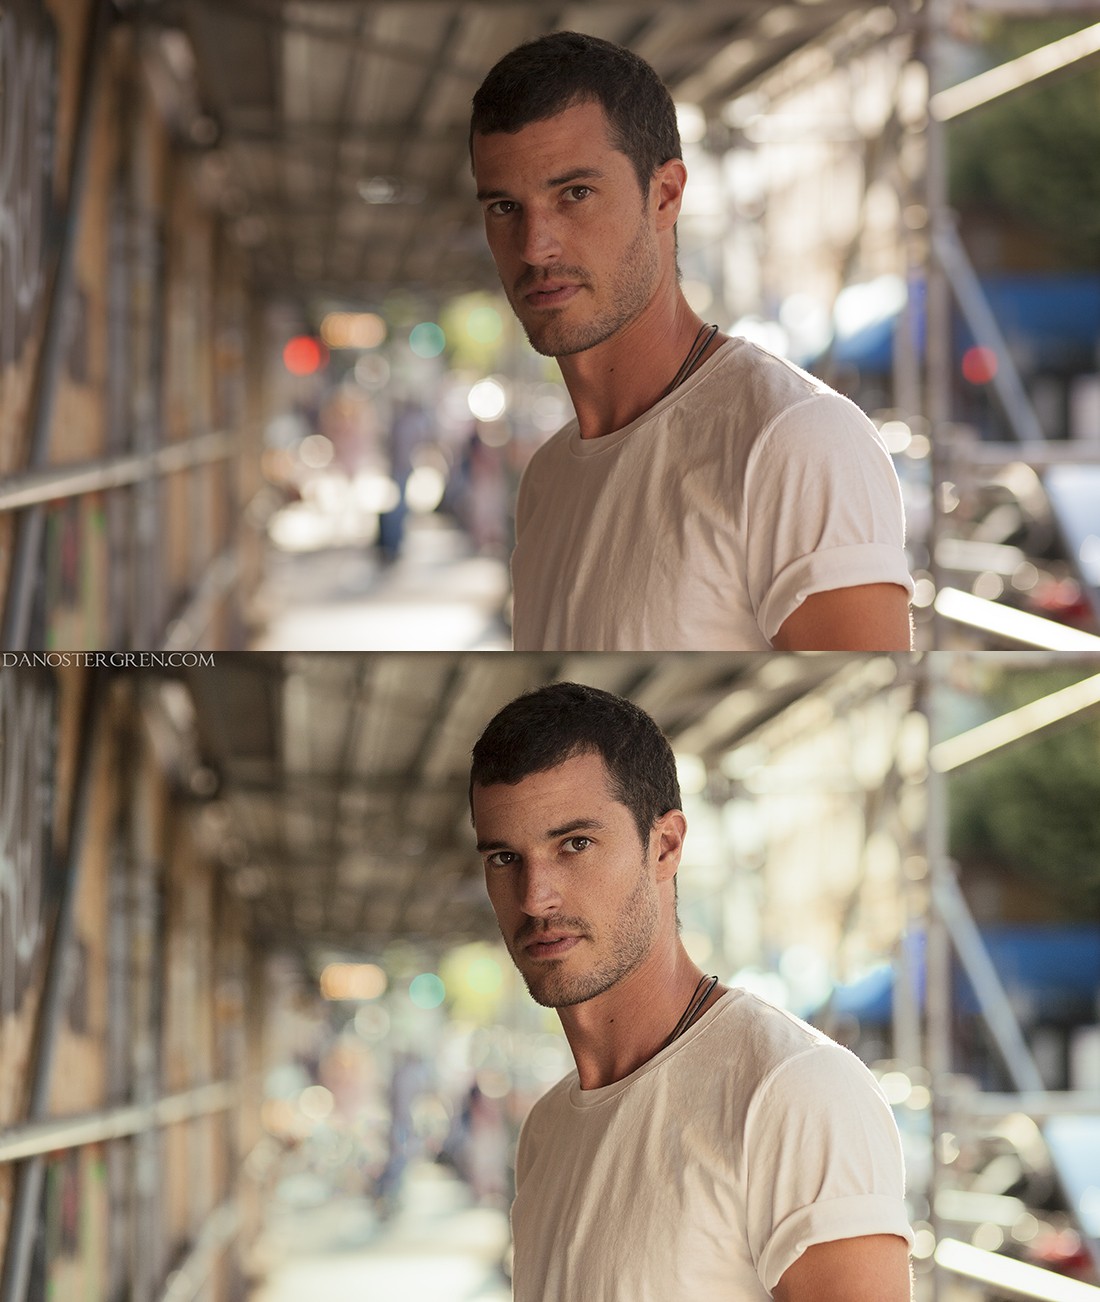
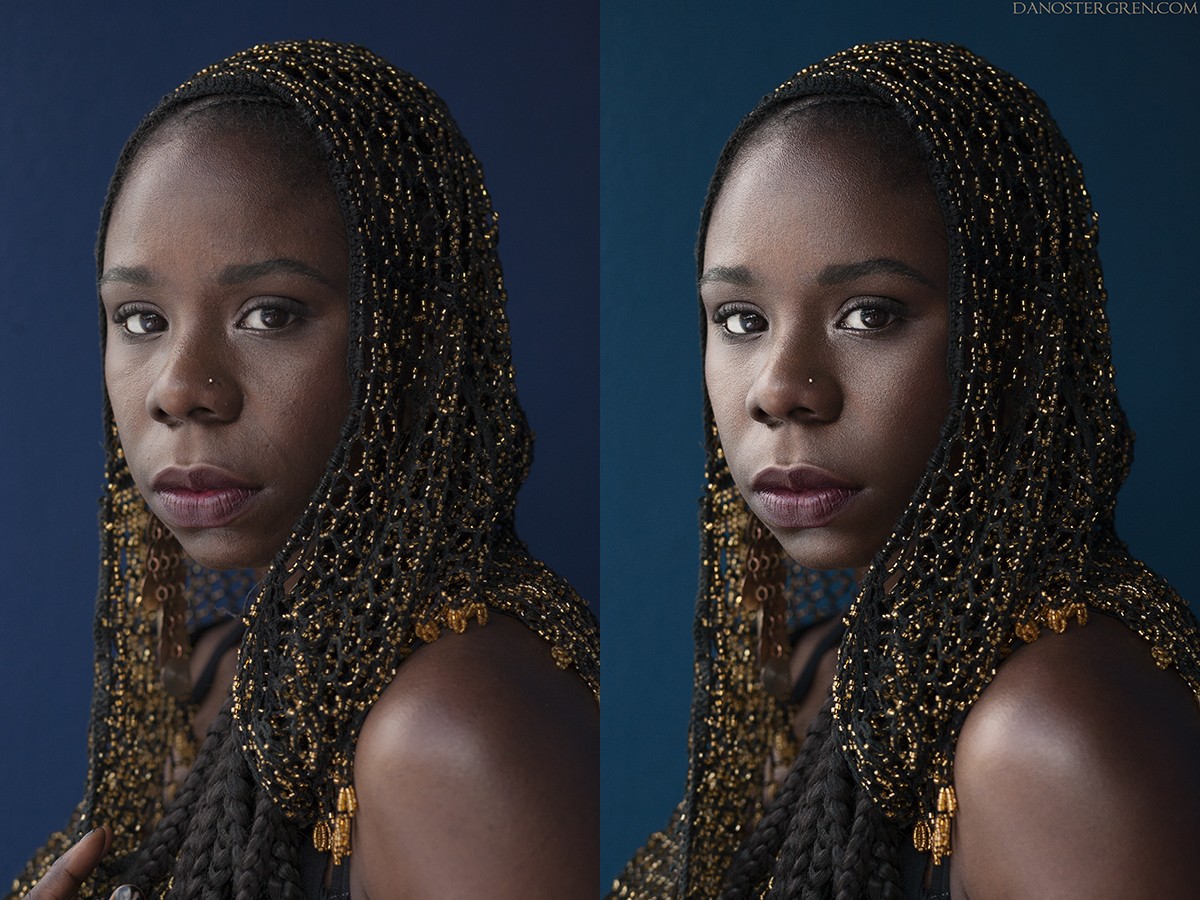
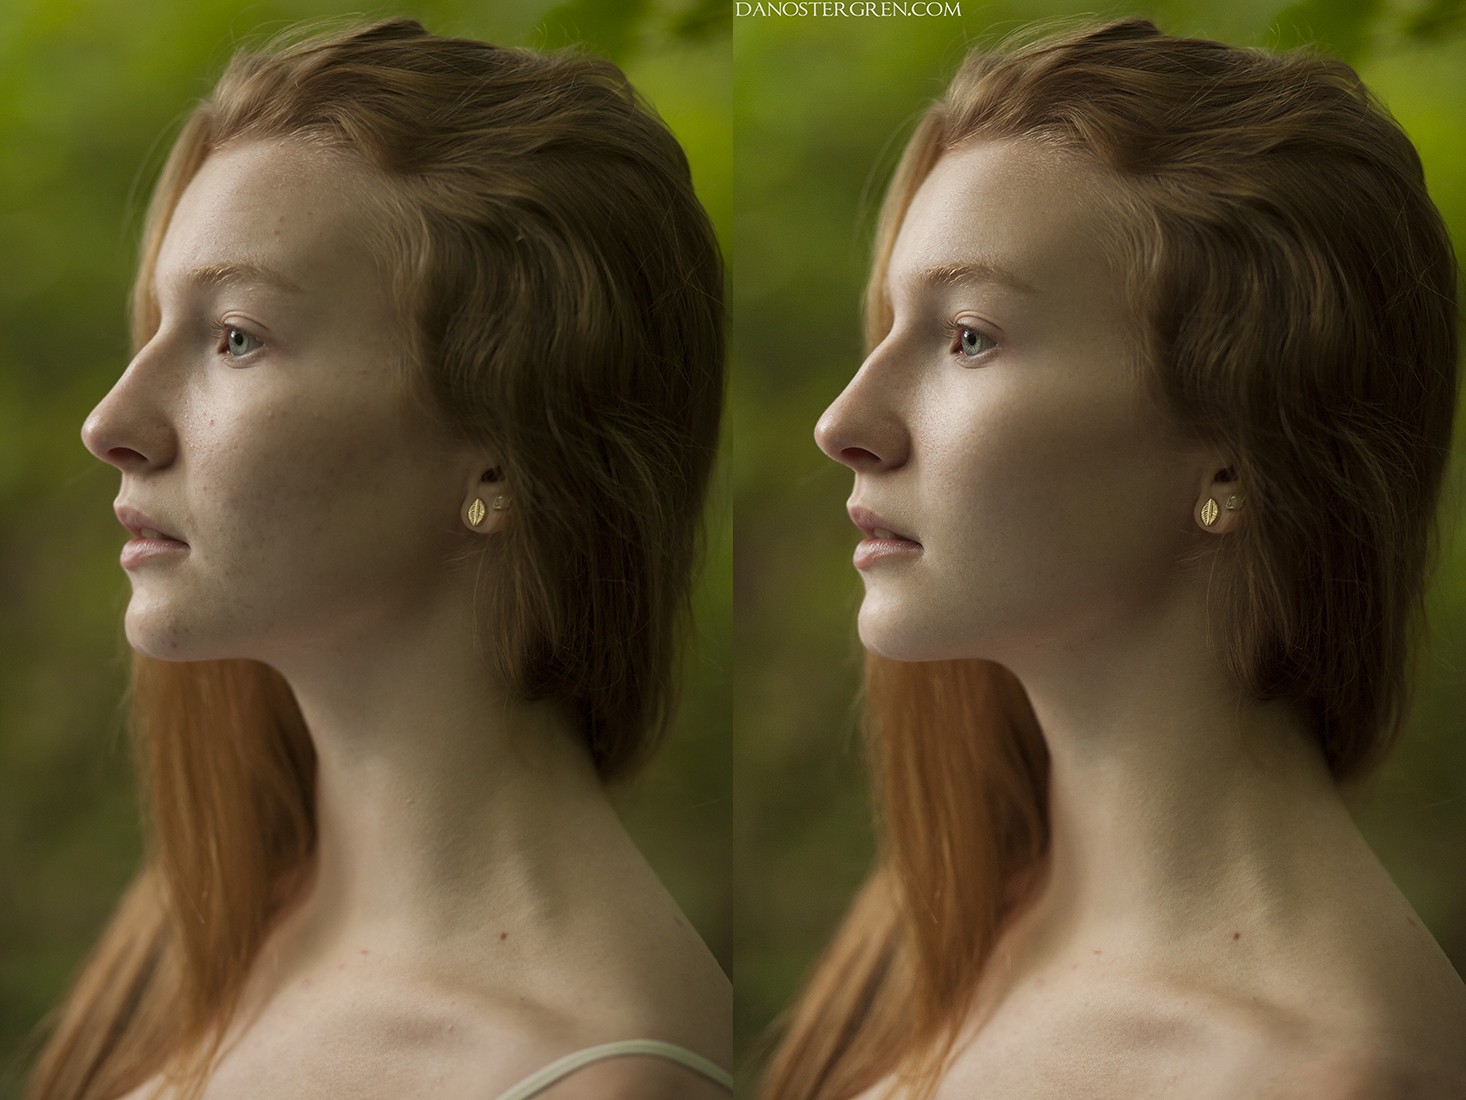
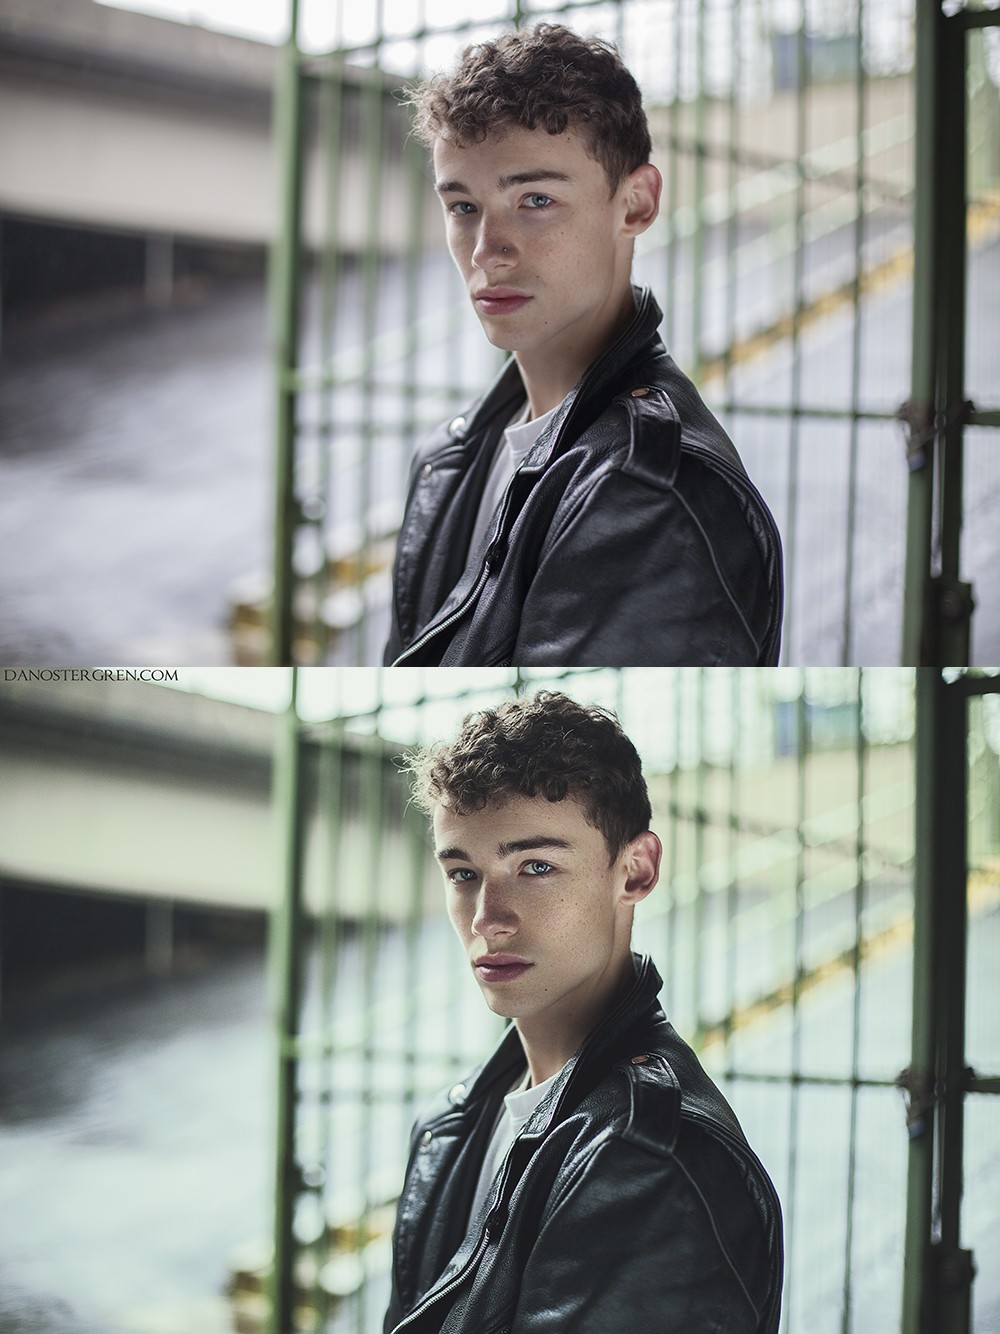
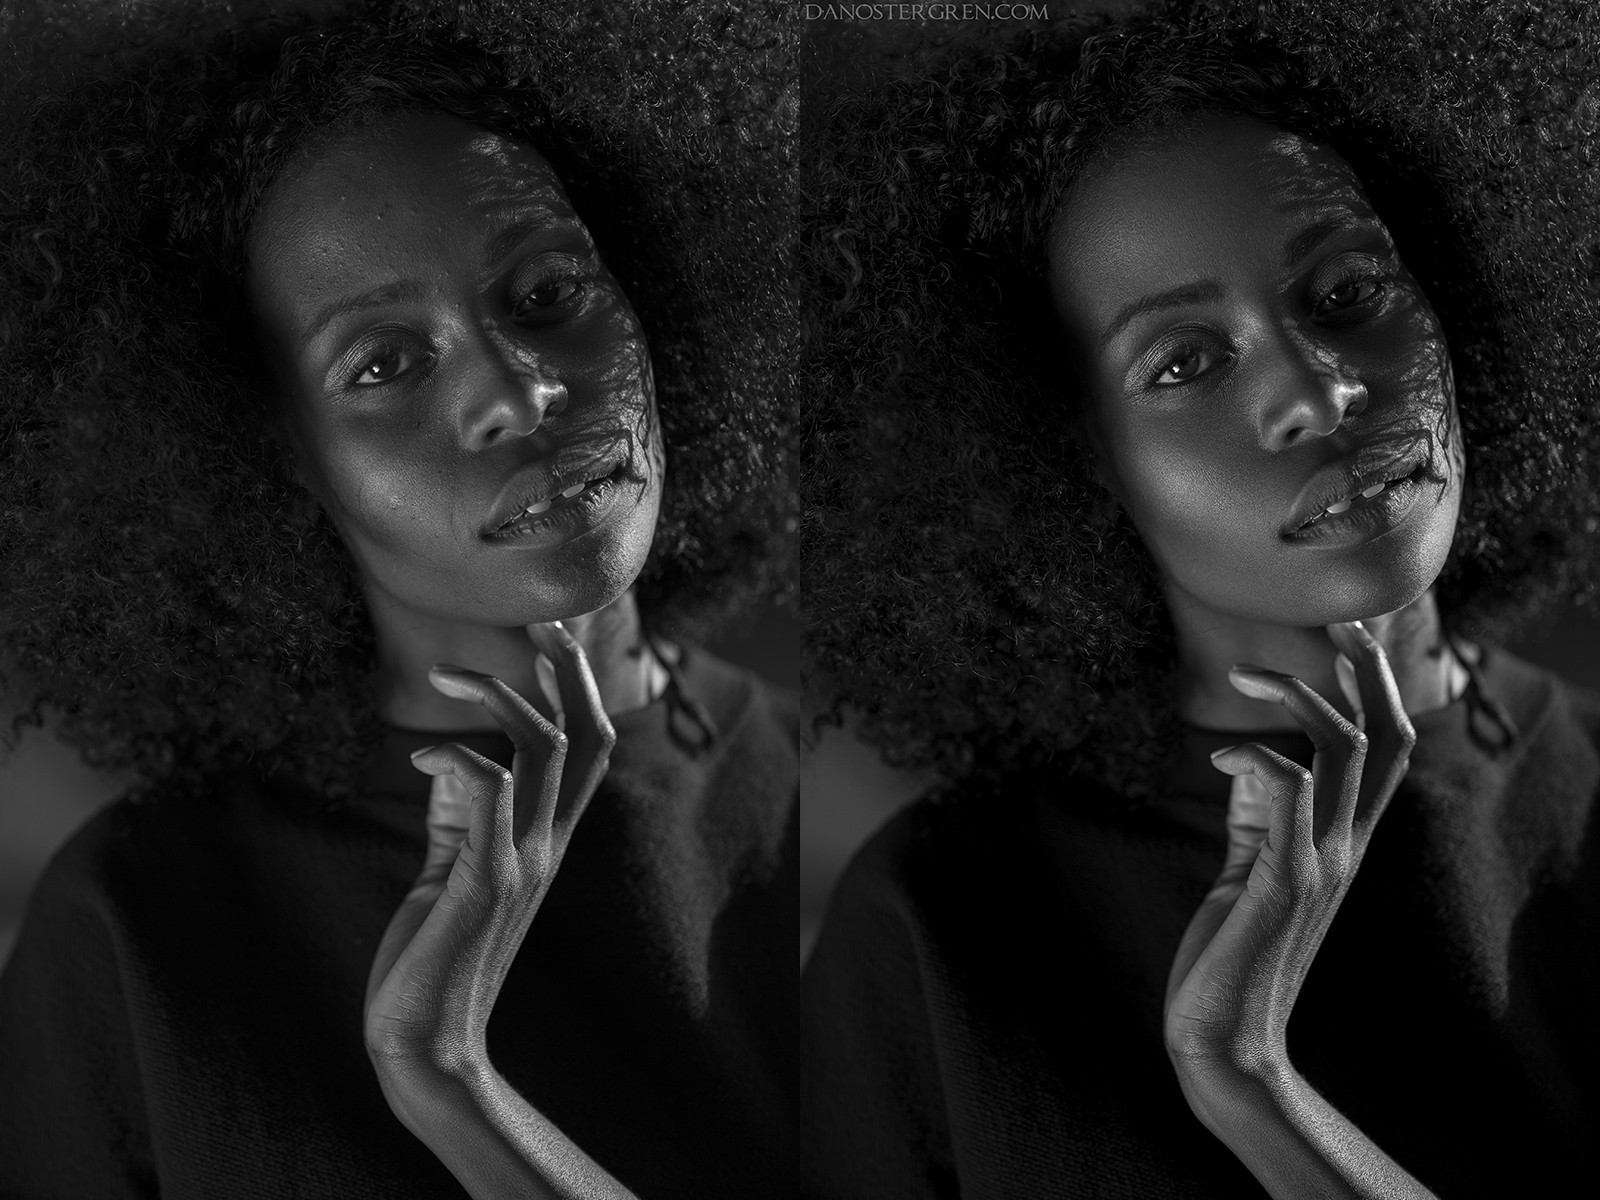
I tend to do it a little differently. I prefer to let the light do the contouring, and rarely anymore do I attempt to enhance the contour using dodge and burn. I don't do my dodging and burning on the original layer either, I use a gray layer set to soft light blending mode, with a 50% soft light gray fill. I tend to have around 5 of these layers, one for dodging the face, one for burning on the face, one for eyes, one for hair, and if needed I have dodge/burn layers for the clothes and the body as well. These layers are always above my background and background copy layers, and beneath my adjustment layers and masks.

On these layers I use the dodge tool with a feathered brush at various brush sizes depending on the area I'm working on, set to "midtones" range for the majority of the skin, at around 5% exposure. I use the dodge tool with these settings to then blend skin tones, just as one might do with makeup. If you're going to enhance or add highlights, set the range to "highlights" before you start dodging. If you're dodging within shadowed areas, set the range to "shadows" before dodging. The same principle for burning. Again, I don't tend to use these tools to enhance the contour (if I do, it's VERY subtle); I use it to blend the skin tones. It takes a bit more work with skin that is very rough, but is very doable and effective for realistic results. I also use a Wacom pen tablet, which makes dodging and burning much easier and more effective. I don't recommend doing it with a mouse or touch pad. I'm working on making a quick video tutorial this week that will add visuals to explain the technique, as it's difficult to explain in words without visual reference. Also keep in mind that this is a technique that I've been perfecting for 5 years, and I wasn't always good at it. It takes some practice to be effective with it.
I made a time saving action for myself that duplicates the background layer, creates the dodge and burn layers, and also creates my usual adjustment layers. Feel free to play with it, I plan to give it out with my first video tutorial.
Dan Ostergren Retouch Action


![[No title]](/data/xfmg/thumbnail/31/31050-824a861ee359cd274a794fc7b9ff8f7b.jpg?1734159158)


![[No title]](/data/xfmg/thumbnail/32/32004-4455324f0b4b5cc318dd35877147ac47.jpg?1734160793)

