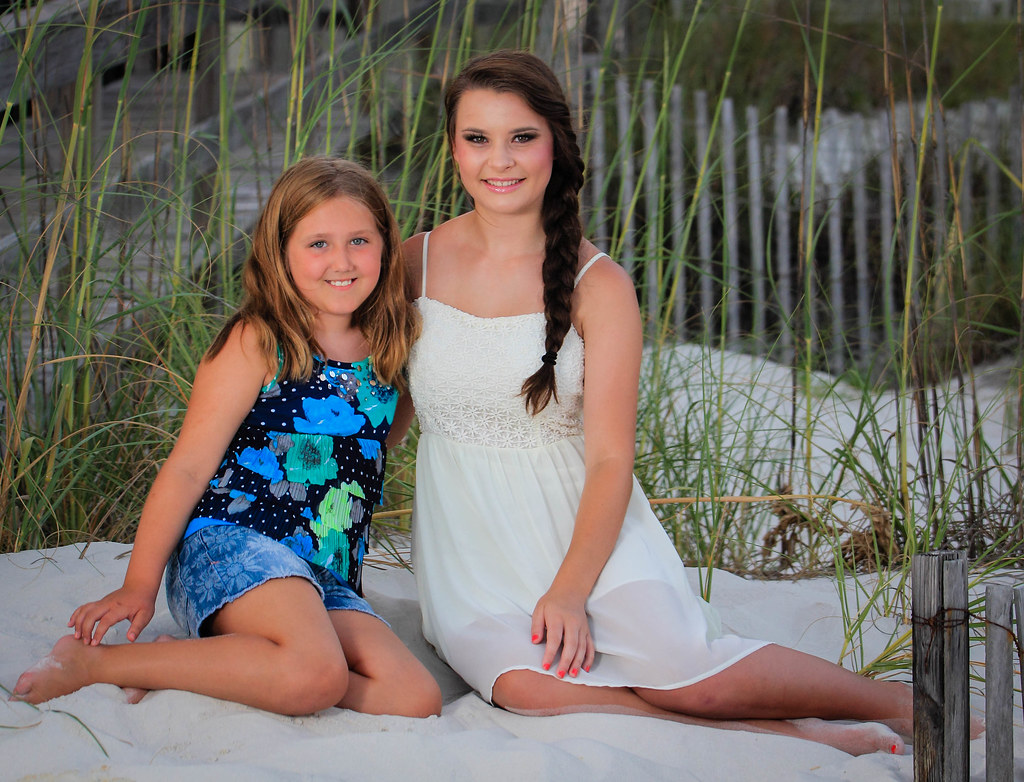
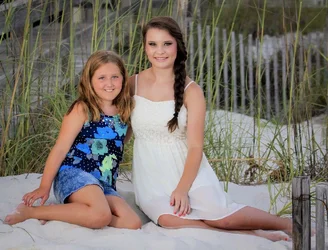
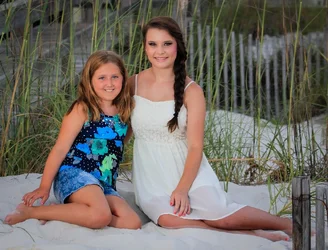
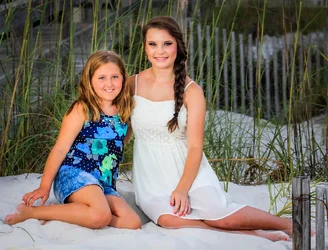
From a lighting perspective, it is good that they are separated from the background and have some 'pop'.
The lighting might have been a bit higher and a bit more off axis to the left to provide a bit more shadow to better accent facial mask modeling.
As mentioned the white balance was off a tad, and some other color correction was needed.
I would not have added exposure globally keeping the background darker than the subjects and this somewhat enhancing the 'pop'.
A rule of thumb for portraits is that facial highlights should be between 235 and 240 in the red channel. In your shot facial highlights are about 185 in the red channel indicating under exposure.
Her white dress was likely sufficient to fool your camera's light meter if you used center-weighted or matrix/evaluative metering instead of spot metering.
There is a horizontal reed behind them that is kind of like fingernails on a chalk board.
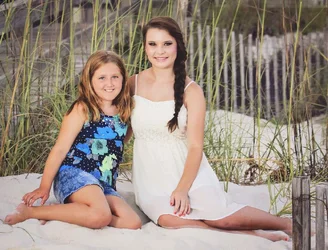
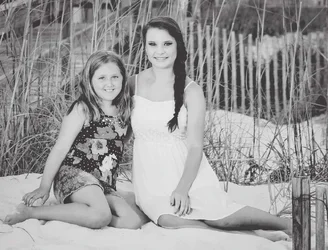
I corrected white balance in ACR, capture sharpened, and added a bit of Clarity (+35).
In Photoshop I selected the subjects and foreground with the Quick Selection tool, made an Exposure adjustment layer with the selection active, making a Exposure adjustment layer mask, and added 0.5 EV of exposure to only the subjects and foreground. The added exposure helps correct the skin tones.
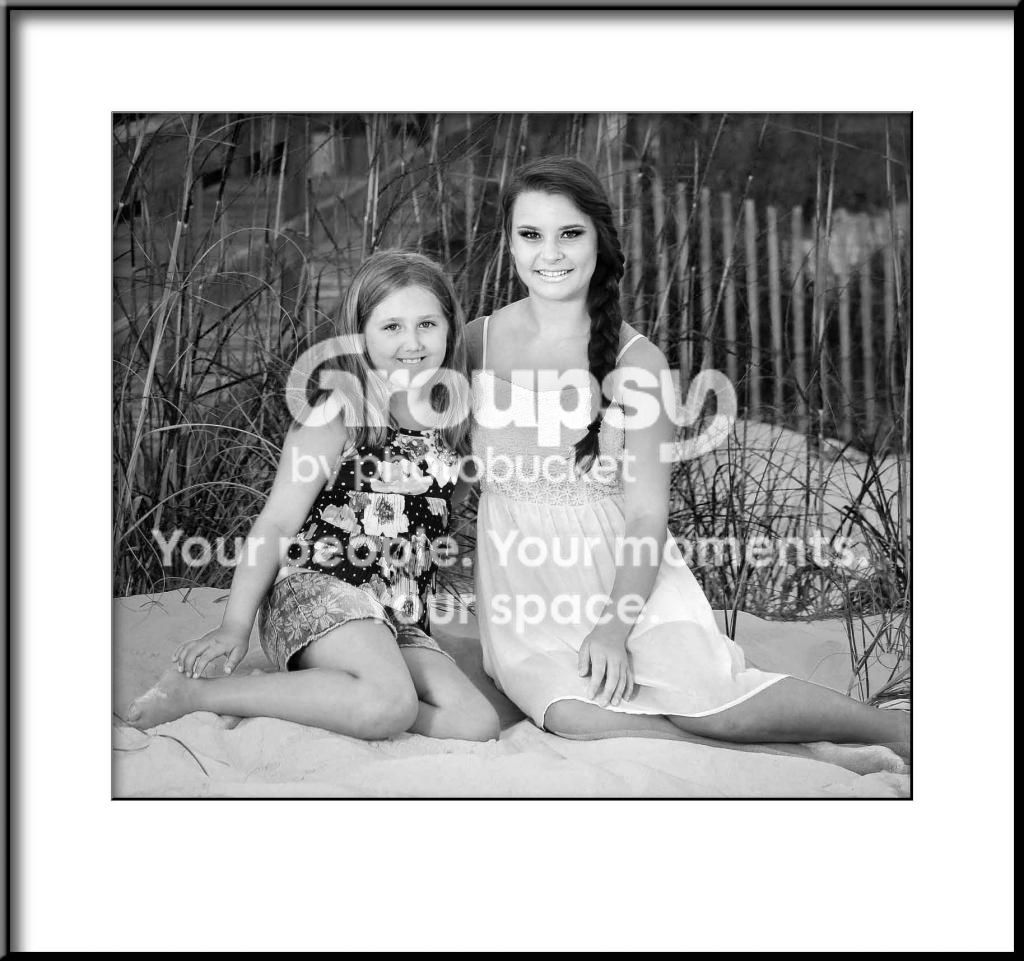
I used the Magic Healing Brush in Content-Aware mode to get rid of that jarring horizontal reed. I used the Polygonal Lasso tool to select various parts of their eye whites and teeth, then with the selections active made (masked) Hue/Saturation adjustment layers, then somewhat desaturated and lightened the selections.
I used the Sharpening tool (not the filter) at a strength of 65% on their eye areas, nose areas, and mouth areas. Doing so not only sharpens some, but it helps to add local contrast too.
I cropped the right side enough to loose the fencing, and made a basic mat and frame.




 *****
*****









![[No title]](/data/xfmg/thumbnail/42/42481-e35ff0c514a554d7bd4381fb2ae79c5a.jpg?1734177006)

![[No title]](/data/xfmg/thumbnail/35/35266-f58b019dadff6920c09071a847f052c3.jpg?1734166927)