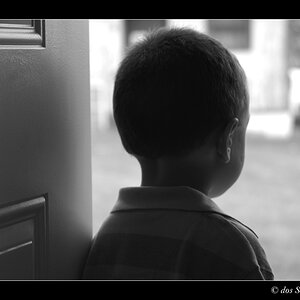
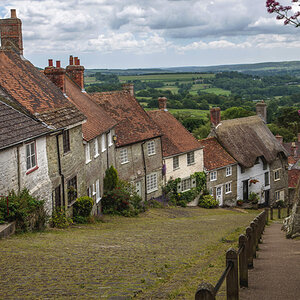
I used PS CS3 and i'll post it step by step.
1.) Crop
2.) Image>Adjustments>Auto Levels (you can see a big change already)
3.) Image>Adjustments>Auto Color
4.) Filter>Sharpen>Unsharp Mask "Amount 25%, Radius 3.0px, Threshold 3
5.)Layer>Duplicate Layer, then Image Adjustments>Gradient Map, Then Use a Black to White Gradient (usually the default) then hit ok.
6.) Set the top layer (black and white) to luminosity in the blending style/option
7.) Set the "opacity" of the black and white layer to whatever you want. I'm not sure but i think i used around 30
8... i did some other things i wish i remembered what, but they made the colors more rich, sorry this is a major step too. lol maybe someone knows..
EDIT ok i think i might of first. Merge both layers, then duplicate the layer that you get from merging, then set that layer to "Multiply" and move the opacity to whatever you want i probably used around 40-50.
I know the Auto Adjustments seem kinda noobie but I like them, and if I ever don't like the change they make I just undo them or do it manually. Sharpening it add's a cool effect and the gradient map darks it a bit while keep all the colors, there maybe other methods to doing that.
Hope this helps!



![[No title]](/data/xfmg/thumbnail/35/35868-15d995e4052bf05e2038e8b2a545a08f.jpg?1734167589)




![[No title]](/data/xfmg/thumbnail/42/42492-60144191c917c21139f8acd72f6ba090.jpg?1734177011)