ntz
No longer a newbie, moving up!
- Joined
- Oct 29, 2020
- Messages
- 716
- Reaction score
- 387
- Location
- Central Bohemian, Czech Republic
- Can others edit my Photos
- Photos OK to edit
Hello,
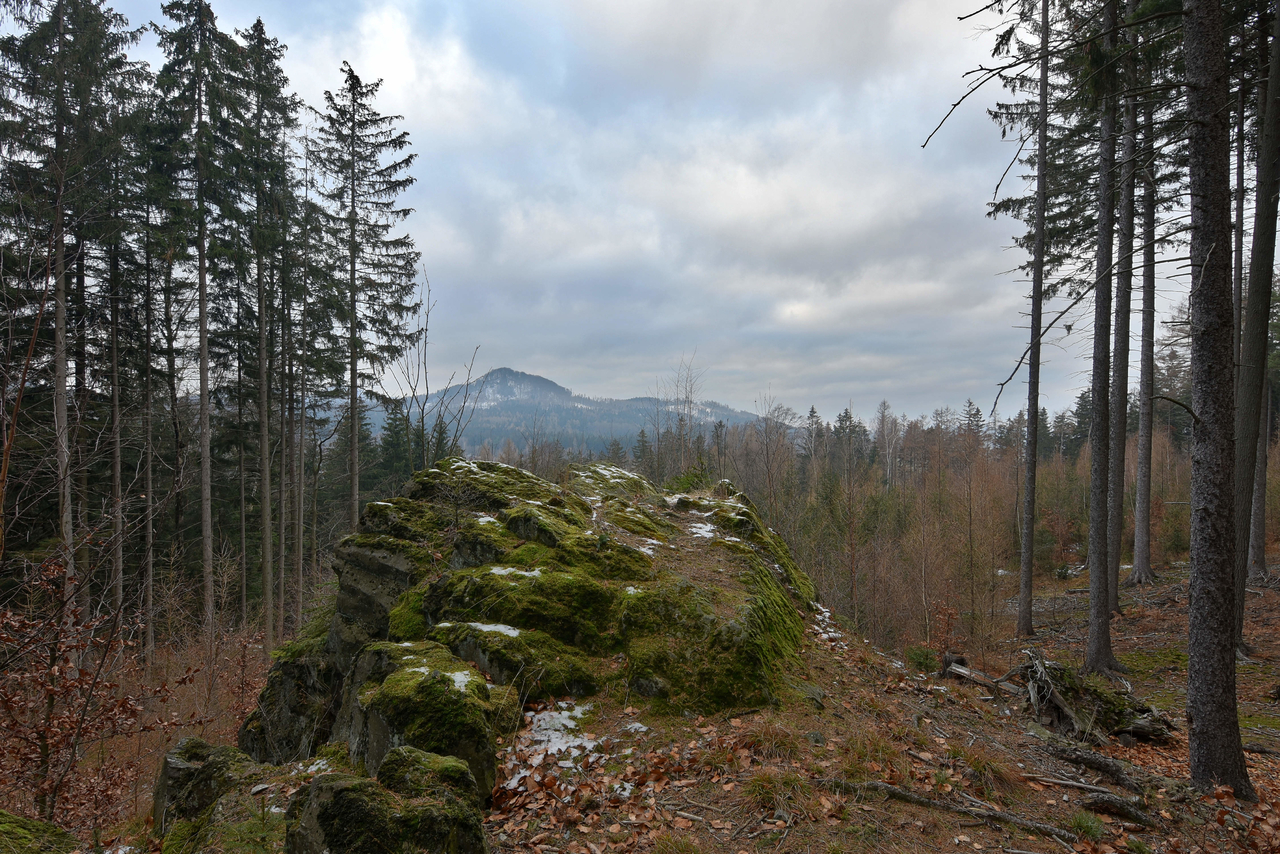
I am trying to make out of maximum from this photo .. I am blending there two exposures but I am unable to somehow do something with colours ...
Could you please help me and just in theory advise a logical steps what you would do to get maximum from colours ?
This is pure training ... Photo is not meant be any good or special .. I was trying there a blending method with:
1) stack two photos in layers with dark on the top
2) copy the lighter one to a new layer, adjust even more the exposure, desaturate by luminosity and save the image as mask, then delete the desaturated layer
3) create layer mask on dark photo from mask created in step #2
4) apply gaussian blur on the mask to restore local contrast
all these steps are in file in history ... created with Gimp 2.10
thanks much and regards, dan