Shooter_Mutter
TPF Noob!
- Joined
- Aug 28, 2008
- Messages
- 15
- Reaction score
- 0
- Location
- DFW, TX
- Can others edit my Photos
- Photos NOT OK to edit
Hey everyone! I just got a DSLR for my birthday yesterday, and finally had time to play around with it some. This is my first SLR, and so i'm still learning all the basics of getting it to do what I want it to do. Thought I would toss up some pics I did yesterday/today. Please let me know what you think! (I know on some of the photos they are a bit bright...the photos I originally shot were too plain.. I wanted to make it pop). I'm shooting with a Canon XSI.
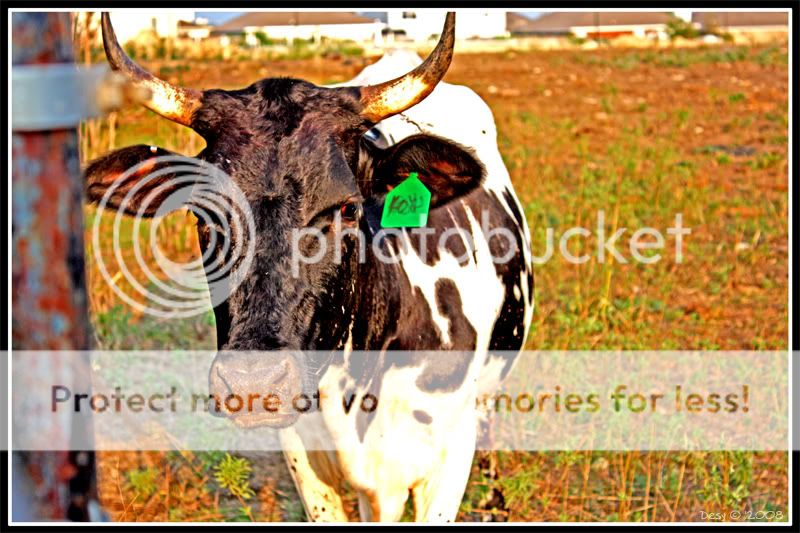
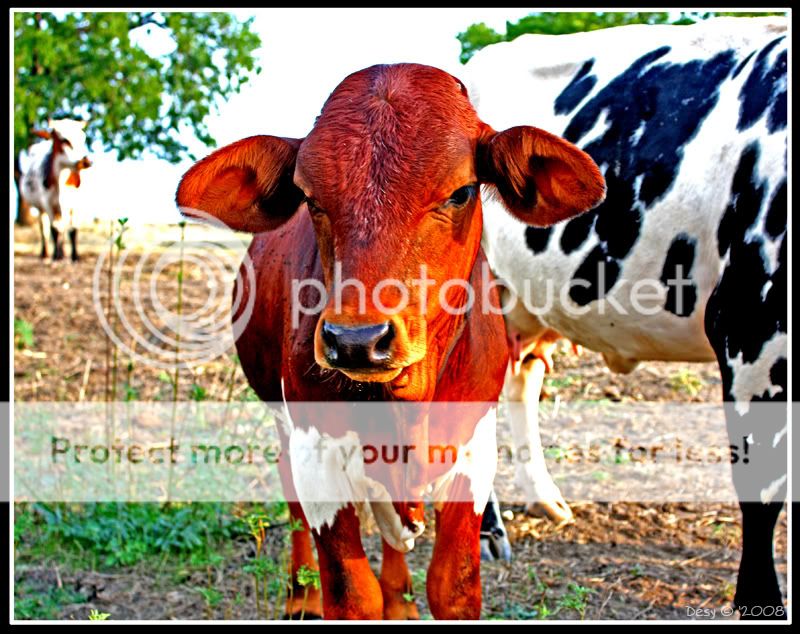
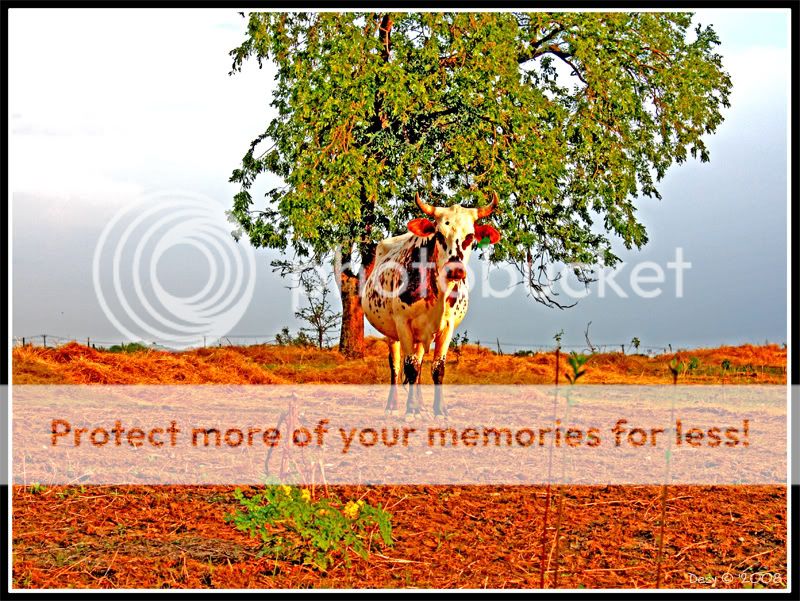
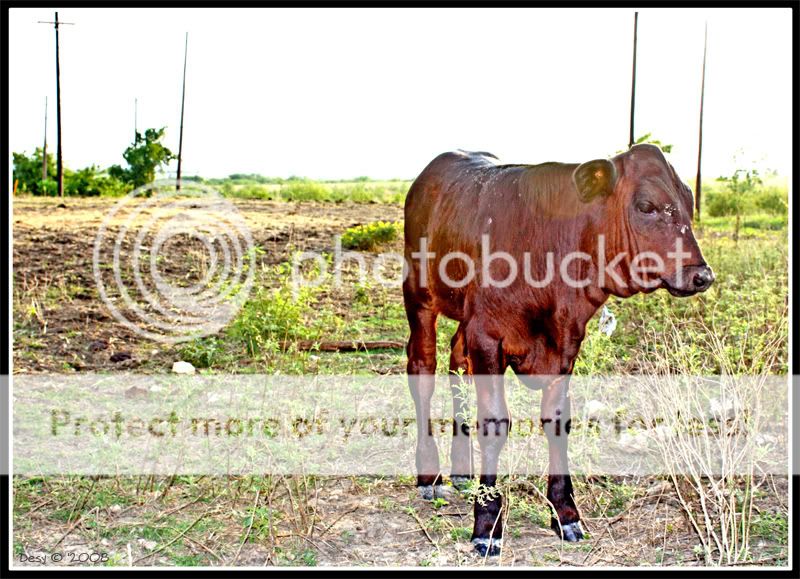
A few of our neighbors up the street:
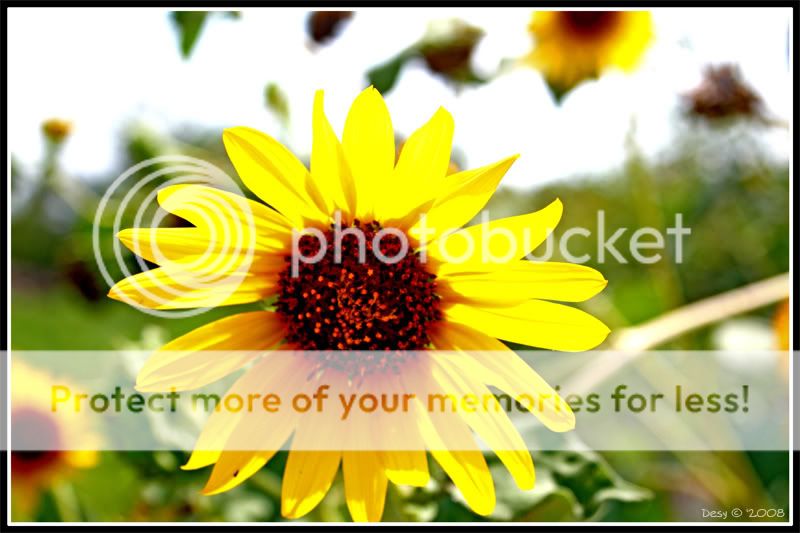
Sunflower basking in the sun
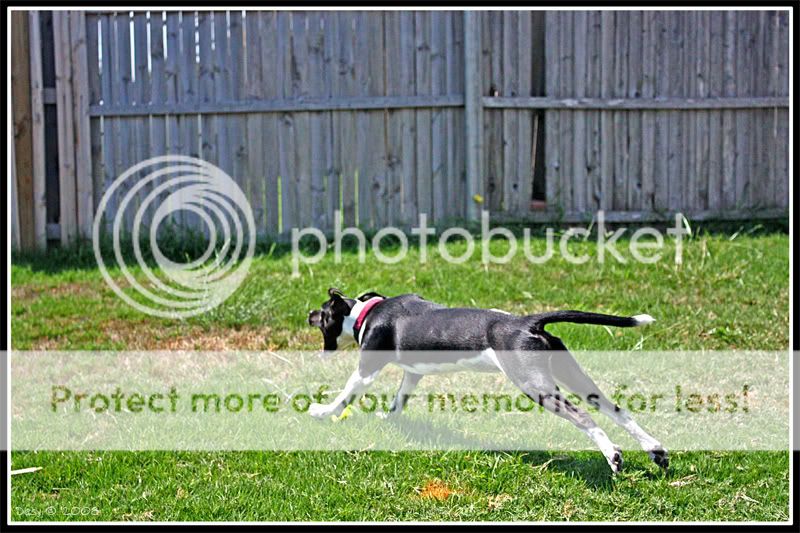
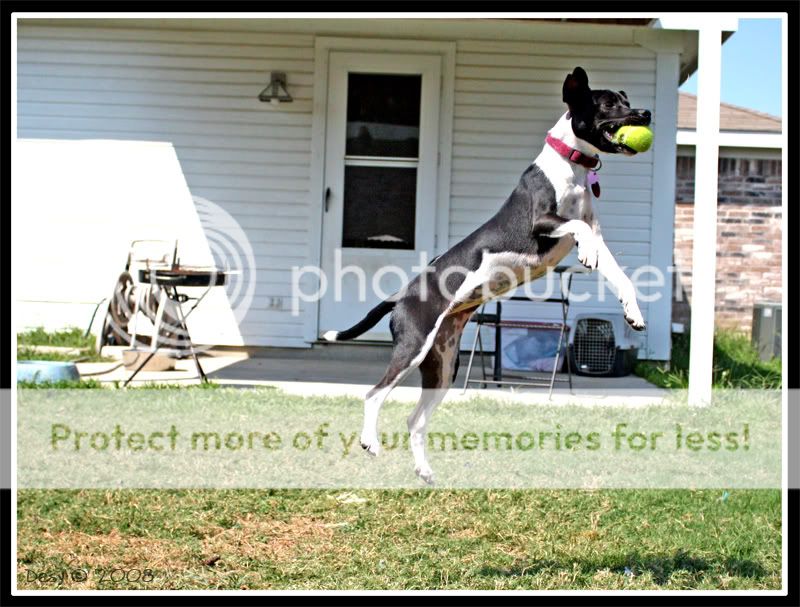
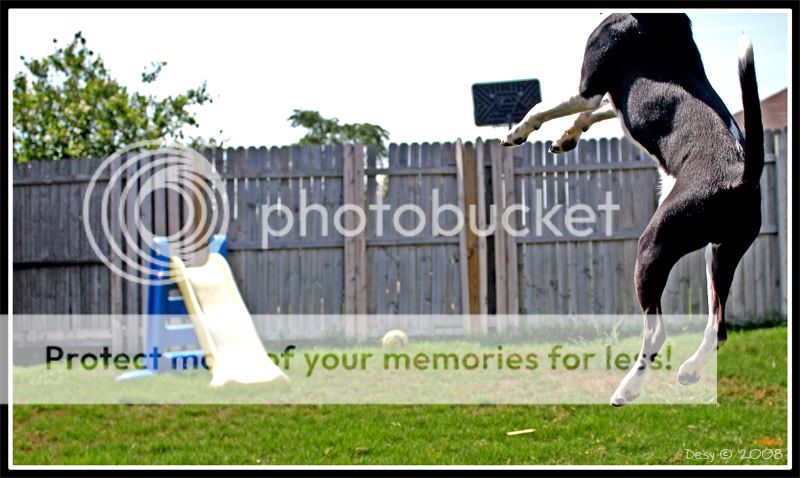
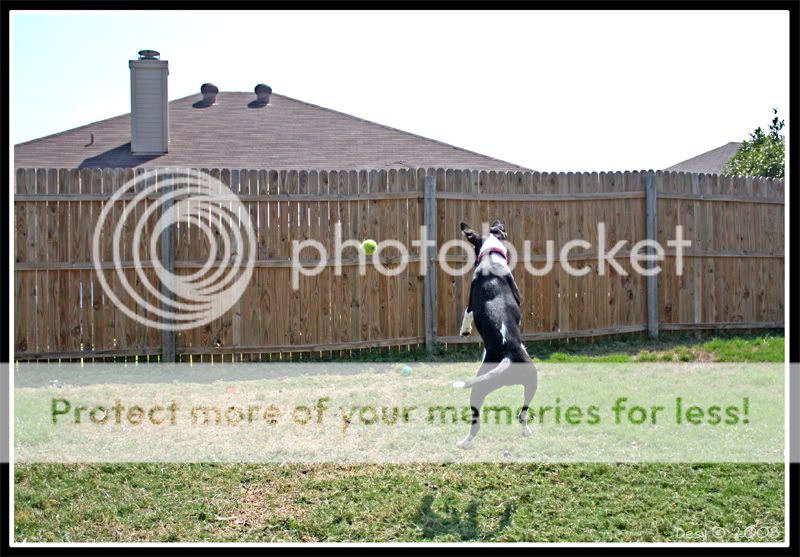
A few of one of my many dogs

A few of our neighbors up the street:
Sunflower basking in the sun
A few of one of my many dogs
") a little too much popadding - care to post and original of one of those?
a little too much popadding - care to post and original of one of those?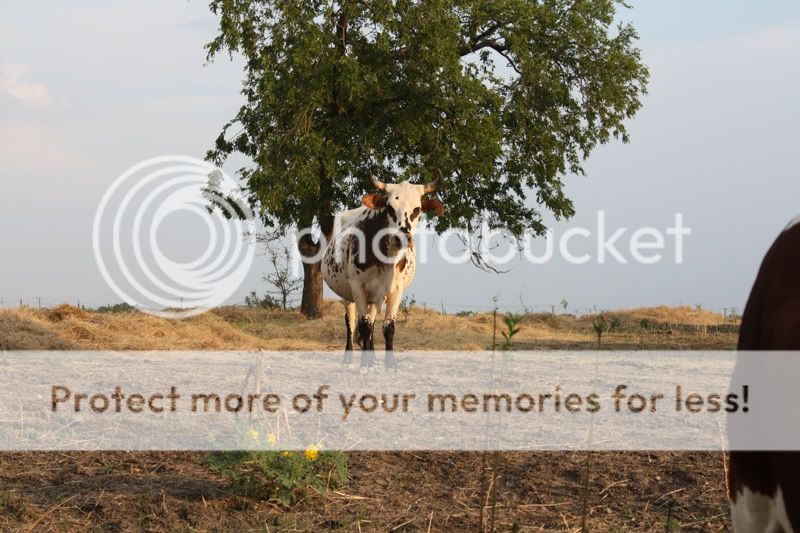


![[No title]](/data/xfmg/thumbnail/42/42257-4c4b35d60337b1b4ec661332486a33be.jpg?1619740066)


![[No title]](/data/xfmg/thumbnail/32/32929-22e23acc63d6ecb25e5ee941be87121f.jpg?1619735758)