What's new

Overexpose? How can you tell?

The thing is, that even if you shoot entirely in RAW, for the image to be visible (on your LCD, for instance), a JPG version is created by the camera (taking into account all the picture style, WB parameters you've chosen), and a thumbnail of that JPG is stored with the RAW. The histogram is then computed from that JPG. In generating that JPG, the camera also had to throw away a lot of data. So when you edit the RAW file, you have access to all the data the camera recorded.

However not all RAW converters convert in exactly the same way. So the Adobe RAW converter may give a different result compared to the RAW converter built into the firmware, and may again be somewhat different from the raw converter supplied by your camera's manufacturer. It can be a real eye-opener to see how different the resulting JPG files actually are.

There are two settings i can set my dslr in: sRGB or Adobe RGB. Just a quick question about another setting? should i leave active distortion control off or on? It was set at off position, but i turned it on. I can correct distortions of the lens in lightroom. So i don't know what is better?


It seems that Adobe RGB is the superior version. Tomorrow i will do some tests and post them here.
 
Last edited:
It seems that Adobe RGB is the superior version. Tomorrow i will do some tests and post them here.

Not much need for that.
Adobe RGB will not display well unless one has a color managed application (like most applications used by photographers) and a photo taken and edited in an RGB color space will look dull and lifeless in a web browser. Natural color space assumed for most browsers is sRGB

Thus photos edited in RGB must be converted for proper web display.

This leaves two questions - why use RGB? and how does one convert from RGB to sRGB?

I leave that to you to look up.
 
I will need to study this more in-depth. Because if RGB is superior and i can convert back to sRGB at my behest, then i would be a fool not to shoot in the superior quality of RGB. Its starting to sound like the JPEG and RAW debate all over again.
 
I am not sure that the colour space chosen on the camera changes anything at the RAW level. However, it should affect the appearance of the JPG generated from the RAW. Since different display devices have differing ability to represent all the potential colours, the conversion of the "final" image to an appropriate JPG should be geared to the colour space (and resolution) which the printer or browser or other display device can support. Since every use of RAW requires a conversion into a file format that the photo-editor can work with, it make sense to convert into a colour space that gives you the greatest depth and editing capacity, subject to the ability of the editor to work in that colour space. Once the editing is done, then the generation of the "final" JPG representation needs to happen, taking into account the ability of the displaying device to show the image. So you may have a different JPG for an image file intended to be printed as a 4x6 print on a ink-jet printer, compared to an image file which you will show in a web browser at at 600x400 pixel size. If you don't do this, then you give control over the final display to the firmware/software that maps your image to whatever the display will show.
 
Back to the question in the OP - "how can you tell if something is over exposed" - it will be pure white (especially if JPG). In LR, in the View menu, there is an option to "Show Clipping" - shortcut J. This will make any overexposed areas red, and lost detail in the shadows as blue (if you drag the exposure slider down). This will help you to visually see what's going on.

Clipping is referred to when the curve in the histogram goes flat (like at the top, higher than the maximum value, and it clips the top of the peak off).
As stated, read up on RAW formats, Dynamic Range, and how the eye differs from the camera sensor.

Getting a correct exposure is about balance between the details and colors you want to see. The more detail, the better the exposure. I'm not talking about being able to see words on a sign a mile away, I'm talking about contrast, detecting subtle changes in color. Look at the color in the hood to the right (the boy's left) of his face. In the first image, you can clearly see the gray hood with white lining, but can't see the texture of the lining - so I'd say that area is just slightly over exposed. In #2, that whole area is white, with no detail at all - so it is definitely over exposed.

It is also important to have a computer monitor with accurate colors and brightness/contrast - calibration is important. There are some wishy-washy guides to work through calibration, OS X has a decent one built in, or you can go to a hardware calibration with a Spyder or something similar. These will try to match white balance (temperature), brightness, contrast to be more accurate to what you see with your eye, and in some cases, to be accurate with prints.

I'll need some time to process what you just said. Its not making any sense to me.

This is the EXACT reason I stopped trying to learn everything at once.

Learn one new feature / function at a time. Spend at least a day with that new feature / function and learn how to use it and how it affects the photograph.

Then and only then learn something new. Otherwise you will spend more time being confused about everything than just learning one thing at a time.
 
Back to the question in the OP - "how can you tell if something is over exposed" - it will be pure white (especially if JPG). In LR, in the View menu, there is an option to "Show Clipping" - shortcut J. This will make any overexposed areas red, and lost detail in the shadows as blue (if you drag the exposure slider down). This will help you to visually see what's going on.

Clipping is referred to when the curve in the histogram goes flat (like at the top, higher than the maximum value, and it clips the top of the peak off).
As stated, read up on RAW formats, Dynamic Range, and how the eye differs from the camera sensor.

Getting a correct exposure is about balance between the details and colors you want to see. The more detail, the better the exposure. I'm not talking about being able to see words on a sign a mile away, I'm talking about contrast, detecting subtle changes in color. Look at the color in the hood to the right (the boy's left) of his face. In the first image, you can clearly see the gray hood with white lining, but can't see the texture of the lining - so I'd say that area is just slightly over exposed. In #2, that whole area is white, with no detail at all - so it is definitely over exposed.

It is also important to have a computer monitor with accurate colors and brightness/contrast - calibration is important. There are some wishy-washy guides to work through calibration, OS X has a decent one built in, or you can go to a hardware calibration with a Spyder or something similar. These will try to match white balance (temperature), brightness, contrast to be more accurate to what you see with your eye, and in some cases, to be accurate with prints.

I'll need some time to process what you just said. Its not making any sense to me.

This is the EXACT reason I stopped trying to learn everything at once.

Learn one new feature / function at a time. Spend at least a day with that new feature / function and learn how to use it and how it affects the photograph.

Then and only then learn something new. Otherwise you will spend more time being confused about everything than just learning one thing at a time.
You're right, i'm juggling a hundred things at once. I just can't help myself because this is how i operate when i'm excited about something. I open one door and behind that door there are ten more doors.
 
I am not sure that the colour space chosen on the camera changes anything at the RAW level. However, it should affect the appearance of the JPG generated from the RAW. Since different display devices have differing ability to represent all the potential colours, the conversion of the "final" image to an appropriate JPG should be geared to the colour space (and resolution) which the printer or browser or other display device can support. Since every use of RAW requires a conversion into a file format that the photo-editor can work with, it make sense to convert into a colour space that gives you the greatest depth and editing capacity, subject to the ability of the editor to work in that colour space. Once the editing is done, then the generation of the "final" JPG representation needs to happen, taking into account the ability of the displaying device to show the image. So you may have a different JPG for an image file intended to be printed as a 4x6 print on a ink-jet printer, compared to an image file which you will show in a web browser at at 600x400 pixel size. If you don't do this, then you give control over the final display to the firmware/software that maps your image to whatever the display will show.

I just took two pictures. There are differences in the raw files.


*edit*

Sorry, i'm wrong. I see no difference in the original raws.


Its when i get into editing the colours is when i see differences in the raw files
 
Last edited:
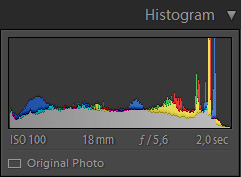
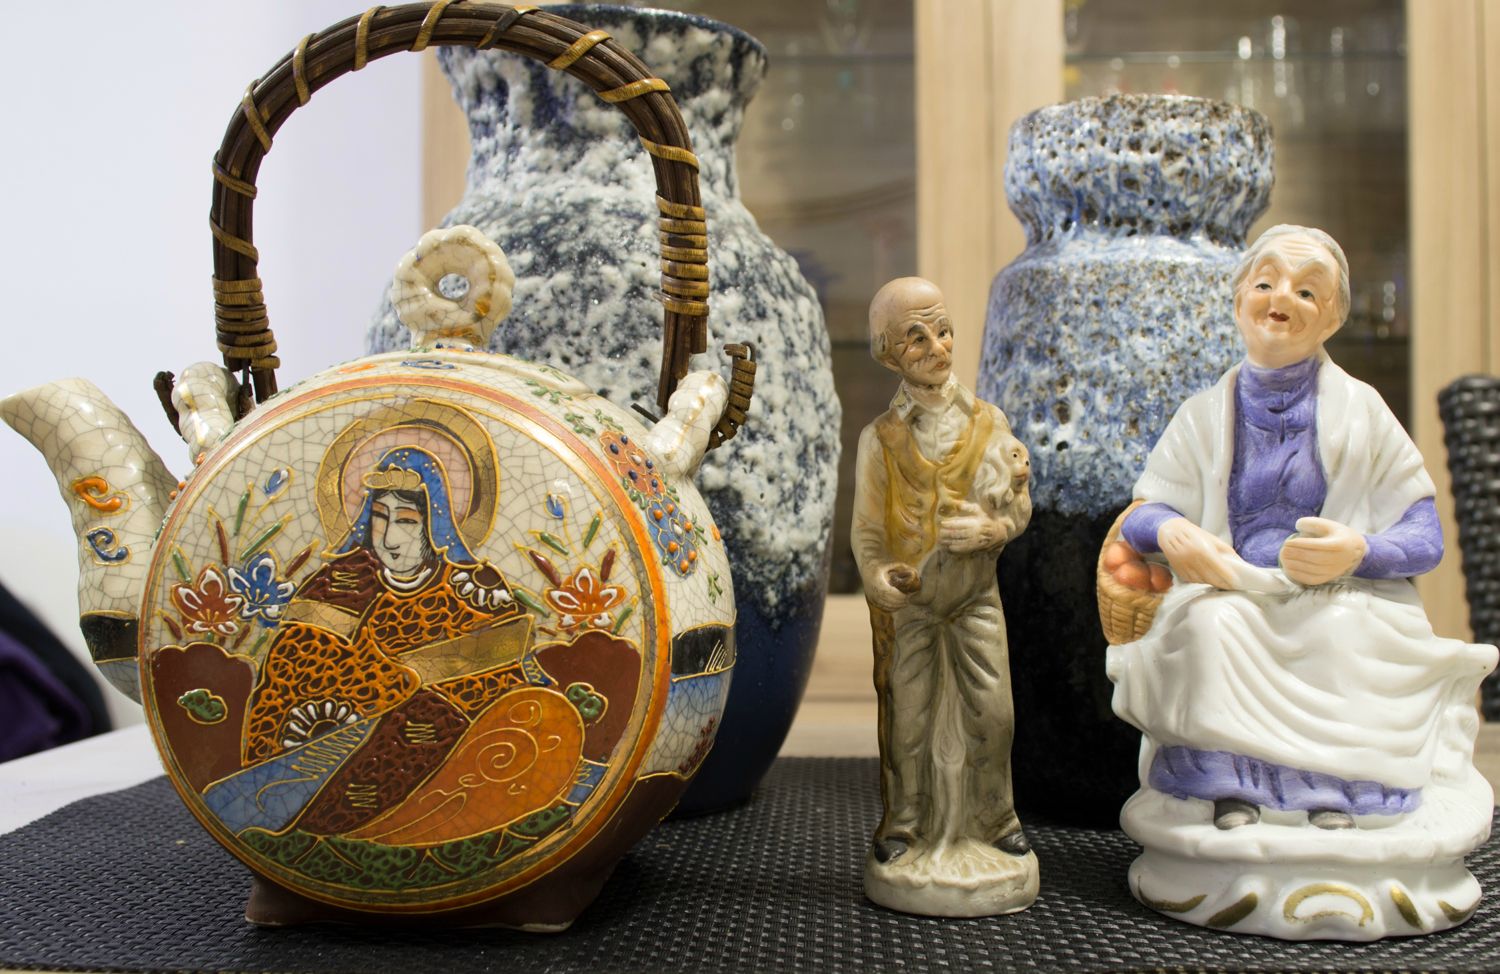
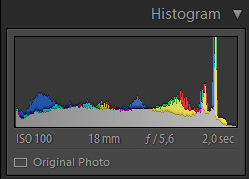
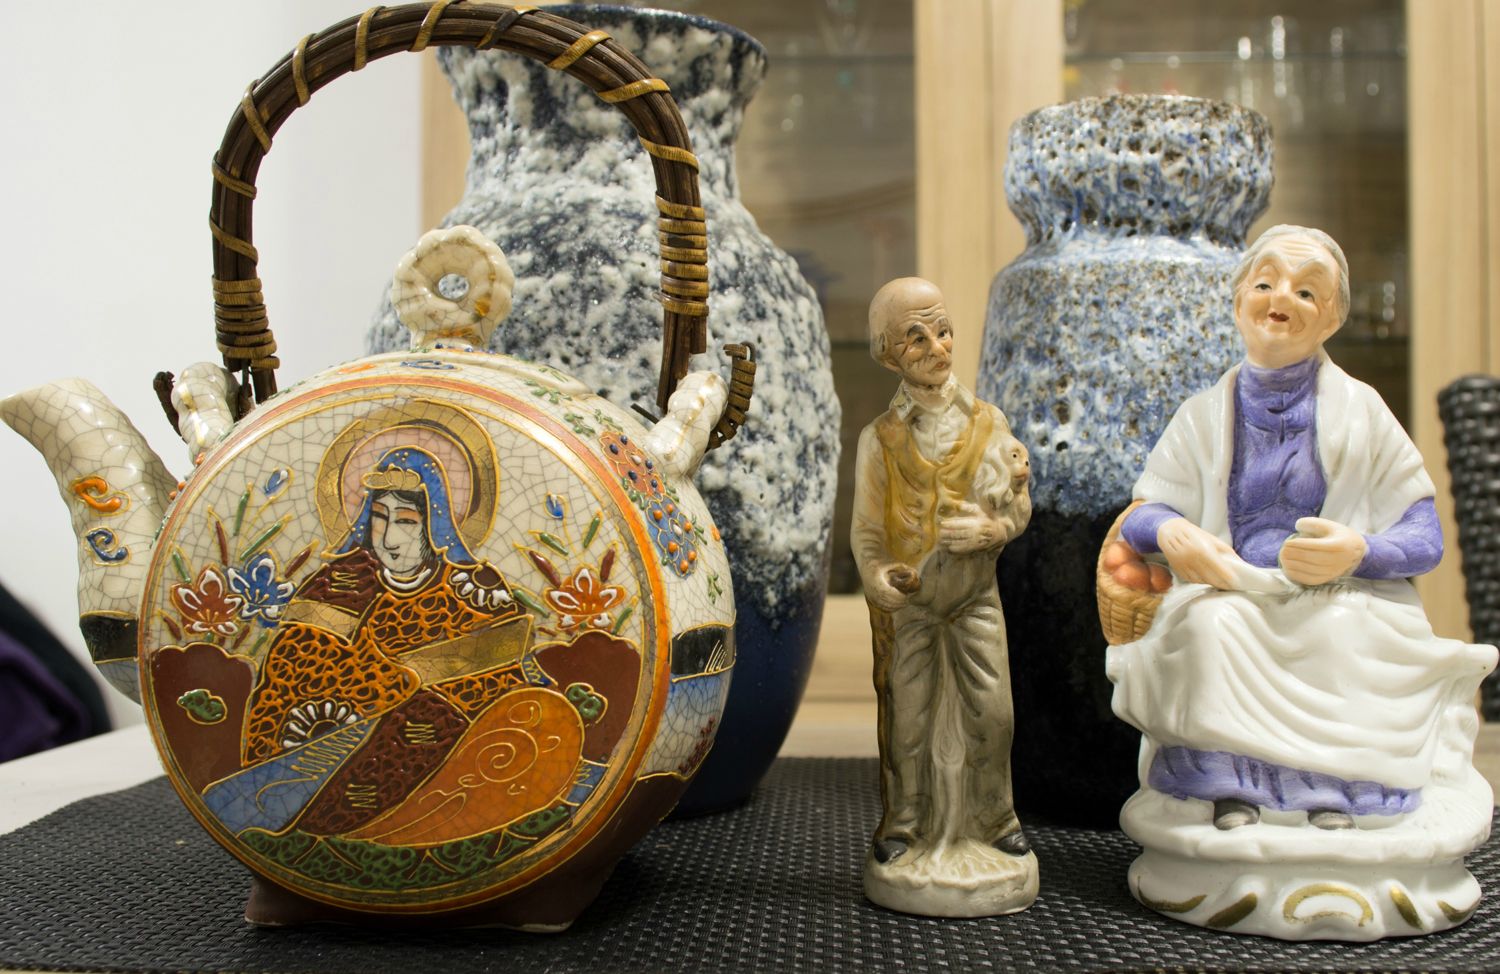
Raw images converted to JPEG:

Adobe RGB
1WenypV.jpg

IJ6mhRf.jpg


sRGB
aNVbI5u.jpg

tcy7ps4.jpg
 
Last edited:

Create an account or login to comment

You must be a member in order to leave a comment

Create account

Create an account on our community. It's easy!

Log in

Already have an account? Log in here.

Back
Top Bottom